Search

SealBoss News / Blog

How to Permanently Waterproof Tilt-Up Panel Joints with Polyurethane Grout

How to Permanently Waterproof Tilt-Up Panel Joints with Polyurethane Grout

How to
Permanently Waterproof
Tilt-Up Panel Joints
with Polyurethane Grout

How to Permanently Waterproof Tilt-Up Panel Joints with Polyurethane Grout

Failing and leaking tilt-up construction joints can be sealed to full depth with single component SealBoss 1570 NSF Certified Water Stop Foam and the Oakum-Soakum Method

Tilt-up Construction Joints are Typically Caulked

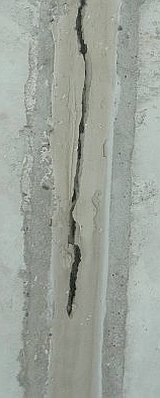
Over time, caulks often fail, break open, and allow water to flow into the structure. Caulk failure can be evident as shrinkage of the bead of sealant, delamination (caulk no longer sticks to surface), cracking of the bead, powdering or dusting of the surface of the caulking.

How to Create a New Full-Depth Joint Seal

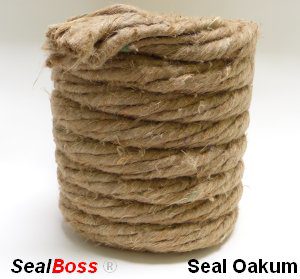
While caulking creates a small 1/4″ to 1/2″ bond surface with the concrete panel, 1570 Polyurethane Leak Sealing Resin soaked SealBoss Seal-Oakum fibre provides a full-depth bond and seal against leaks permanently. The ‘Oakum Soakum Technique’ is a proven methodology for polyurethane chemical grout installation — creating a permanent seal that remains unaffected by wet, dry, and even in constant water submerged environments.

How to Prepare the Joint

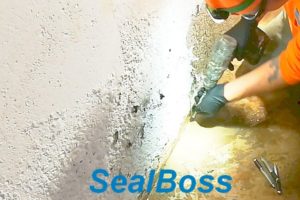
Prior to any remedial repair, the existing, failed caulk has to be removed, and the joint needs to be free of any debris. The joint then needs to be wetted for the water activated grout to react, expand, and cure.

How to Install the Flexible Permanent Seal

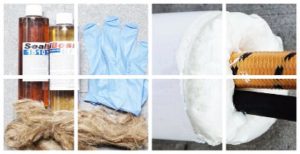
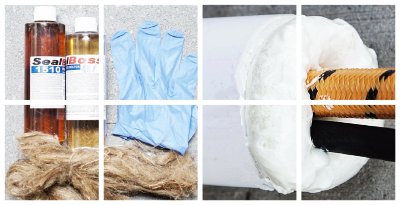
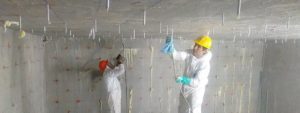
To create a permanent seal with the Oakum-Soakum Technique, oakum fibres are first soaked in hydro-active 1570 polyurethane resin (catalyzed with SealBoss 15X Accelerator), and then pushed deep into the clean and pre-wetted joints to form a flexible and uniform seal during expansion.

How to Protect and Finish the Seal for Cosmetic Appearance

After the foam has cured, any surplus of the foam/oakum seal is cut back and finished with an even bead of caulk to provide UV resistance and achieve a matching surface appearance to the other caulked joints.

Learn More

Please don’t hesitate to call us at 714-662-4445 with any questions, or request to be contacted here, we look forward to helping you find a solution. On-site support from knowledgeable and experienced technical reps is available upon request.

Contact Your SealBoss ® Technician

SealBoss Seal Pipe Kit

Conduit Sealer Kit
Pipe Plug & Sealer Kit

The Benefits of SealBoss ® Seal Pipe Kit

 
  • Fast Water Activated Polyurethane Foam Reaction
  • Ease of Application
  • Versatile Application Range
  • Applied in Wet Environments
  • Moisture-Activated in Dry Environments
  • NSF/ANSI 61 Potable Water Approved PU


SealBoss ® SealPipe Kit is a unique hydro-active product and oakum combination for sealing electrical conduits and other annular and irregular spaces.

This self contained kit has everything you need for the application. To seal pipe penetrations, resin saturated oakum can be sprayed with water or dropped into a pail of water to start the activation process. The reactive oakum is now packed into spaces where it creates a watertight seal.

What is Oakum Soakum ?

Watch our short video to learn how oakum and the ‘oakum soakum technique’ can be highly beneficial for your crack injection water stop and leak sealing efforts.

Contact Your SealBoss ® Technician

Specification Crack Repair PUR

Specification Crack Repair Injection Grouting

Example – Polyurethane Injection Grouting Specification

SPECIFICATION – INJECTION GROUTING

HYDROPHOBIC POLYURETHANE
SealBoss 1510, SealBoss 1570, SealBoss 1570 LV

DESCRIPTION:

General

Furnish all labor, equipment, and materials necessary and incidental thereto to perform all required operations to eliminate the flow of water by pressure injection to fill cracks, voids, and joints in concrete substrates.

Definition of Terms

Refusal – when a crack or void area will accept no more grout under the prevailing pumping conditions (for reasons other than the pump-ability of the grout)
Return time – the time taken for a grout, under certain application conditions to completely penetrate a crack, void, or network of cracks.
Gel time – the time required for the grout to cure following the reaction with the accelerator.
Gel time or cure time can be affected by temperature and amount (percentage) of accelerator mixed in the component

A.

INJECTION PROCESS:

Fully examine the existing site conditions to ensure that all associated work can be performed without removing or relocating existing utilities, structures or structural members.

1) Remove all standing water.
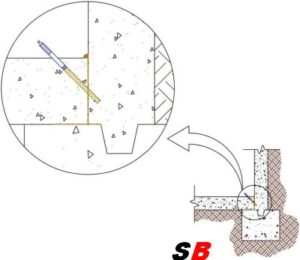
2) Drill at a 45˚ degree angle where possible to intersect the wall/floor joint interface halfway through the thickness of the substrate (e.g. 4” deep for 8” thick slab)
3) Drilling depth should be half the thickness of the concrete member.
4) Install mechanical injection ports and secure in place at a spacing of 6-12” inches apart (6” for hairline and 12” for wider cracks). Alternate positioning from left side to right side as you move along the crack where possible. (Often cold joints require same side placement for drilling holes.)
Extremely wide cracks (if any exist) should be covered with a surface seal prior to injection in order to contain the injection resin until cured. Under proper pumping conditions in active leak injection, the following signs should be observed in the order listed:

(a) Water displaced from crack/joint by the resin
(b) Water and resin mix (foamy) appearing at the crack/joint area
(c) Pure resin from crack/joint

If the joint surface exhibits immediate free flow of resin while working the first packer, pause for a few minutes. In most cases the resin will react fast enough with the water and expand rapidly. The resulting resin product will heal the joint and provide a surface seal to contain the material to follow.

The contractor is responsible for estimating what duration time is adequate for grouting the voids and is responsible to prove that the void is full by attempting to inject each port to refusal.

Once the contractor is assured that the resin has reached the next injection packer or has sufficiently stopped the water as evidenced by the grout oozing out of the joint area, he should shut off the resin flow and disconnect pump pressure line and proceed to the next packer.

Follow the injection process for one to three packers, the contractor shall return to the first packer and attempt to re-inject it again. Some of the packers will take more grout, filling up more of the crack/joint area and creating a higher density void filler and water stop.

The contractor shall continue this procedure until refusal.

MATERIALS

A. Injection Ports

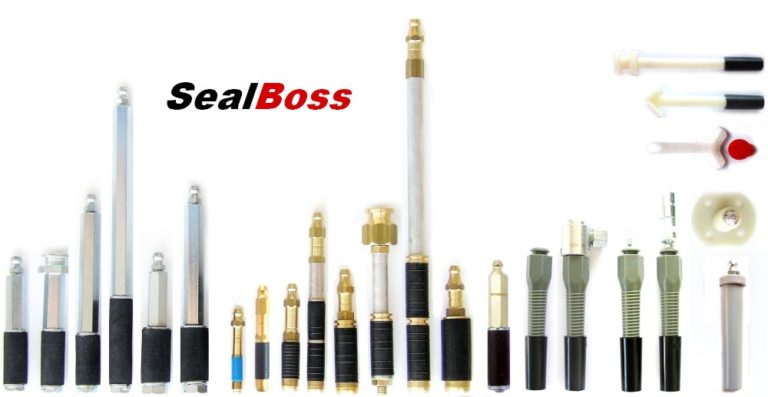
Provide suitable injection ports (steel/brass/zinc/aluminum/plastic), buttonhead or zerk fittings, shaft and rubberized expandable grommet.

B. Grout Injection Material

Hydrophobic water cut-off grout based on MDI (methylene-diphenyl-isocyanate) polyurethane. (e.g. SealBoss 1510, 1570, 1570 LV). Grout material is to be 100% solvent free and 100% solids. Gel time of the product is adjustable by adding a certain percentage of accelerator per the manufacturer’s recommendations. Grout material shall not shrink or swell. Grout material shall cure to a semi-flexible foam structure which is not affected by water or dryness.

C. Pump Equipment

1) All chemical grouting equipment shall be of a type, capacity, and mechanical condition suitable for doing the work. The equipment shall be compatible with the chemicals to be handled and shall be maintained in proper operating conditions at all times.

D.

SUBMITTALS

1) Submit all technical literature covering the chemical grout material including complete manufacturer’s specifications, recommendations and test data.
2) Provide Safety Data Sheets on any chemical products utilized during the work of this section.
3) Injection port pattern and/or grouting method statement to Architect for approval prior to starting grouting operations. Please note that this drill pattern may change due to actual travel of material, leak relocation, and/or other considerations that are not known to the applicator prior to injection.
4) Samples
(a) Stainless steel, brass, zinc, or plastic button/zerk injection packers.

F. Quality Assurance

1) Certified applicators shall be the installers of the SealBoss product lines.

G. Delivery, Storage and Handling

1) Deliver all materials in the manufacturer’s sealed original containers bearing the manufacturer’s name and product identification in a manner to prevent damage, breakage, water or moisture intrusion.
2) Store and handle all products of this section in strict accordance with the manufacturer’s instructions and product safety regulations.
3) All equipment shall meet or exceed OSHA safety requirements and be of a size and nature which does not conflict with safe accessibility to the site.

H. Project Conditions

1) Do not execute the Work of this section unless the Site Engineer or Authorized Representative is present and has authorized the work to commence.
2) Do not remove any utility equipment or piping in the area while executing the work.

I. Environmental Requirements

1) Do not apply if the temperature is below 32°F or above 90°F unless the material manufacturer is consulted for recommendations.

J. Owner’s Requirements

1) Execute all work in accordance with all safety requirements, approved written procedures and with the least amount of interference with the work of other trades as possible.
2) Equipment should be confined to the delivery area and all components shall be in good working order as approved manufacturer for use with the specified materials.
3) Immediately notify the Site Engineer/Owner’s representative in the event of any process interruption or environmental concerns which could affect the service or application conditions relative to this work.

K. Protection, Cleaning and Safety

1) Following a complete injection of all mechanical packers to refusal and where the visible leakage has been completely eradicated, remove all injection packers. Remove cured material where applicable and fill injection hole with rapid cement.
2) Clean all adjacent areas of excess material, powder, cement and/or droppings. Chemicals used for cleaning shall be non hazardous and non flammable such as the SealBoss R70 pump flush
3) Process grout materials using appropriate protective gear including gloves, masks, or goggles, and appropriate clothing as described and in accordance with the manufacturer’s SDS sheets.

Notes:
– Follow manufacturer’s recommendations for product safety and disposal of material.
– Comply with all OSHA regulations for drilling procedures using protective gear including highlighted vests, face shields, or goggles.

L. Field Quality Control

1) The Engineer shall inspect the surface and reject any port holes that are unacceptably filled or any surface area which displays other defects related to the completion of this work.
2) All work is to be done under the supervision of the jobsite supervisor or owner’s representative.

End of Section

Specification Crack Injection Polyurethane
Contact Your SealBoss ® Technician

Winery Crack Injection | Leaks Sealed with SealBoss Water Stop Foam
Another

Injection Training
Boutique Winery | Leaks Sealed

SealBoss Technical Rep Sealing Leaks In Missouri

Leaks can happen anywhere, and Wine Cellars are no exception. 

A local SealBoss Rep was called out to consult on a leaky cellar to demonstrate high pressure injection using the SealBoss P2002 Injection Pump and 1510 NSF Certified Water Stop Foam. 
The wine cellar was a renovated below grade structure with a deck/extended porch above.  The main source of the leak was a pipe penetration and adjacent crack where mastic crystalline grout had failed. 

The repair began by cleaning the area with a wire brush to remove the failed grout down to the concrete.  After the area was sufficiently exposed, the crack was clearly visible. A ½” hole was drilled and  the SealBoss 13-100AL Evolution packer was then installed and injection with SealBoss 1510 Water Stop Foam began.

Injection continued till the void around the pipe penetration and the crack were filled. The packers were removed and followed by a 5 minute cleaning of the equipment with xylene and followed by SealBoss R70 Pump Flush.

Boutique Winery Eastern Missouri

 “We Provide Field Service When You Need It!

We have been offering experienced and responsive technical support since 1988. While providing on-site support and training, I create a positive learning environment focusing on building applicator confidence allowing for successful repairs to be continued after the training.  From training new companies and their employees, SealBoss has continued to provide support to our clients for over 35 years.

We won’t leave a jobsite till I know everyone is comfortable with the SealBoss Systems.

Our knowledgeable technical support team is here to help with any questions you may have”

leaking-crack-repair-sealboss
SealBoss Technical Sales Team

SealBoss ® 1510 NSF Water Stop Foam for infiltrating water:

  • Water Stop Leak Repairs | Crack & Joint Leak-Seal | Soil Stabilization | Permeation Grouting
  • Defective Concrete (Cracked or Honeycombed)
  • Concrete Construction Joints & Cracks
  • Brick Construction, Geo Formations

SealBoss ® 1510 NSF Water Stop Foam Advantages:

  • Advanced NSF Formulation
  • Up to 40+ Times Expansion
  • SealBoss ® Product-Pump-Packer System Kit Solution
  • Unregulated For Transport
  • Solvent Free MDI Technology

In Person and Video training is available upon request, contact SealBoss today to speak to your regional technical representative on our SealBoss full system solutions and offerings.

Contact Your SealBoss ® Technician

Ceiling Crack Injection Shopping Mall

Ceiling Crack Injection

Shopping Mall

SealBoss ® 1510 Water Stop Foam Ceiling Crack Leak Repair

Job Walk Shopping Mall Los Angeles

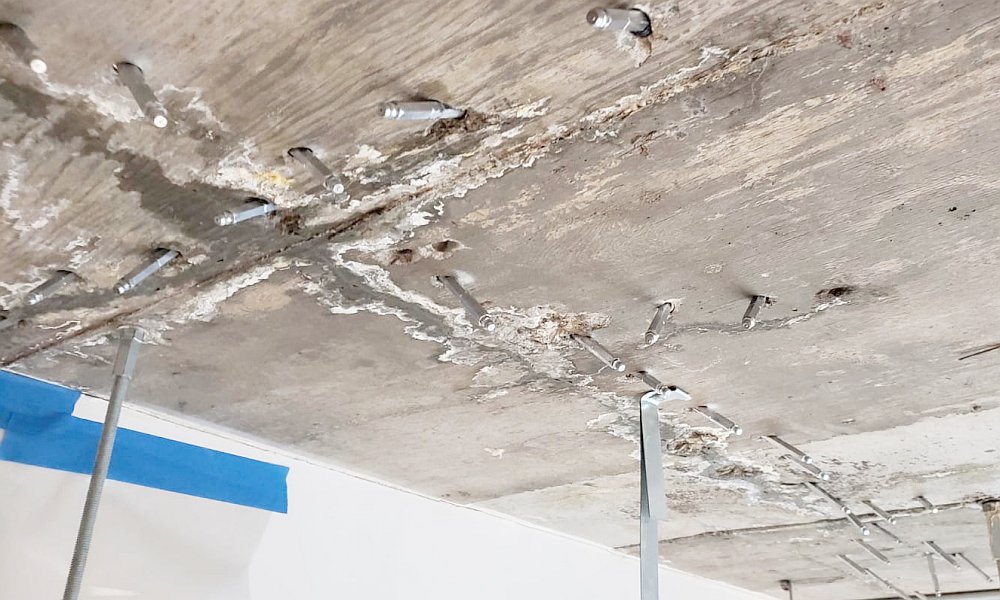
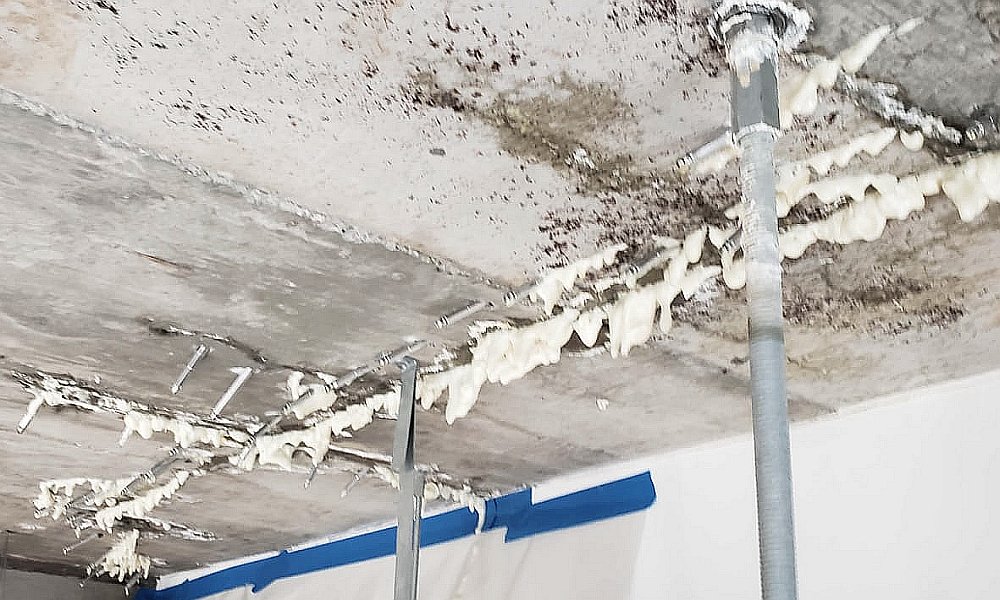
A concrete crack in the concrete ceiling in a busy shopping mall was actively leaking. Cracks were described as fine and hairline. A two‑person crew mobilised with SealBoss 1510 Water Stop Foam and SealBoss Packer Evolution 13‑100 AL ports performed a hydroactive polyurethane injection during the designated maintenance window.

Following the repair, a job walk was conducted to inspect the injection site. Correct packer placement was observed and it was, verified that foam had fully expanded, and confirmed that the ceiling was completely dry before reopening the area for traffic.

Injection Procedure

After tracing the crack, technicians marked drill points and hole were drilled at an approximately 45‑degree angle to intersect the crack mid‑depth, then fitted with SealBoss 13‑100 AL packers. 

Working from the end showing the strongest water flow, the crew pressurised SealBoss 1510 with the injection pump at up to over 1,000 psi. Resin disappeared into the concrete and re‑emerged at the next packer, or beyond, confirming full penetration. After completing the first pass, they paused to allow the foam to expand, then repeated the sequence. Selected ports accepted a third shot to ensure a dense seal.

Before and after pictures. Ceiling leak repair. Hydroactive polyurethane foam grout injection with SealBoss  1510 Water Stop Foam and SealBoss ® Packer Evolution 13-100 AL.

SealBoss ® 1-2-3 at 45 Degree Injection Method

SEALBOSS-CEILING-CRACK-INJECTION
Contact Your SealBoss ® Technician

SealBoss Guideline Leak Seal Injection

Guideline - Leak Sealing Injection

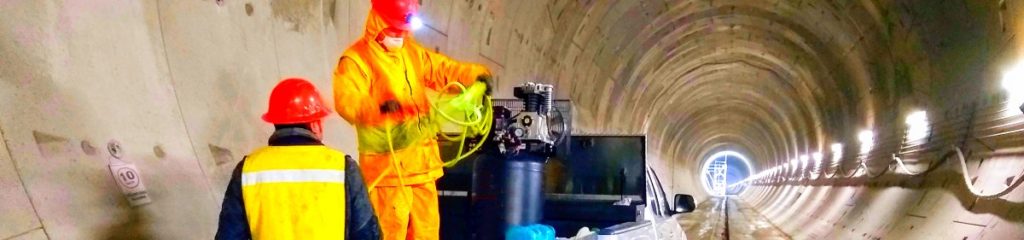
This jobsite picture depicts one of the more challenging overhead leak sealing injection applications in a confined space with limited resources, very active water leaks and standing water in the structure. The contractor is using a button-head packer set-up for a secure and leak free connection of the hose to the injection packer. On the ceiling of the structure you can see previous injection points and cured foam that formed around the injected cracks while expanding and creating a compression seal. The contractor is covered in impervious protective clothing to protect himself from water and liquid product during the injection process. It is during jobs like this, when you appreciate a complete injection system that is proven, reliable and durable.

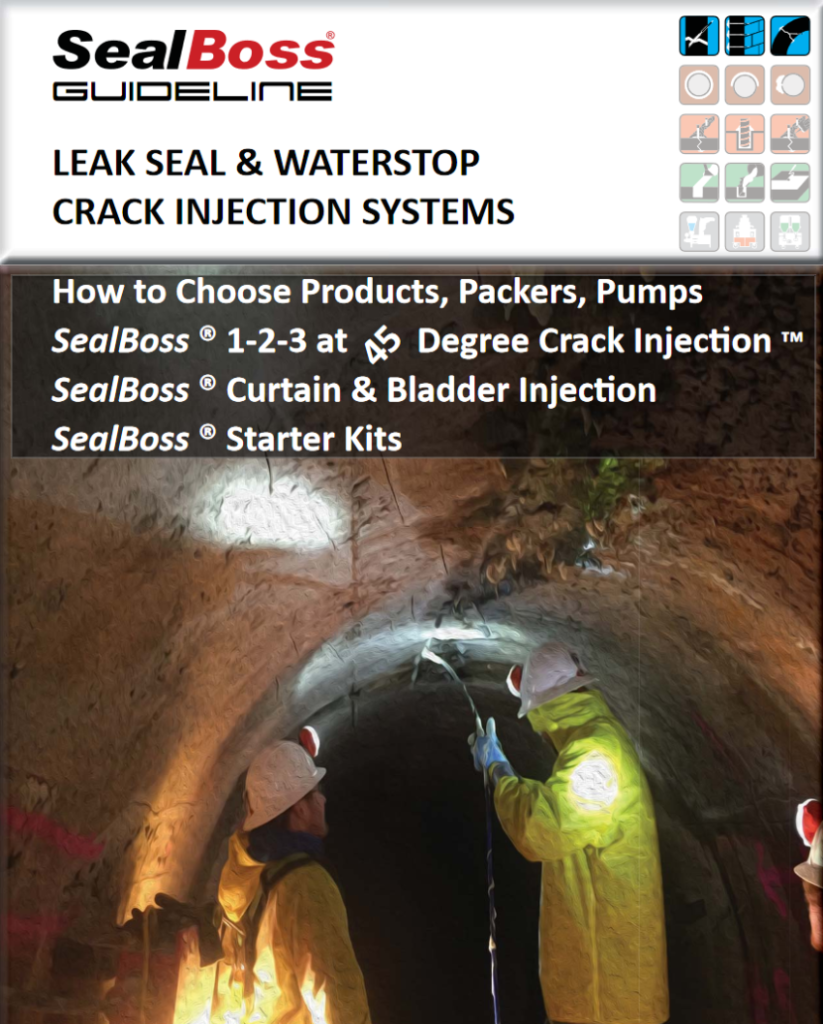
This is our compact guideline to waterproofing and leak sealing injection.  From choosing product and equipment to job prep and the injection procedure itself, we cover many important product features and provide valuable information to assist you in making your application a successful one.

Contact Your SealBoss ® Technician

Recent Posts

More Posts

Archives
Categories
Scroll to Top