


Retaining Wall Crack Injection Repair
Using Leak Sealing Foam
Retaining Wall Crack Injection Repair using Leak Sealing Foam offers a swift and dependable solution to address cracks responsible for water infiltration and subsequent erosion. Here is a quick guide to this repair process:
1. Site Preparation
Begin by ensuring the site is ready for the repair. Clear away any debris, dirt, and loose materials to provide a clean working surface.
2. Crack Assessment
Identify and evaluate the cracks in terms of their depth and length. While visible cracks are obvious targets, it’s crucial to be vigilant about potential hidden cracks that might escape a cursory glance. Such concealed cracks might necessitate a more thorough examination.
3. Drilling Injection Point Holes
Once the cracks are mapped out, drill holes into the retaining wall. These should be spaced roughly 12 inches apart, running along the entirety of each crack.
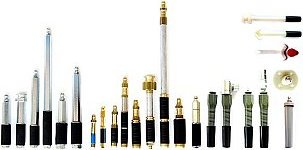
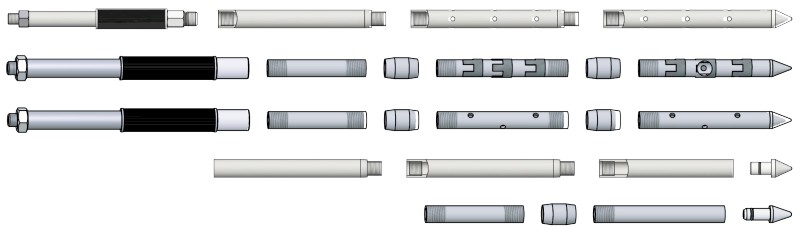
4. Packer Installation
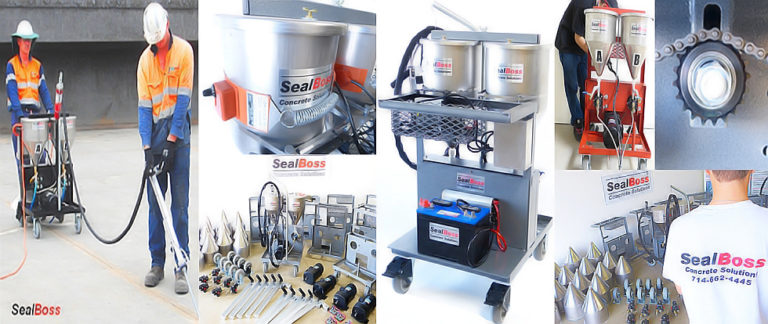
Insert the injection packers into the freshly drilled holes, ensuring they’re firmly anchored. These packers act as conduits for the polyurethane foam during the injection phase.
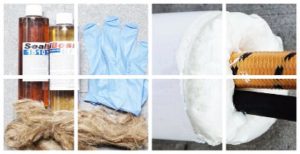
5. Foam Injection
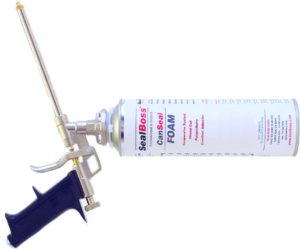
With the packers in place, it is time to inject the prepared leak sealing foam. Utilizing the appropriate equipment, start the injection at the lowest point, working your way up. Continue this process until the foam either refuses to enter further or you’ve covered the entire crack.
6. Curing and Final Touches
Post-injection, allow the polyurethane foam ample time to cure, adhering to the manufacturer’s guidelines. Once cured, remove the packers and seal the holes using a compatible sealant.
In summary, the use of leak sealing foam for Retaining Wall Crack Injection Repair is a tried-and-true method, ensuring cracks are effectively sealed, preventing any future water ingress.
Retaining Wall Crack Injection Repair Guide
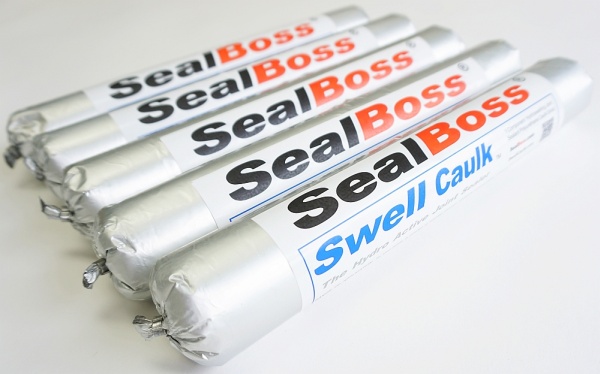
Retaining Wall Crack Injection Repair with SealBoss 1510 Leak Sealing Foam
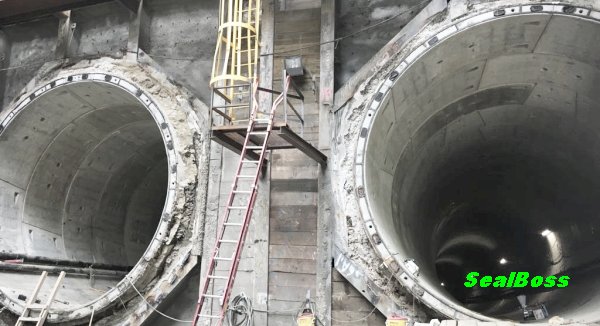
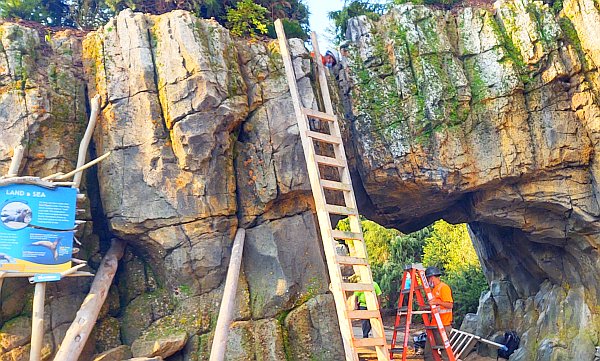
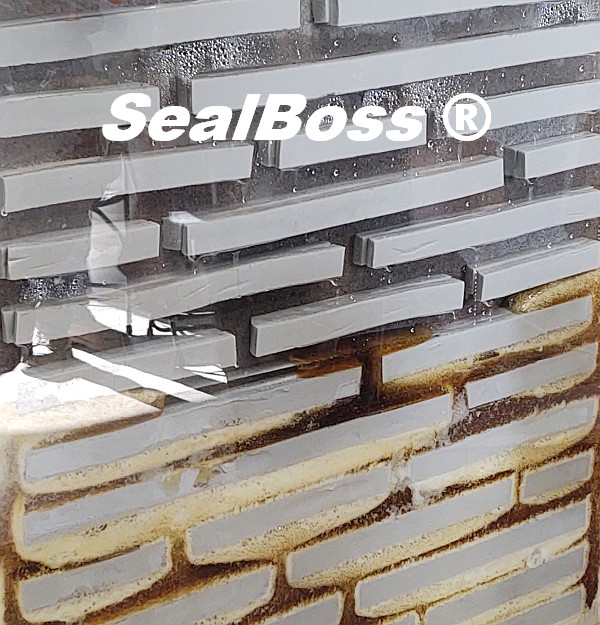
When it comes to the restoration of older commercial buildings, retaining wall crack injection repair emerges as a crucial method for preserving architectural integrity. A recent case involved a 50-year-old commercial structure that required rehabilitation, particularly for its below-grade retaining wall. This wall, adjacent to a staircase, displayed multiple through cracks and evident efflorescence.
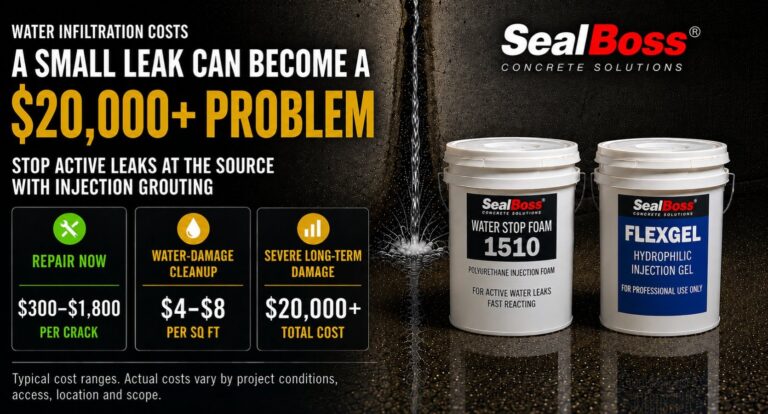
Choosing the Right Repair Product
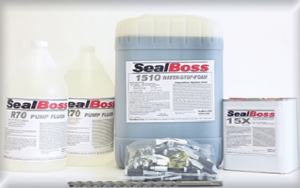
Given the challenges posed by groundwater seepage, especially after heavy rainfall, SealBoss 1510 Leak Sealing Foam was chosen for the job. This product was injected at high pressure to address the cracks before the concrete wall underwent refacing.
Insightful Inspection
A detailed inspection revealed that the main, larger cracks were accompanied by smaller, branching cracks. The retaining wall, showing clear signs of honeycombing and pitting, was constructed with an 8-inch thickness. However, the design and layout of the rebar remained unknown.
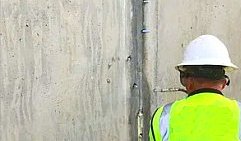
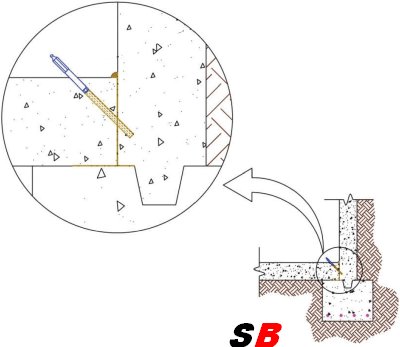
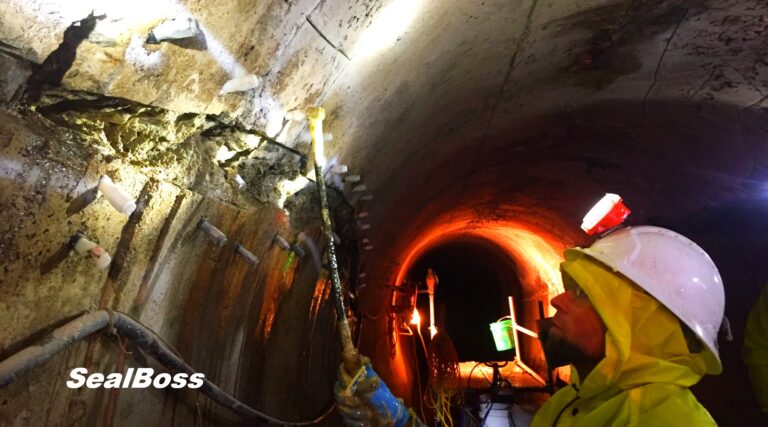
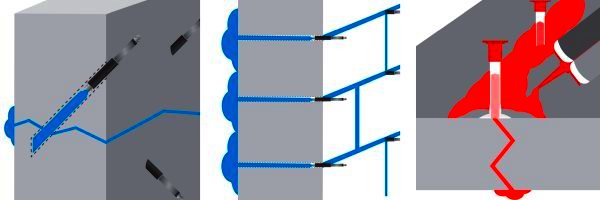
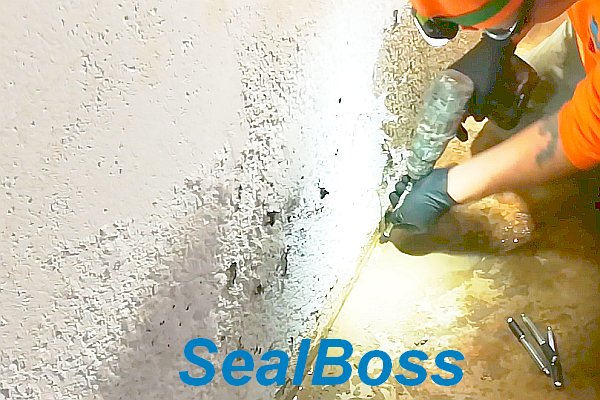
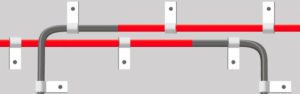
Strategic Packer Placement
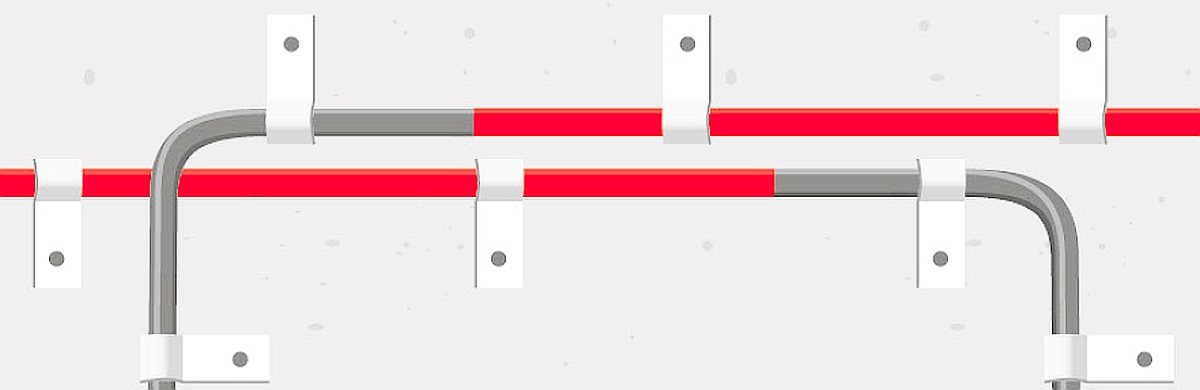
The unique challenges of this retaining wall crack injection repair, such as uncertain rebar spacing and the wall’s relatively shallow thickness, necessitated a deviation from the standard. Instead of placing injection packers at the conventional 45-degree angle, they were positioned directly into the cracks.
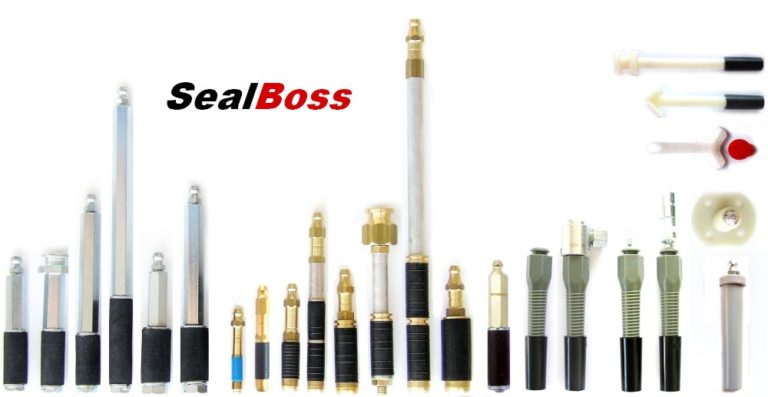
This “in the crack” packer placement minimized the risk of hitting rebars during drilling. Given the wall’s 8-inch thickness, this method ensured the injection foam penetrated effectively, sealing the structure and halting water flow. Drill holes, spaced roughly 12 inches apart, were drilled to a depth of around 4 inches. These holes were then cleaned with warm water to remove any dust, prepping the crack for injection. Subsequently, SealBoss 13-100AL Evolution high-pressure injection packers were installed, recessing the rubber section by about ½-inch.
More information on recommended injection packer placement can be found here.
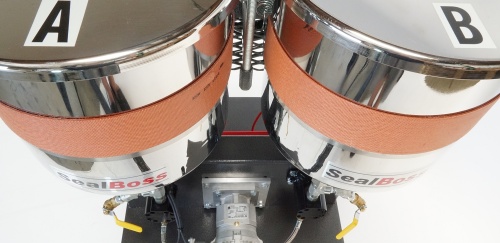
Product Conditioning
Considering the low ambient temperatures of 34F/1C, the SealBoss 1510 Leak Sealing Foam was conditioned with a higher ratio of SealBoss 15x Accelerator, approximately 20% by volume, as opposed to the usual 10%.
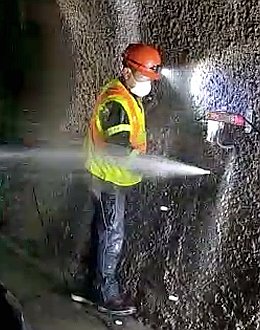
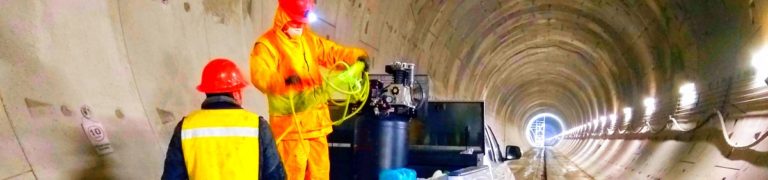
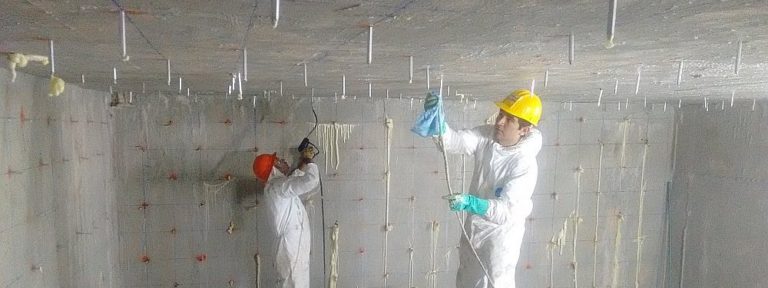
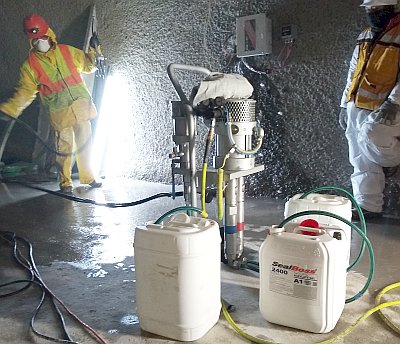
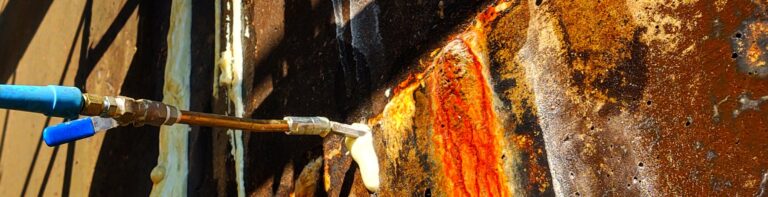
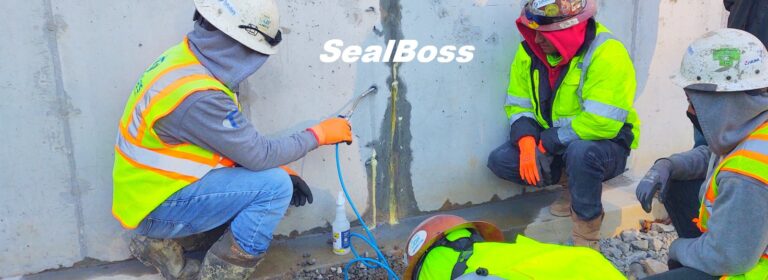
Injection Process
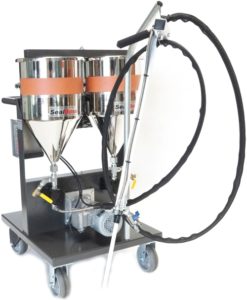
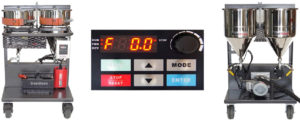
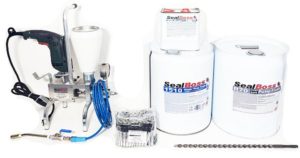
With the SealBoss P2002 Pump filled with a thorough mix of 1510 Foam and 15x Accelerator, the injection process began. Starting from the lowest packer, the procedure moved vertically upwards. The injection was paused intermittently whenever the catalyzed 1510 foam visibly emerged from the crack. This allowed the foam to cure, ensuring the subsequent hydrophobic resin injection would effectively seal any remaining capillaries within the crack.
The result? Every crack underwent the retaining wall crack injection repair process to specification, successfully halting stopping all water intrusion and seepage.
Jobsite: Bank of America
Scope: Retaining Wall Crack Injection Repair – Active Leaks
Materials Used: SealBoss 1510, SealBoss 15X
Injection Packers: SealBoss 13-100 AL Evolution
Pump: P2002
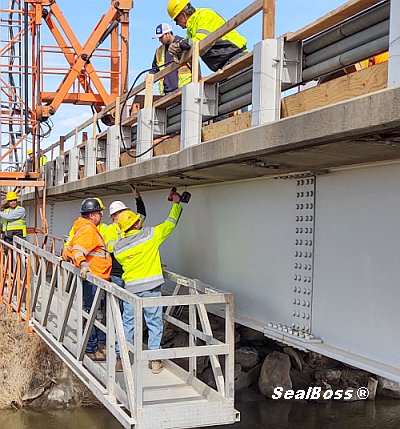
SealBoss Leak Sealing Foam Injection using angled injection packers
Conclusion
Retaining Wall Crack Injection Repair
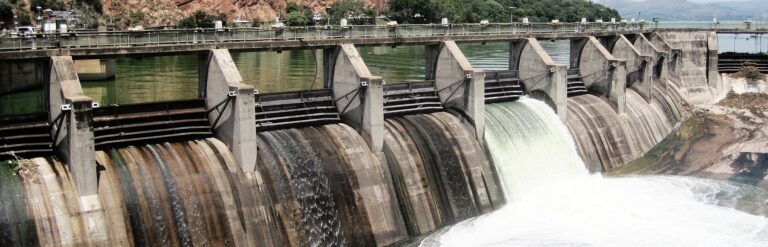
The service life of a retaining wall is the estimated time period it can function safely and effectively. By addressing damages early and preventing further deterioration, leak sealing polyurethane can help extend the service life of a retaining wall, ensuring that it can continue to function effectively and safely for a longer period of time.
Injecting leak sealing grout prevents water intrusion, erosion, and deterioration of the retaining wall’s rebar, which helps maintain its structural stability, safety, and integrity. This method provides a practical solution to extend the retaining wall’s life, improve its cosmetic appearance, and ultimately increase its service life.
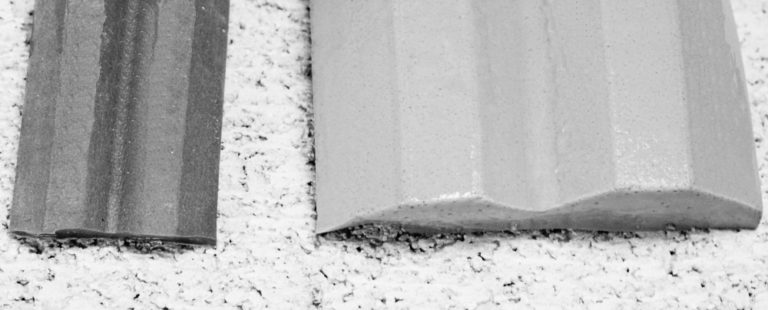
Retaining Wall Repair Method Comparison