


Leaking Crack Repair
Leaking Crack Repair
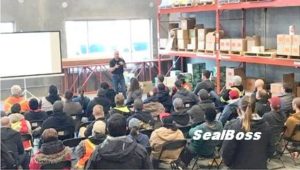
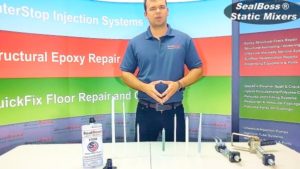
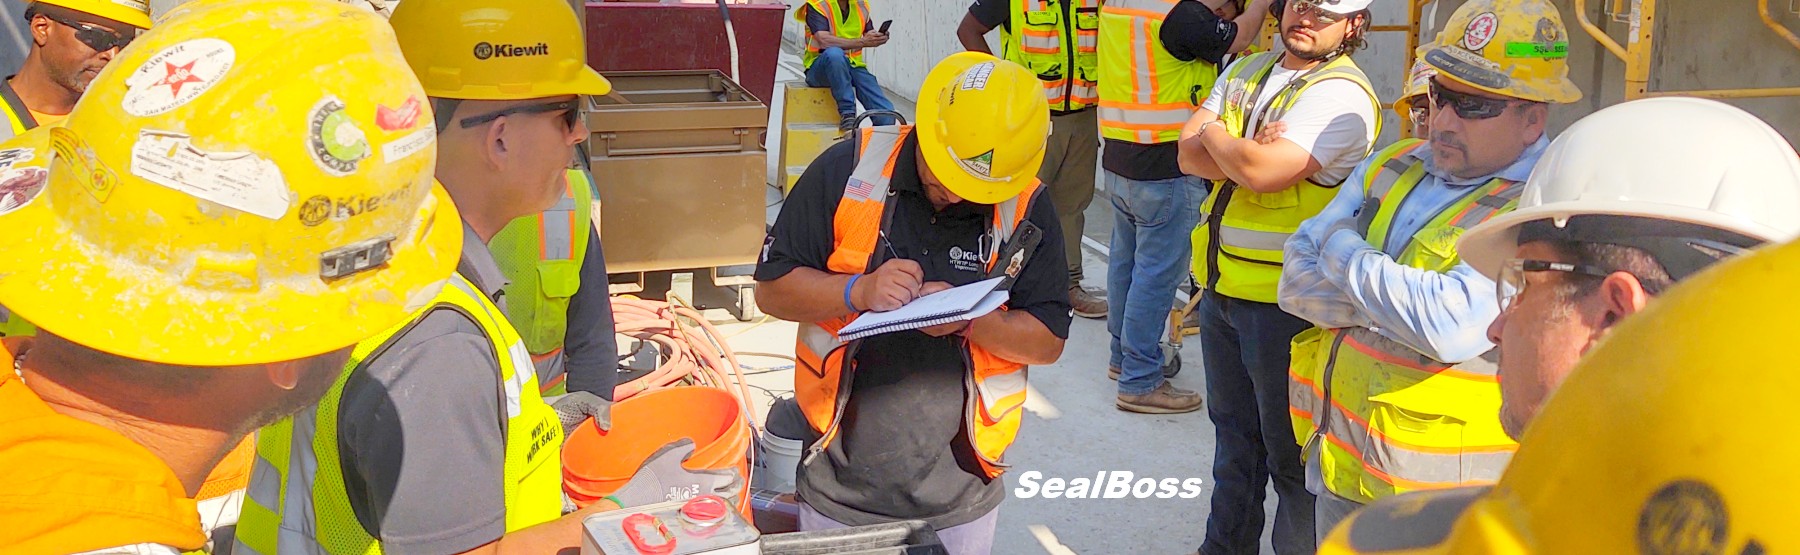
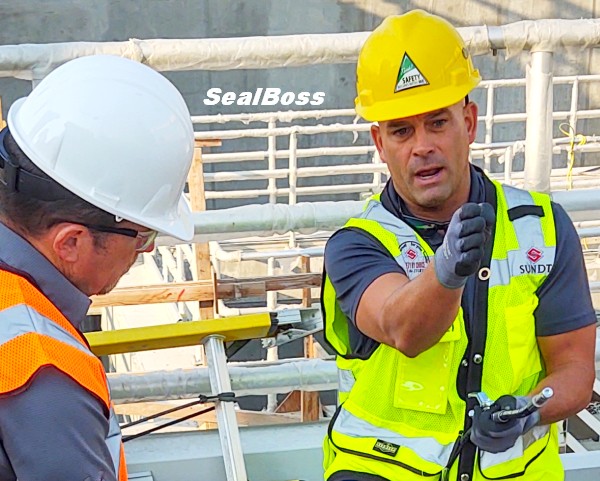
Coached by a Top Industry Professional
In the world of construction and maintenance, “leaking crack repair” is a term that frequently emerges, particularly when addressing structures that contain water or are vulnerable to moisture and water intrusion. Addressing these cracks swiftly and efficiently is vital for the structure’s safety and durability.
Sealing the Future – Preserving the Past
Since 1988
Leaking Crack Repair
Coached by a Top Industry Professional
In the world of construction and maintenance, “leaking crack repair” is a term that frequently emerges, particularly when addressing structures that contain water or are vulnerable to moisture and water intrusion. Addressing these cracks swiftly and efficiently is vital for the structure’s safety and durability.
Sealing the Future – Preserving the Past
Since 1988
The Need for Crack Injection Training
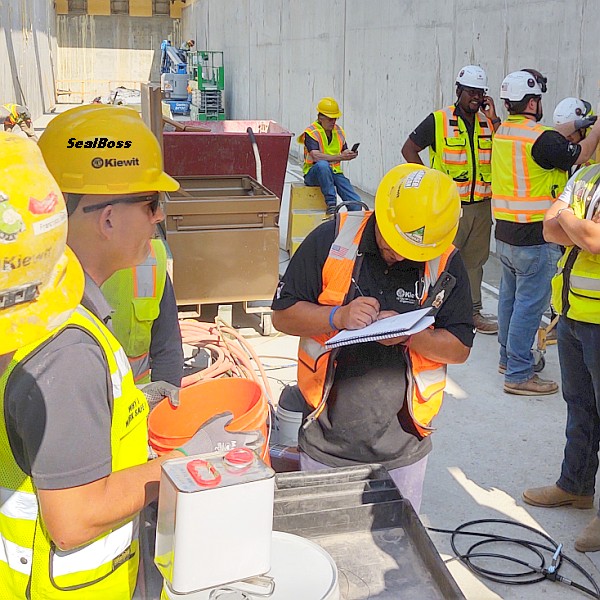
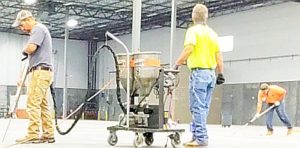
A prominent general contractor, who usually subcontracts such tasks, expressed the need for immediate crack injection training on a specific jobsite. Their primary aim was to acquire the expertise for smaller projects, allowing them to handle leaking crack repair internally on certain timely projects. This proactive approach not only saves time but also ensures that minor issues can be addressed before they escalate.
A Case Study: Water Treatment Tank Crack Sealed
Scope: New Concrete Tank – Water Test Failure – Asses and Seal
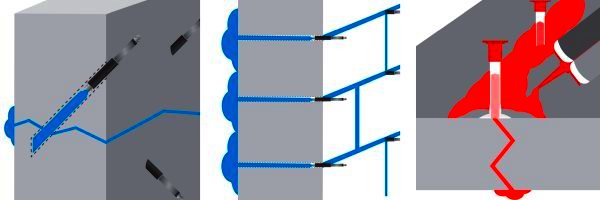
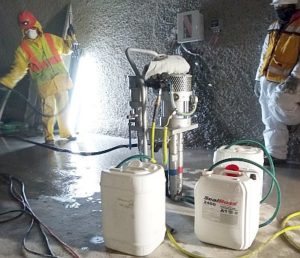
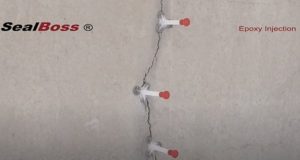
The facilities in question comprised three holding cells, separated by two poured-in-place division walls. During a leak test on the outer two tanks, visible cracks were detected. These cracks, deemed non-structural for repair purposes, showed signs of dampness and minor leaks, emphasizing the need for immediate leaking crack repair. Pressure crack injection with a hydrophobic polyurethane expanding water stop foam utilizing an electric injection pump and mechanical injection packers was specified as the method of restoration.
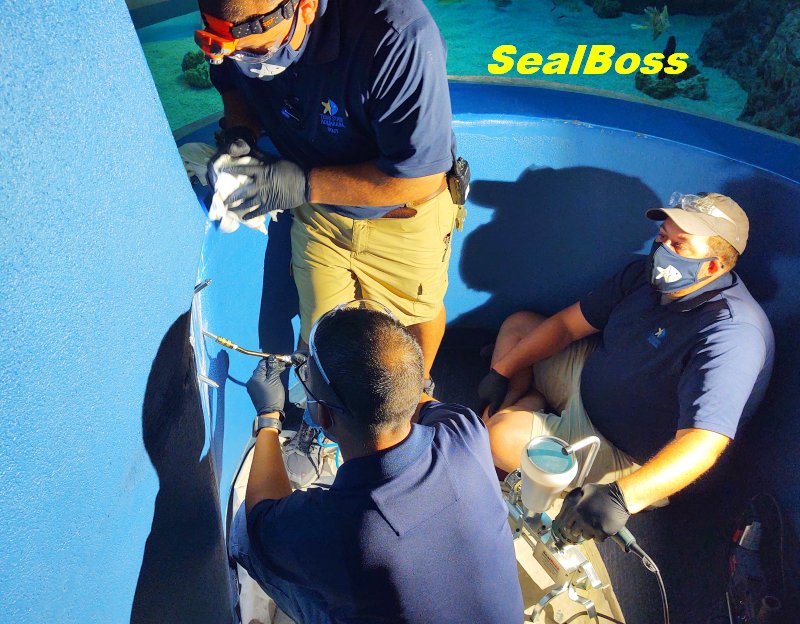
The Repair Process
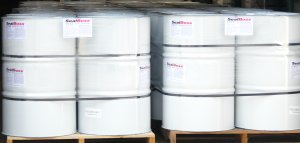
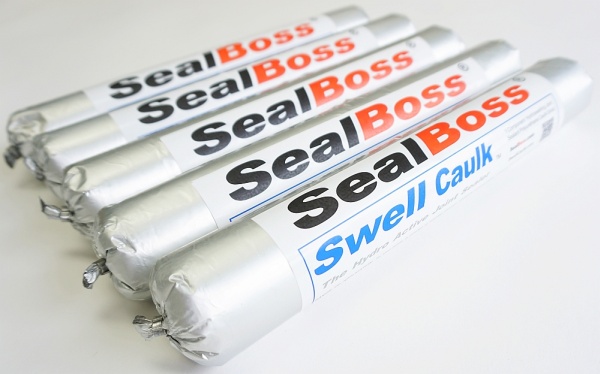
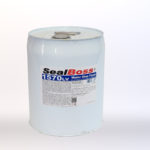
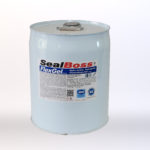
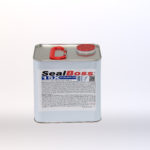
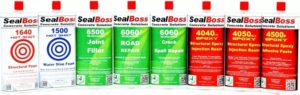
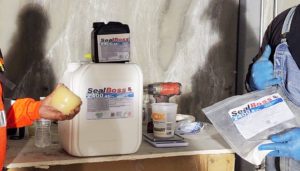
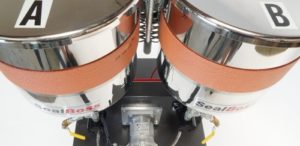
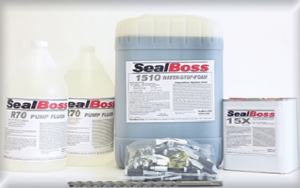
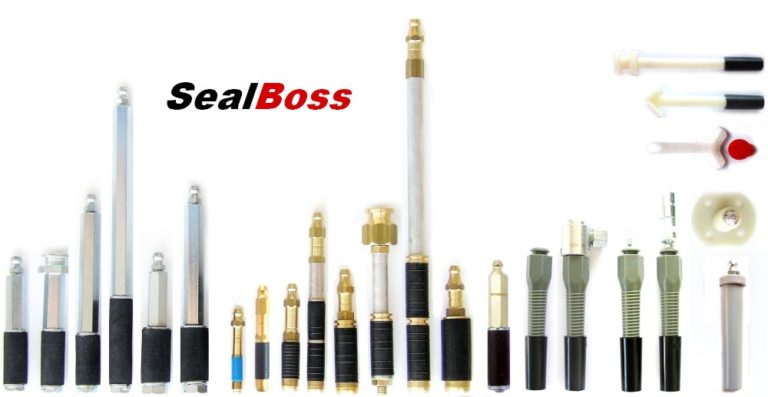
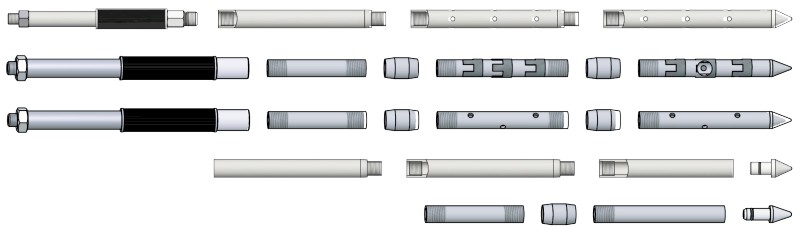
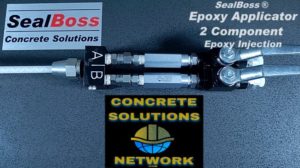
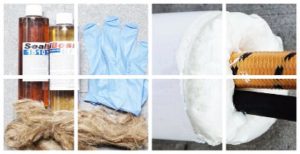
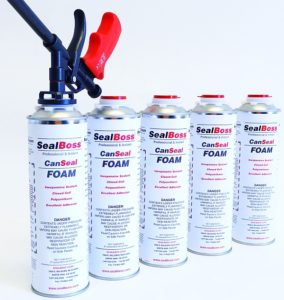
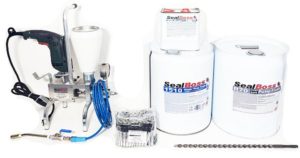
Materials Used: SealBoss 1570, SealBoss 15x
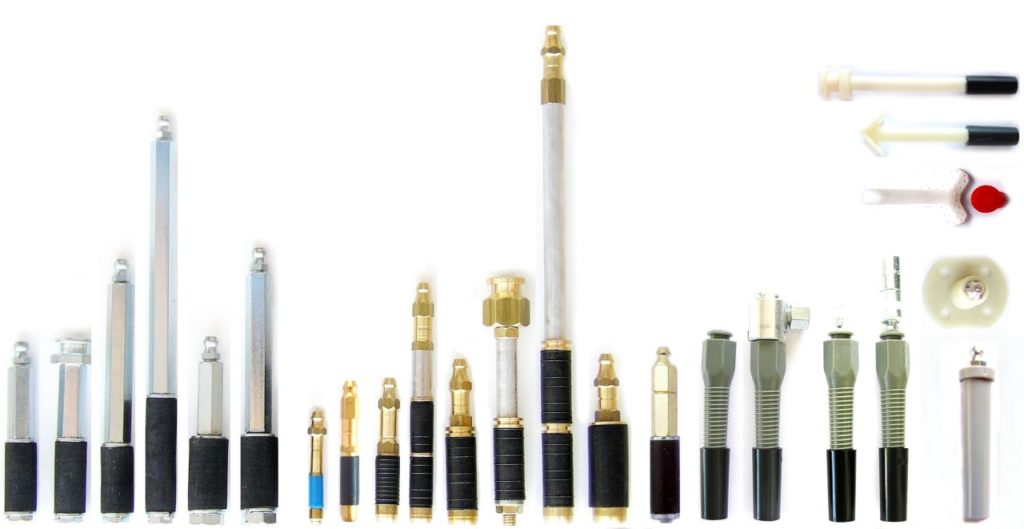
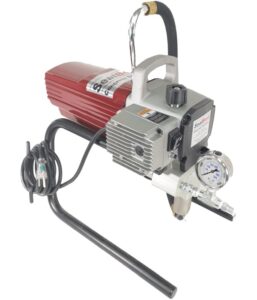
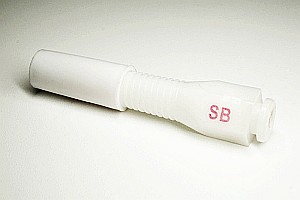
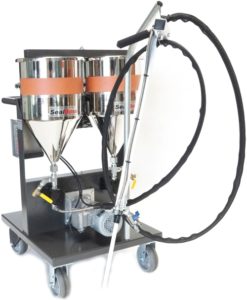
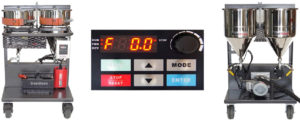
Additional Tools: SealBoss 13-60S packers, SealBoss 495 Injection Pump, Hammer Drill w/ 12” x ½” bit, PPE
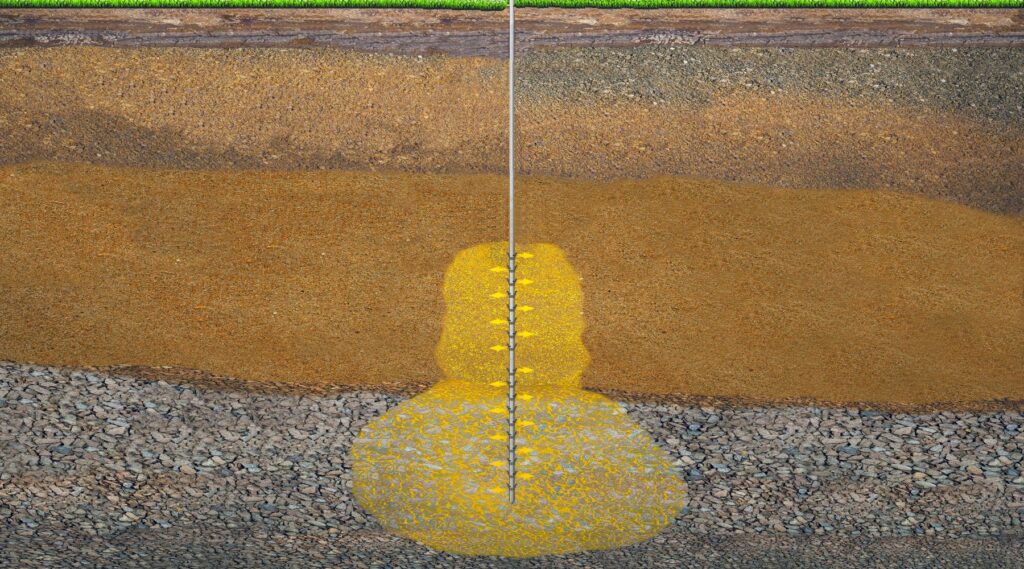
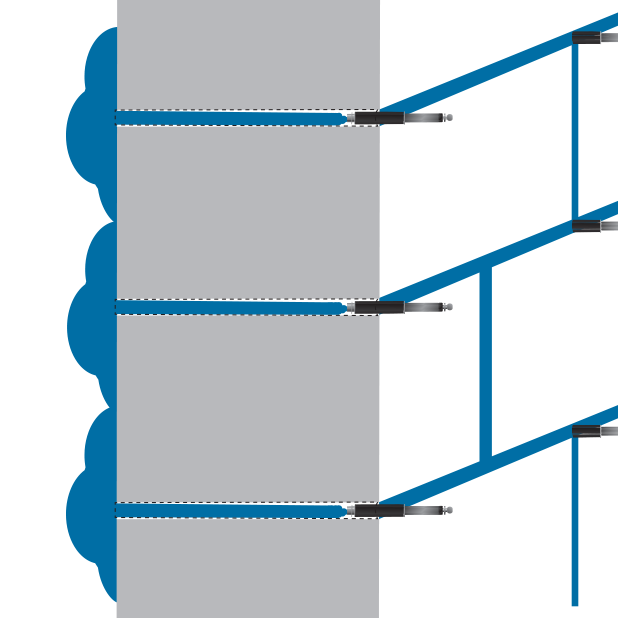
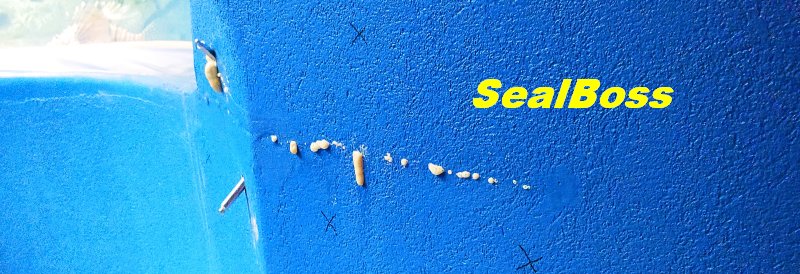
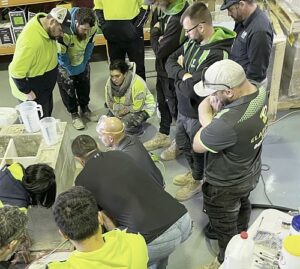
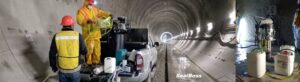
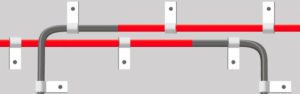
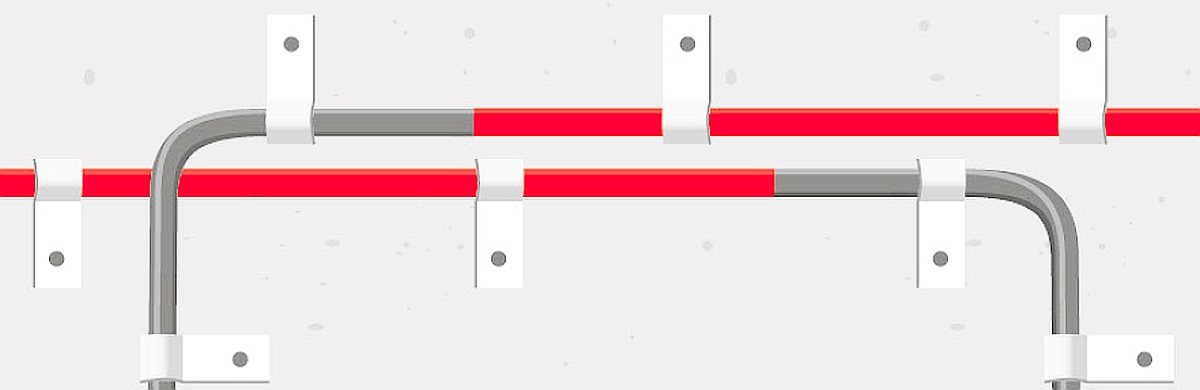
For training purposes, a weeping crack was chosen for repair. This crack, though narrow, spanned about 10 feet in height and meandered across the wall. Given that the newly constructed wall was 14 inches thick, the repair strategy involved guiding the team to drill 5 to 7 inches out from the crack. The drilling was done at a 45-degree angle, aiming back towards the crack, employing the crack stitch method.
Depth of Intersection: The further the drill hole is from the crack, the deeper it will intersect the crack within the structure. This results in a more profound point of injection.
Considerations for Thicker Structures: A deeper injection point is often preferred in thicker structures. However, the length and reach of the drill bit play a crucial role in determining the optimal distance for the drill hole.
Avoiding Dead-End Drill Holes: A drill hole that misses the crack won’t facilitate the injection of the chemical grout into the structure. Such holes are termed “dead-end drill holes” and are ineffective for the purpose of grout injection.
In summary, while determining the spacing of drill holes, it is vital to balance the desired depth of injection with the capabilities of your drilling equipment to ensure effective grout injection.
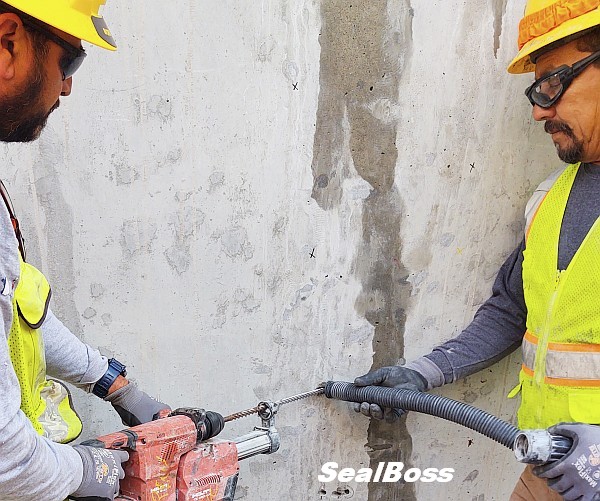
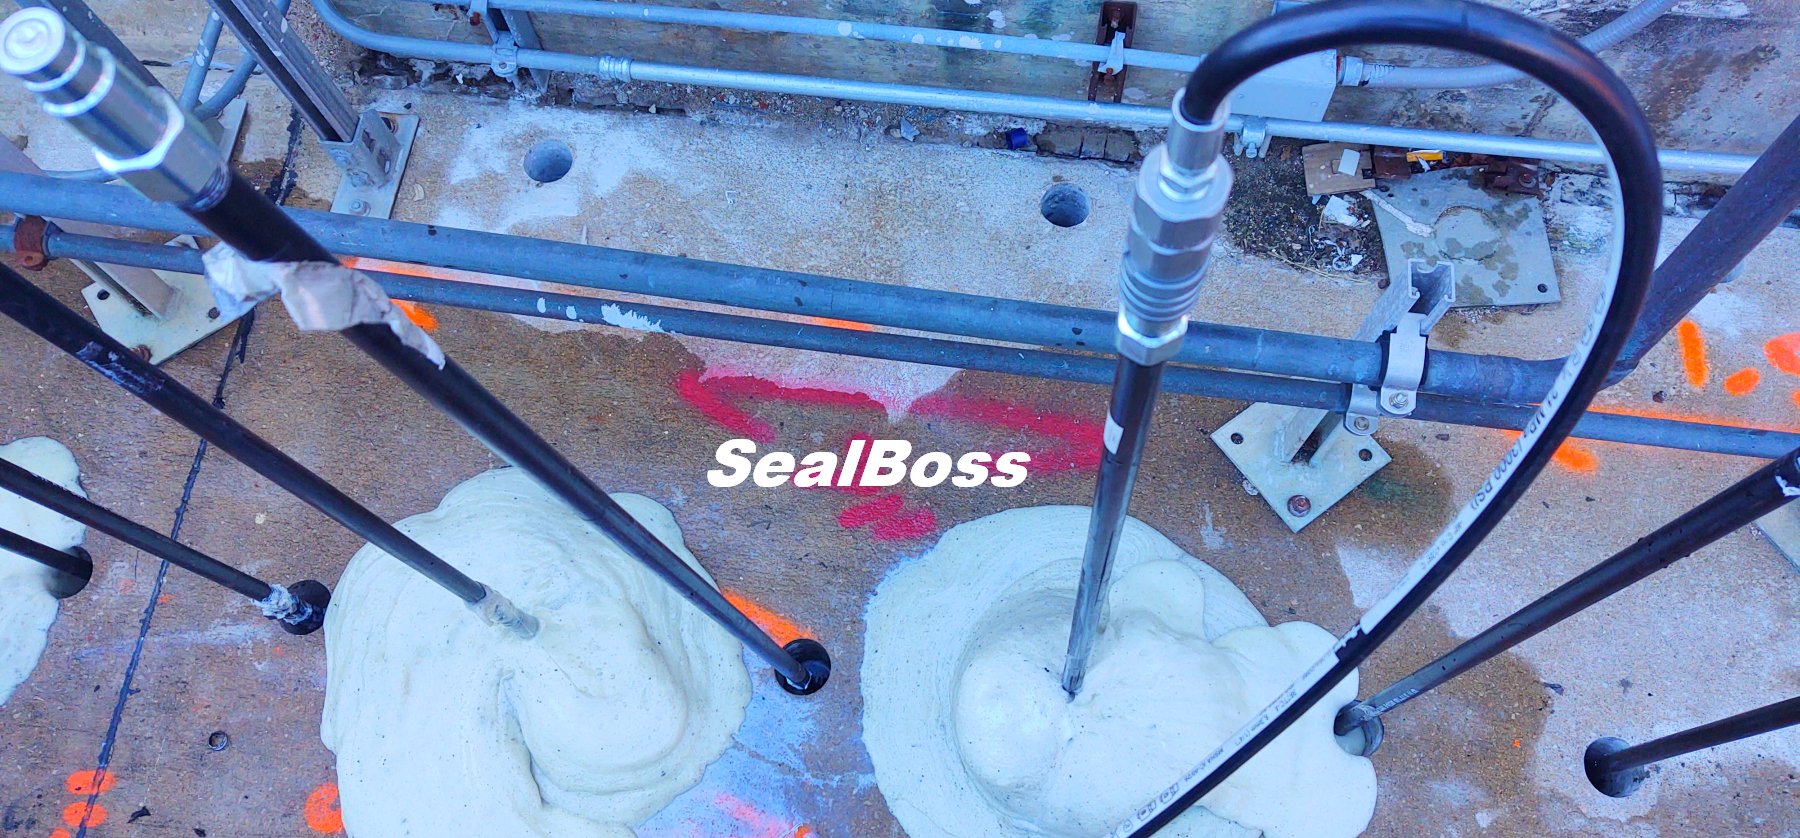
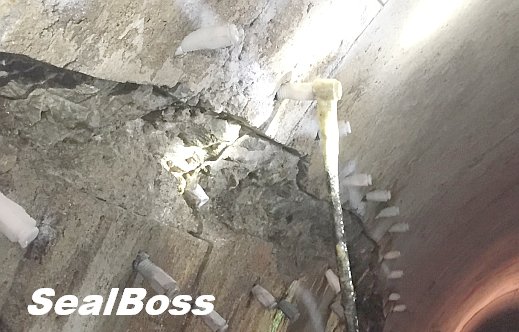
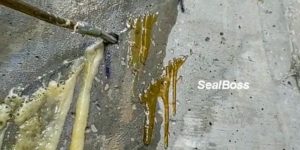
To ensure precision, the placement was set parallel to the fissure. A 0.5-inch masonry bit, attached to a hammer drill, was used for the drilling process. Once the clean, crack-intersecting holes were established, SealBoss 13-60S heavy duty steel injection packers were installed.
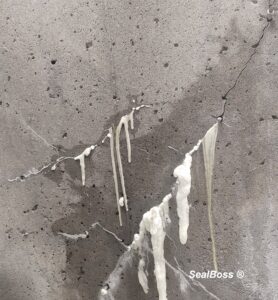
The repair commenced from the bottom, progressing upwards. The SealBoss 495 injection pump, paired with the SealBoss 1570 NSF/ANSI/CAN 61 drinking water contact certified chemical grout, was used for the leaking crack repair. As the repair proceeded, water and material were observed exiting the substrate. This was a positive sign, indicating effective penetration and successful stopping of the water penetration and sealing of the crack.
Final Thoughts
Leaking crack repair is an essential aspect of maintaining the structural integrity of buildings and facilities. With the right knowledge, tools, and materials, such as those provided by SealBoss Corp., even the most challenging cracks can be effectively addressed. Whether you’re a contractor looking to expand your skill set or a facility manager aiming to maintain your structures, understanding the nuances of leaking crack repair is invaluable. Our SealBoss Water Stop Specialists are always ready to assist you.