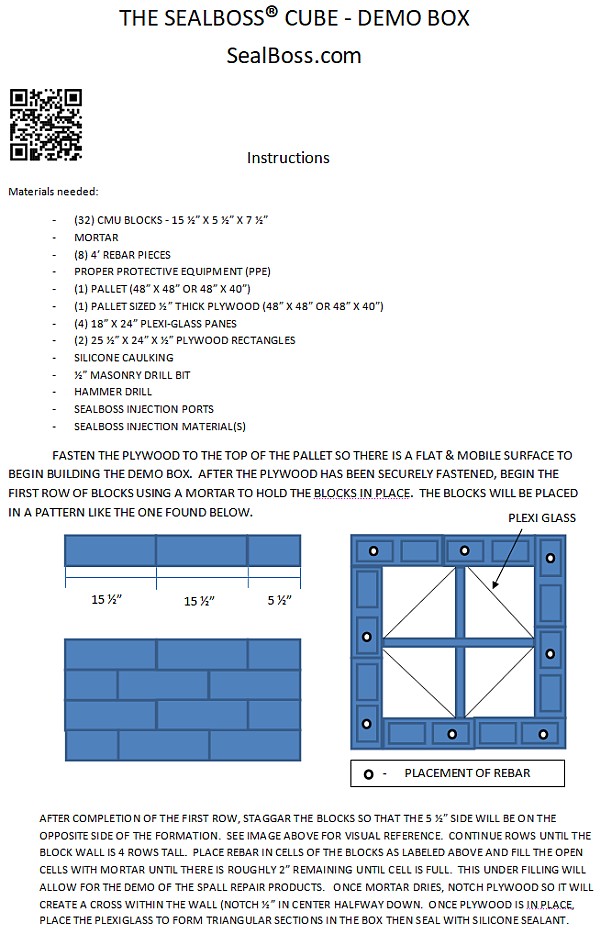
(1) PALLET SIZED ½” THICK PLYWOOD (48” X 48” OR 48” X 40”)
(4) 18” X 24” PLEXI-GLASS PANES
(2) 25 ½” X 24” X ½” PLYWOOD RECTANGLES
SILICONE CAULKING
½” MASONRY DRILL BIT
HAMMER DRILL
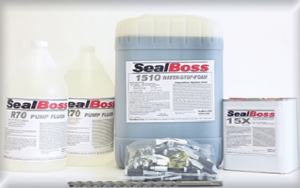
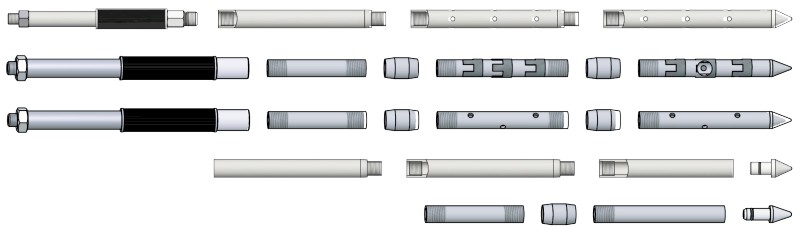
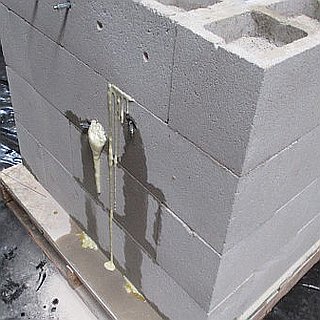
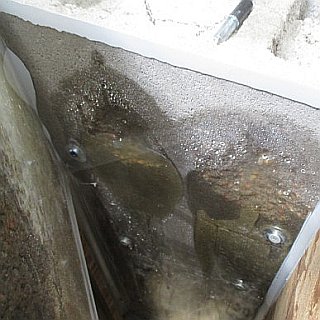
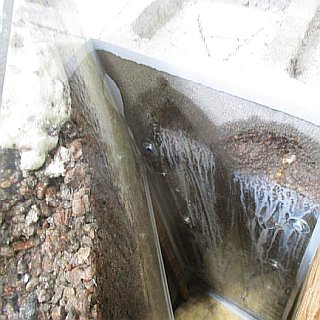
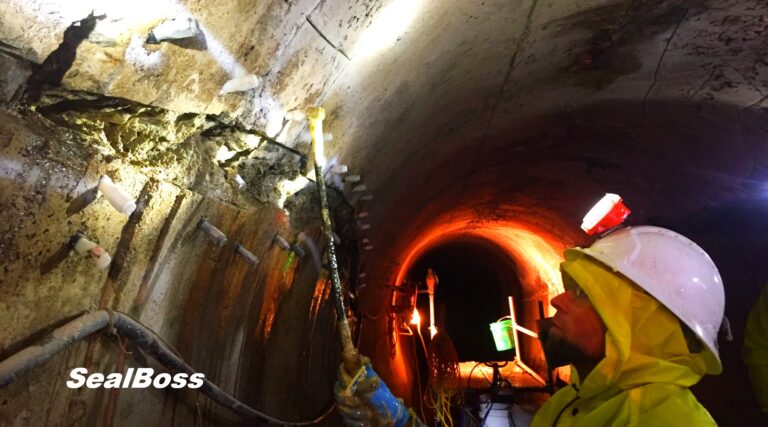
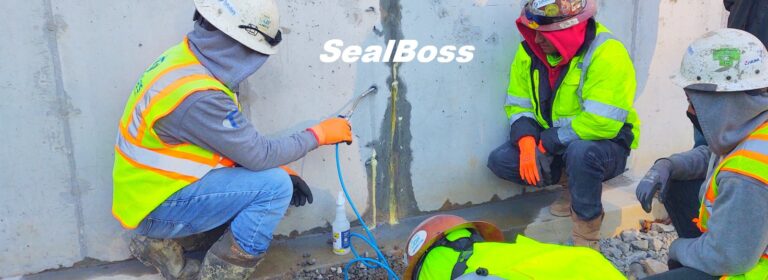
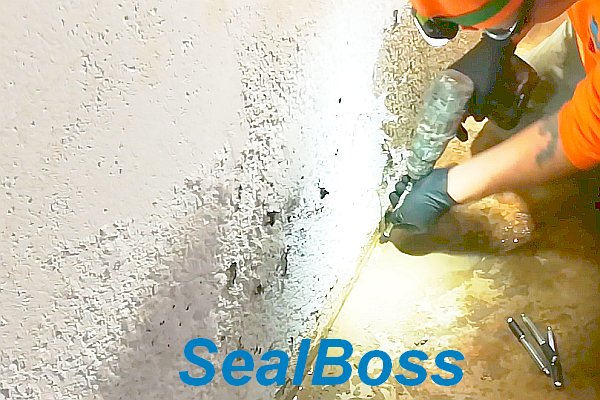
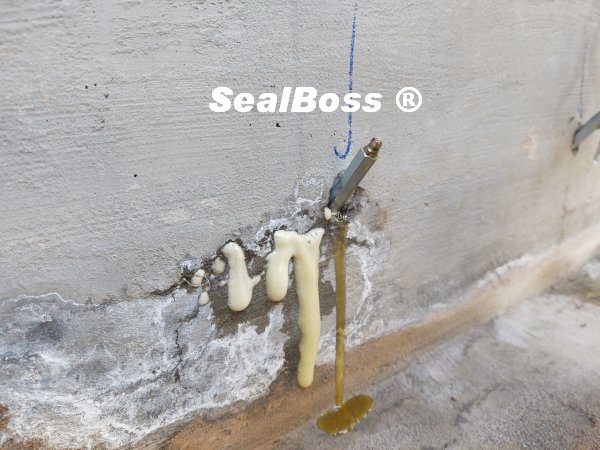
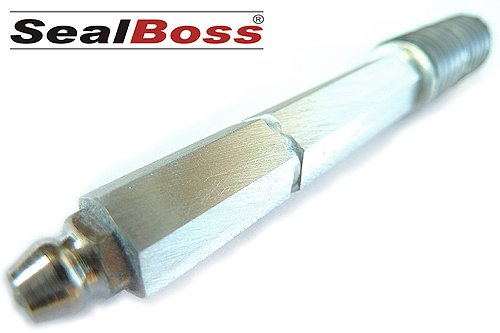
SEALBOSS INJECTION PORTS
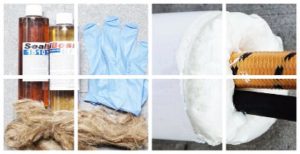
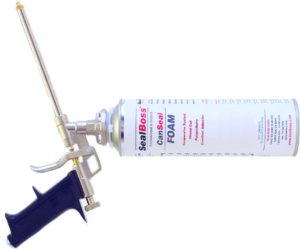
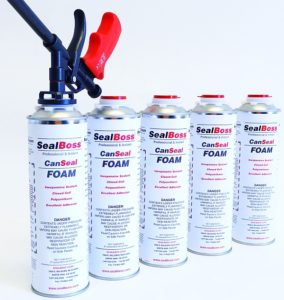
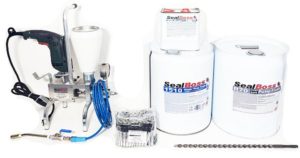
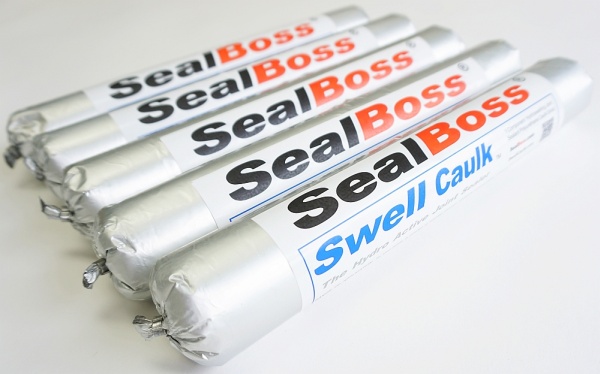
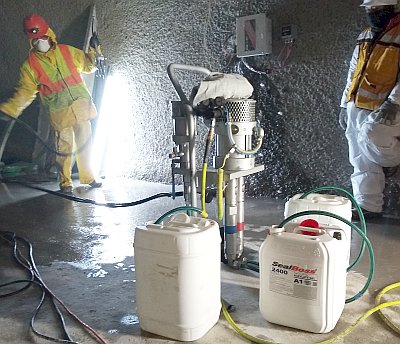
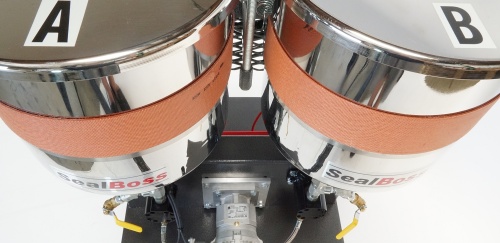
SEALBOSS INJECTION MATERIAL(S)
Fasten Plywood to Pallet: Secure a piece of plywood on top of the pallet to create a flat and mobile surface. This will be the base for building your demonstration box.
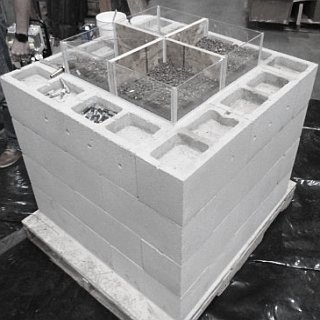
Start Building with Blocks:
First Row: Using mortar, begin laying the first row of blocks. Follow the pattern provided in the image for guidance. Subsequent Rows: For the second and following rows, stagger the blocks such that the 5 ½” side alternates sides in the formation. This can be visualized in the referenced image. Continue this process until the block wall reaches a height of four rows. Reinforcing with Rebar and Mortar:
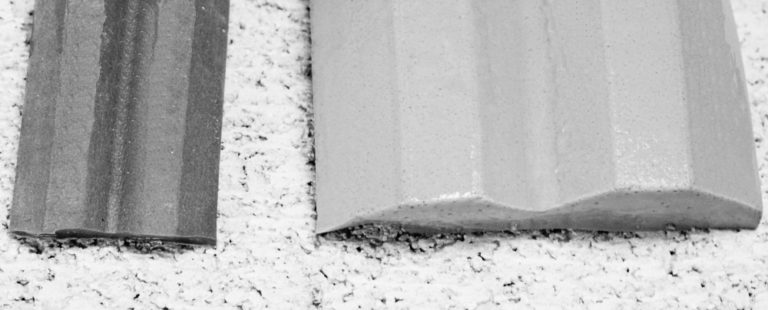
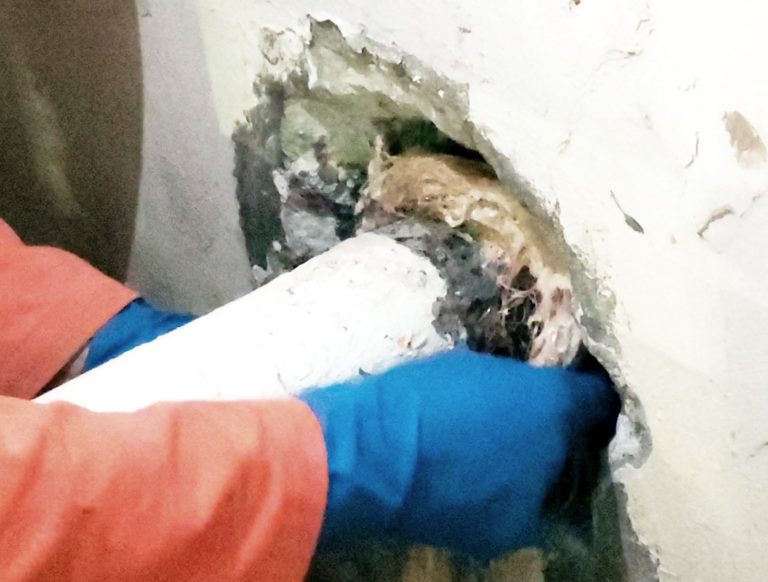
Place rebar in the designated cells within the blocks, as indicated in the diagram above. Fill the open cells with mortar, leaving about 2 inches unfilled at the top. This underfilling is crucial for the demonstration of spall repair products. Preparing for Demonstration:
After the mortar dries, notch the plywood at the center, halfway down, to a depth of ½ inch. This will create a cross within the wall structure. Install the plywood with the notch in place. Fit plexiglass to form triangular sections within the box. Finally, seal the plexiglass in place using silicone sealant.