


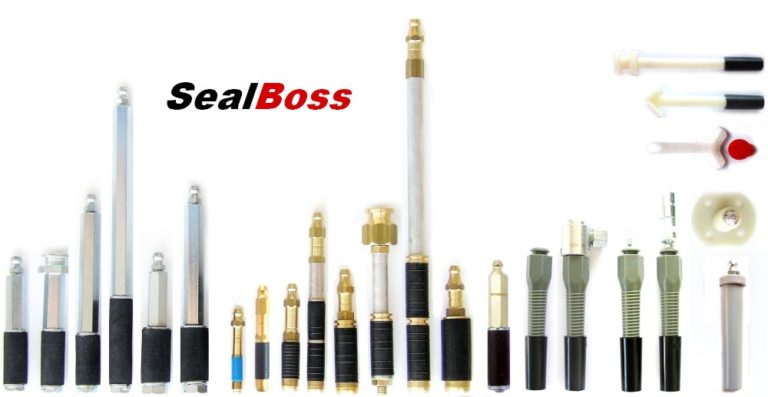


 Product Description
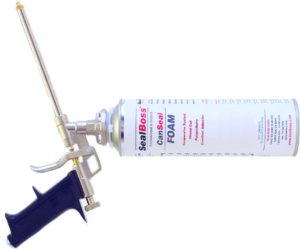
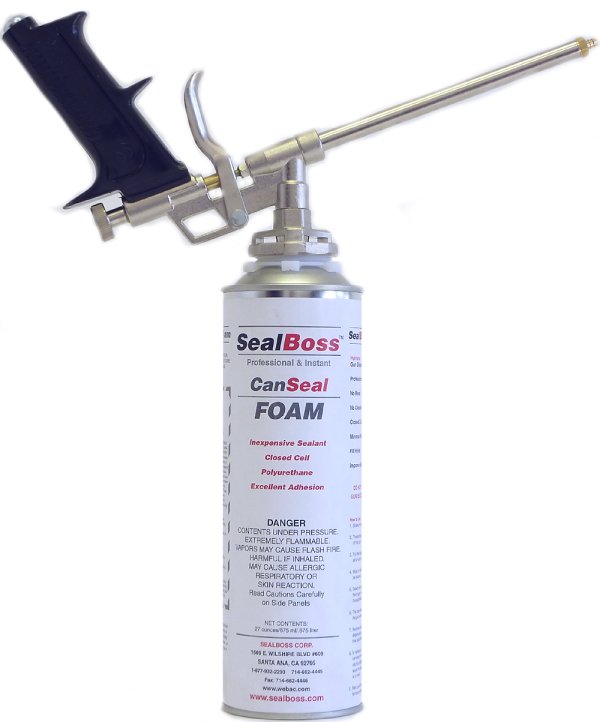
SealBoss ® CanSeal Foam is engineered to fully expand inside the applicator ‘gun barrel’. When the foam exits the tip of the gun it is almost fully expanded – you apply exactly as much foam as you need without the messy and undesired “mushrooming” experience you may have with most of the other ‘over the counter’ foam products.
This feature makes our foam predictable and suitable for many applications that cannot be performed with standard foam products.
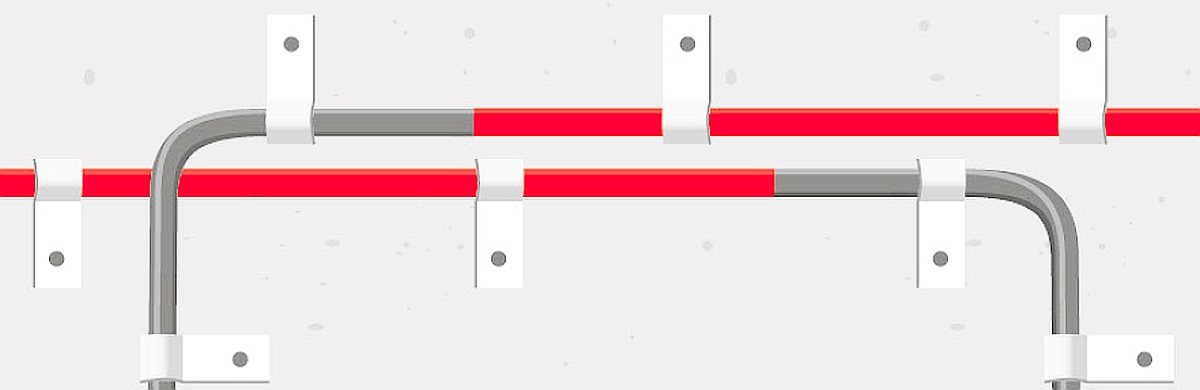
With our foam and the professional applicator gun you can fill voids precisely. Contractors use our foam for many applications such as water-stop purposes in voids and cable runs, as an insulation and seal-foam in general construction and as an instant ‘Backer Rod Bead’ in applications where joints need a back fill prior to applying the final sealant.
Installation Guidelines
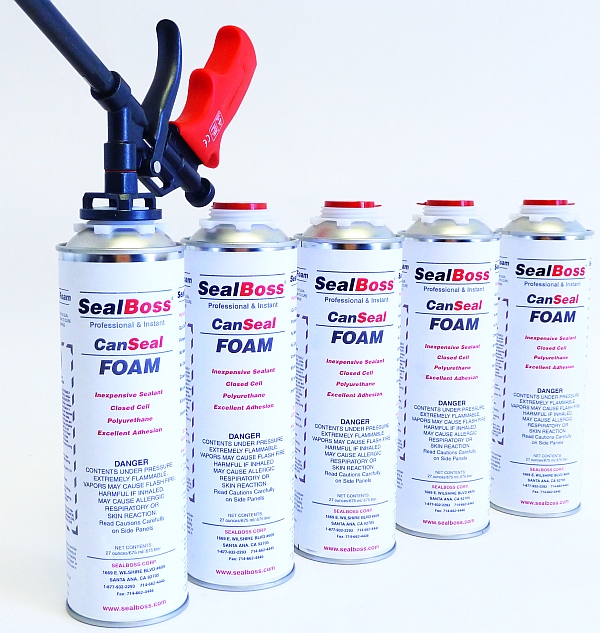
- Shake the SealBoss ® CanSeal Foam.
- Thread the can into the adapter on the top of the gun DO NOT OVER TIGHTEN.
- Pull the trigger for about 5 seconds to purge all air and moisture out of the gun.
- Wipe or mist water into the joint which is to be foamed.
- Select the bead size by interacting between the trigger and the flow adjustment screw.
- The can should be in a vertical position over the gun when foaming.
- Remove uncured foam from the end of the dispensing tube after each use. Tighten the flow adjustment screw for storage.
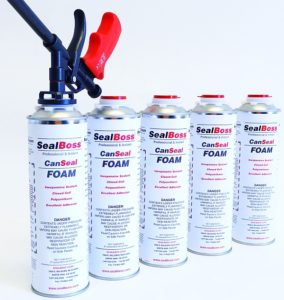
- To replace an empty can, unscrew it and promptly screw a replacement can into the adapter. If no replacement is available, leave the empty can in place until a replacement is at hand.