


Shut Down Gushing Leaks – SealBoss 15X Accelerator for Water Stop Foam
Shut Down Gushing Leaks
15X Accelerator for Water Stop Foam
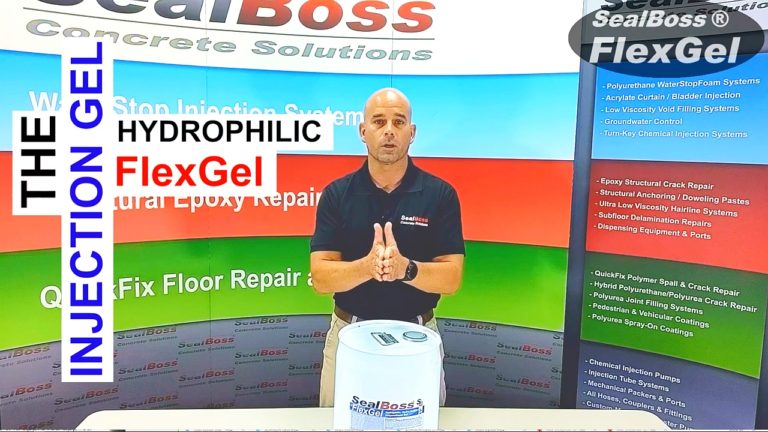
SealBoss 15X Accelerator / Catalyst for Water Stop Foam
SealBoss ® 15X – Wide Range Accelerator
- Shut Down Gushing Leaks
- Hairline Crack Injection Leak-Seal
- Slow Reaction
- Fast Reaction
- Semi Rigid Foam
- Flexible Foam
- Low Viscosity Foam
A Powerful Additive for the SealBoss Hydrophobic Injection Foam Line
By adding accelerator at varying ratios you can change reaction time and behavior of each foam to precisely suit your needs. With a little accelerator ‘magic’ you can shut down gushing leaks, seal hairline cracks and perform soil stabilization with the same product.
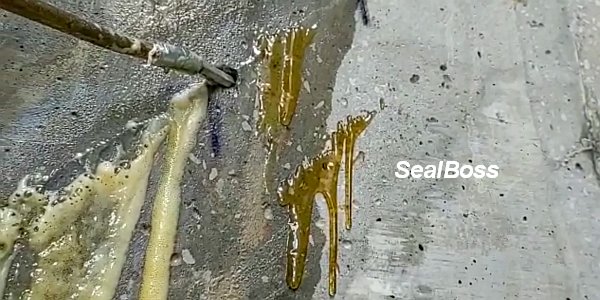
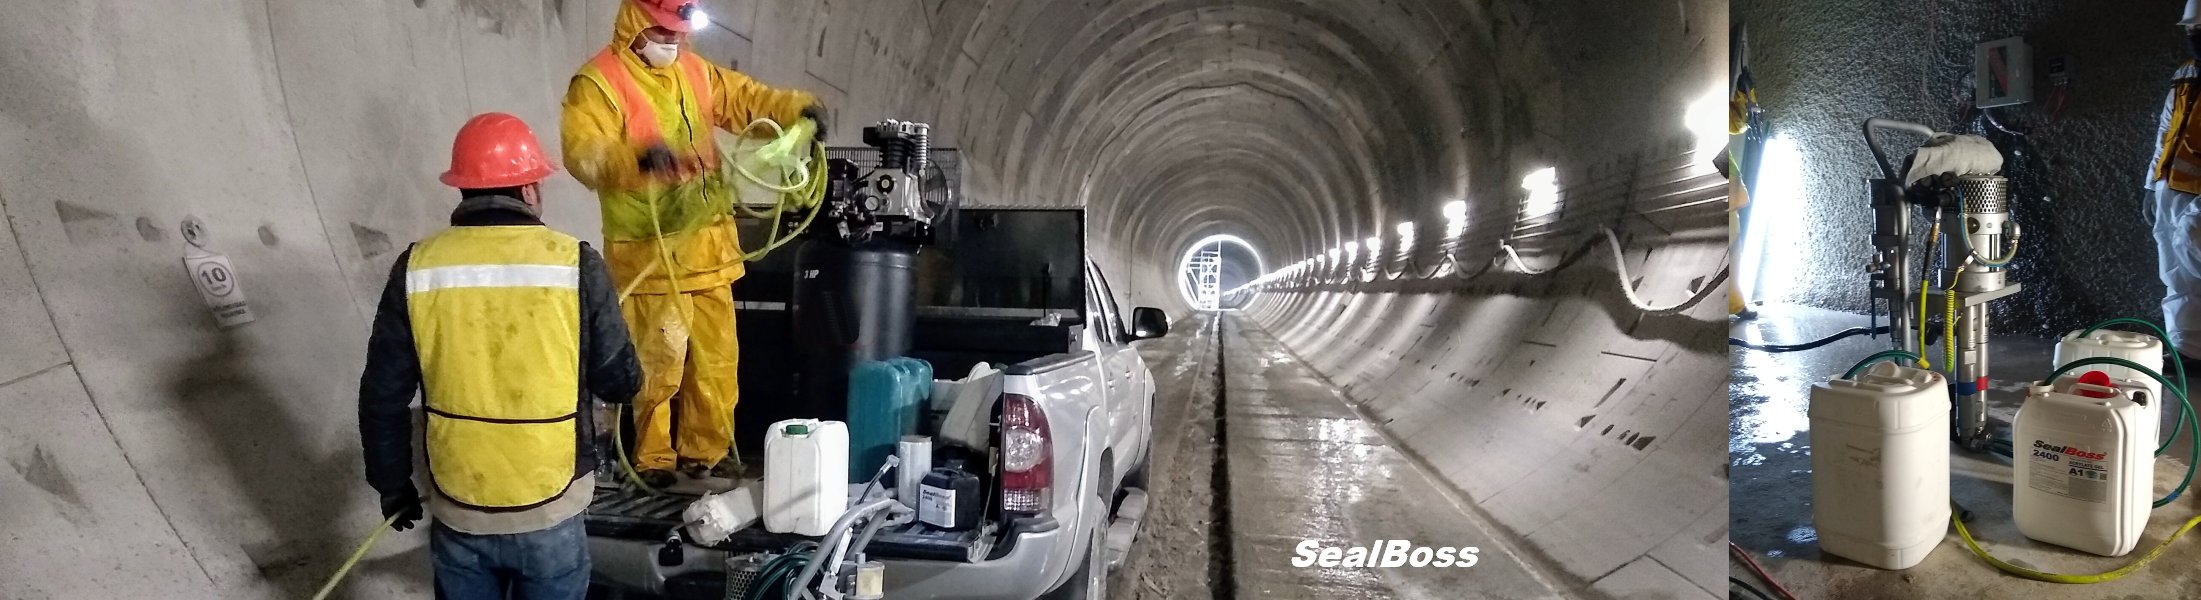
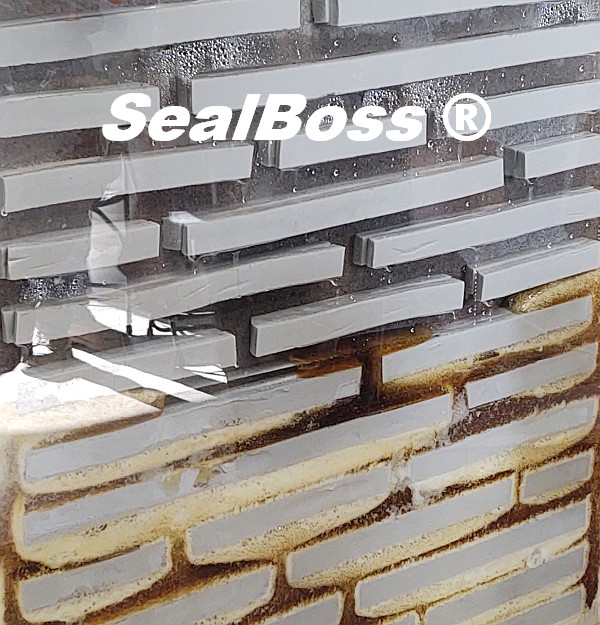
Shut Down Gushing Leaks: SealBoss 15X Accelerator and 1510 Water Stop Foam in Action
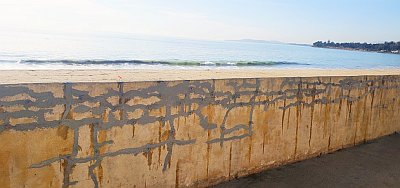
Water infiltration in concrete structures is one of the most persistent and destructive challenges in the construction and infrastructure repair industry. Whether it’s a gushing leak in a basement wall or an active water ingress point in a tunnel or foundation, fast, reliable solutions are crucial to protect structural integrity and reduce costly damage.
One of the most effective and versatile approaches to address these critical issues is the use of SealBoss 15X Accelerator in conjunction with SealBoss 1510 Water Stop Foam.
This combination empowers contractors and engineers to shut down gushing leaks quickly, safely, and permanently—even in high-pressure or wet environments.
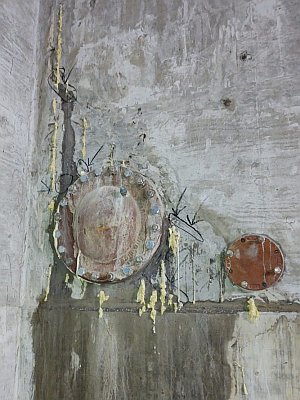
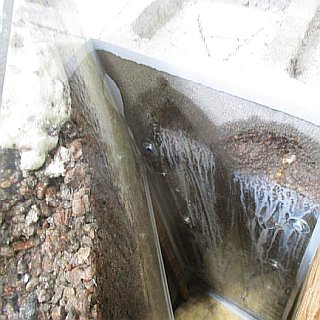
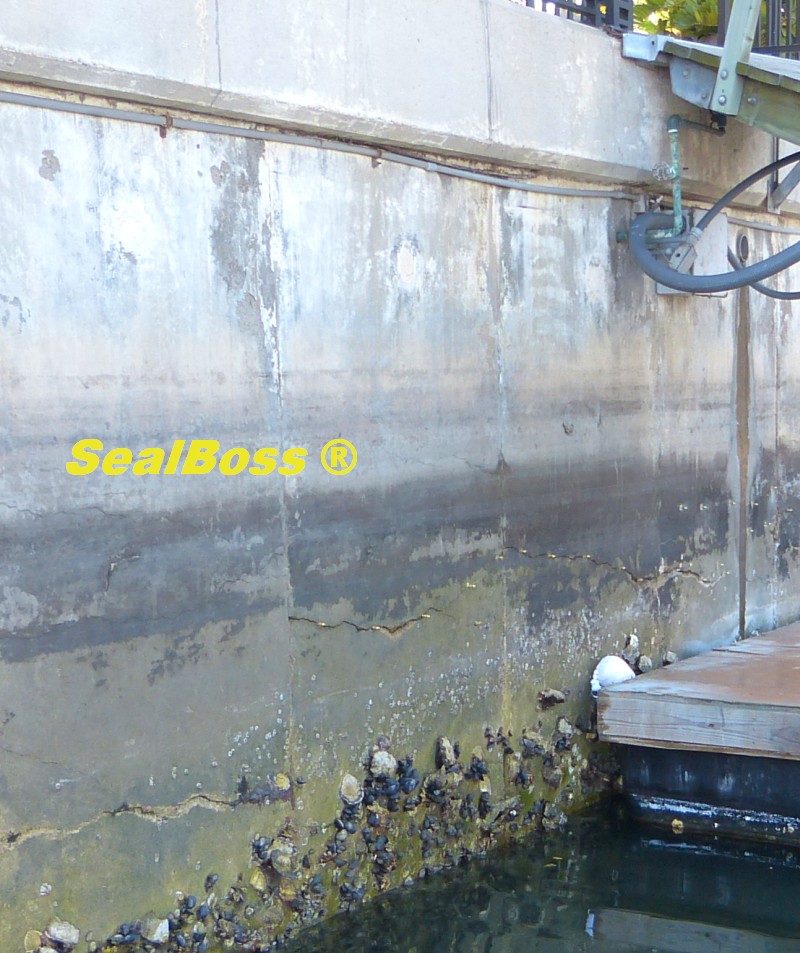
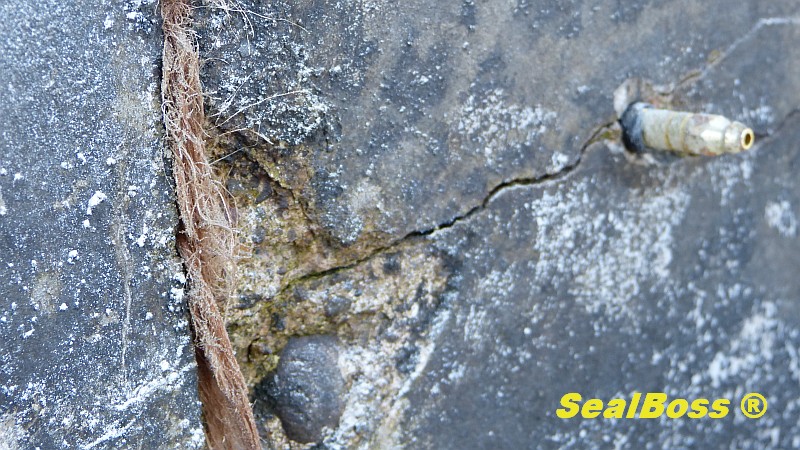
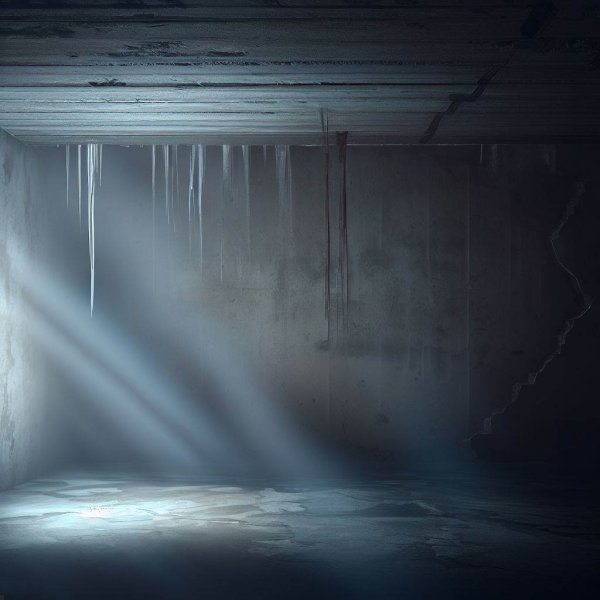
The Problem: Gushing Leaks in Concrete
Gushing leaks often appear in concrete structures due to poor waterproofing, failed construction joints, cold joints, or natural aging. These leaks can carry hydrostatic pressure, often increasing during rainfall or seasonal groundwater shifts. Left untreated, they can cause:
- Corrosion of steel reinforcement
- Deterioration of concrete
- Property damage and high repair costs
- Mold and mildew growth
Because these leaks occur under pressure and may spread through hairline cracks or porous areas, traditional surface patching techniques often fail.
The Solution: Shut Down Gushing Leaks with Polyurethane Injection
Enter SealBoss’s polyurethane foam injection system, specifically the 1510 Water Stop Foam enhanced with 15X Accelerator. This powerful two-part solution is designed for rapid expansion and water-reactive sealing, forming a flexible, watertight foam barrier inside the structure itself—where the leak originates.
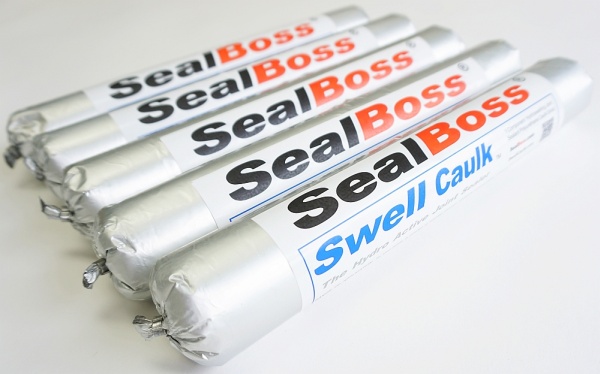
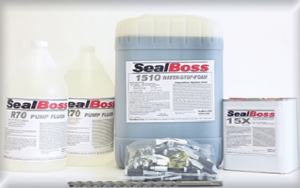
Meet the Products: 1510 Water Stop Foam and 15X Accelerator
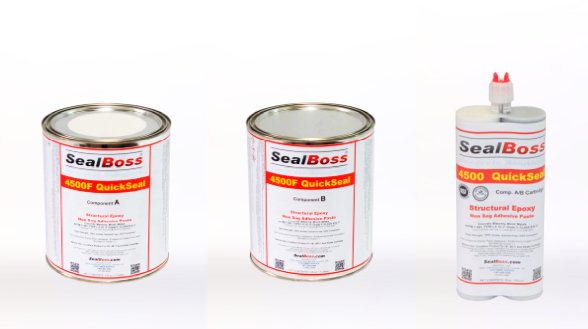
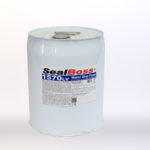
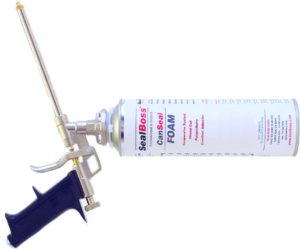
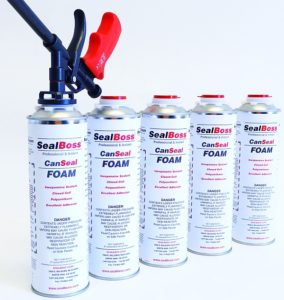
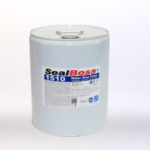
SealBoss 1510 Water Stop Foam
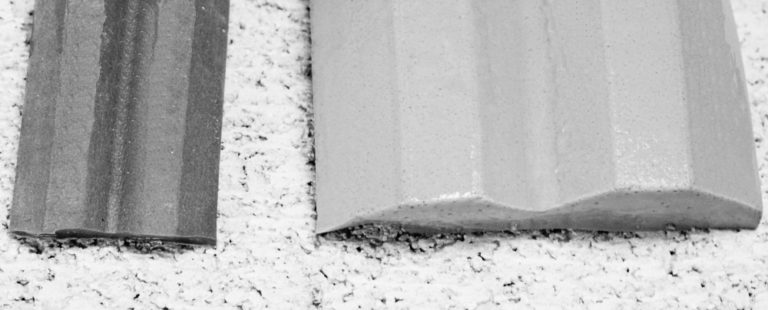
This single-component, hydrophobic polyurethane grout is engineered to react quickly with water, expanding to create a semi-rigid, closed-cell foam that effectively fills voids and seals leaks. The foam:
- Reacts in seconds when in contact with water
- Expands to 30–40 times its original volume
- Adheres to wet surfaces
- Creates a long-lasting seal in cracks, joints, and porous concrete
Learn more: SealBoss 1510 Water Stop Foam
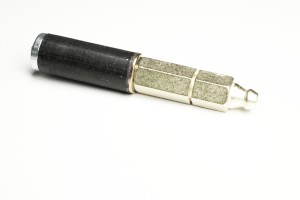
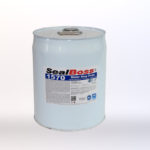
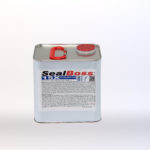
SealBoss 15X Accelerator
SealBoss 15X is a multi-range catalyst designed to control the reaction speed and expansion behavior of polyurethane foams like the 1510. This accelerator allows contractors to fine-tune foam performance based on environmental conditions and leak severity.
- Use as little as 2% or as much as 20% by volume
- Adjusts reaction speed from slow to ultra-fast
- Works with 1510, 1570, and 1570 LV foam systems
- Ideal for gushing leaks, hairline cracks, and soil stabilization
With 15X, users can slow down foam for deep penetration or speed it up to instantly shut down gushing leaks.
Learn more: SealBoss 15X Accelerator
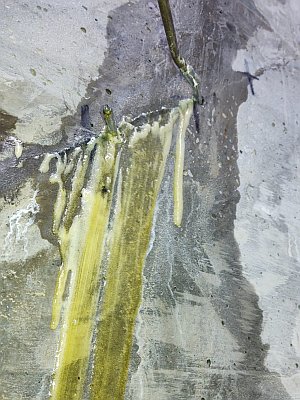
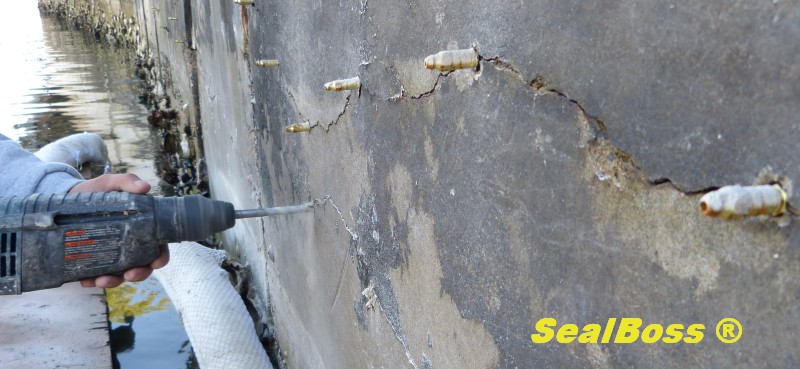
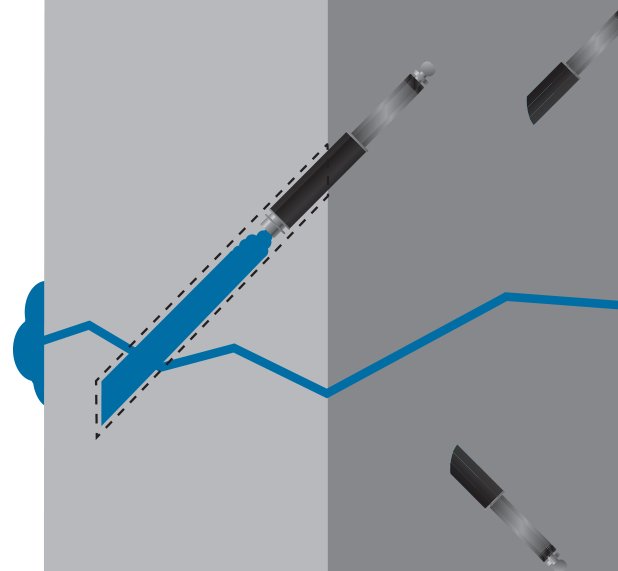
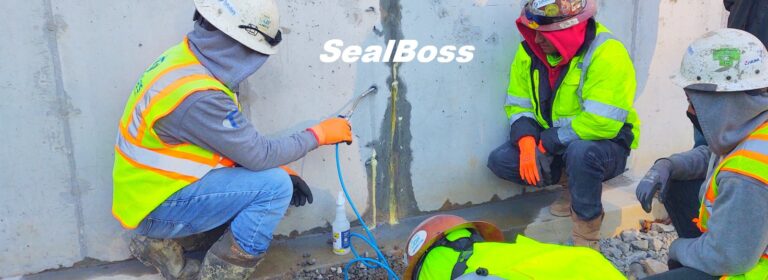
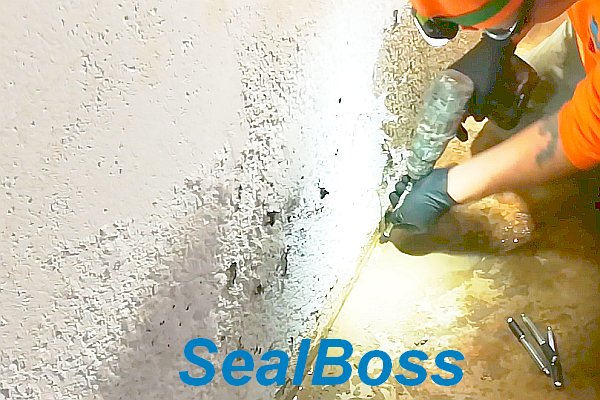
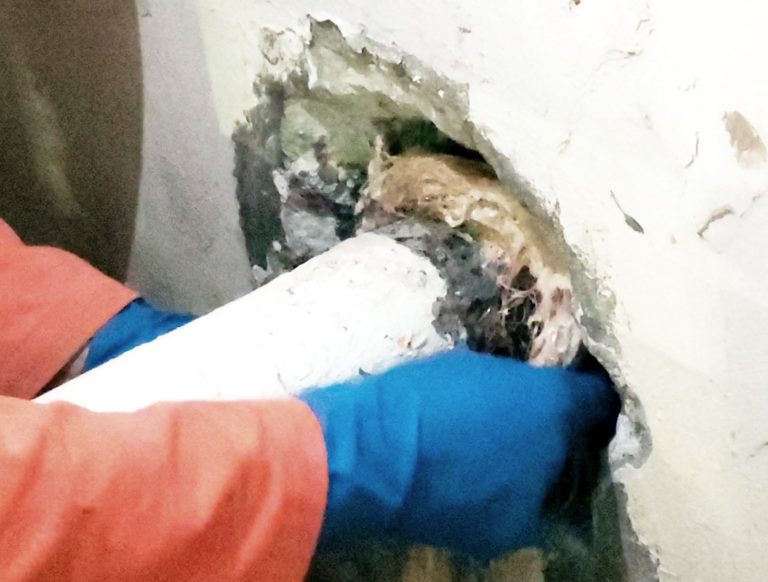
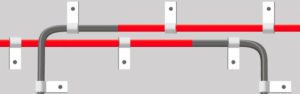
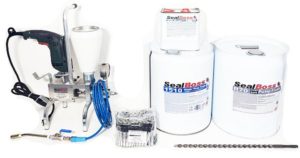
How It Works: The Injection Process
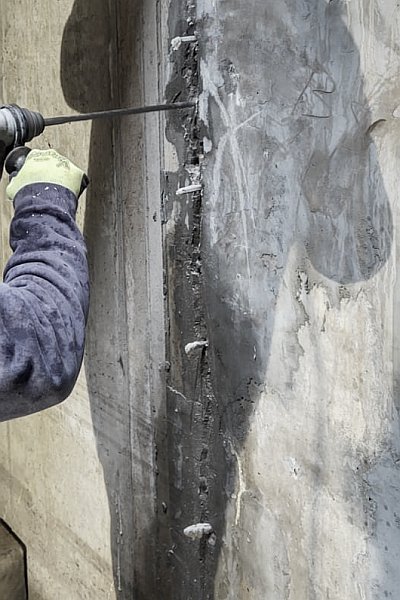
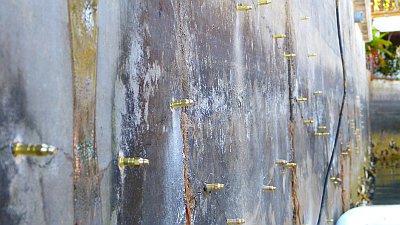
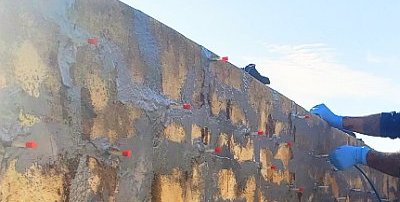
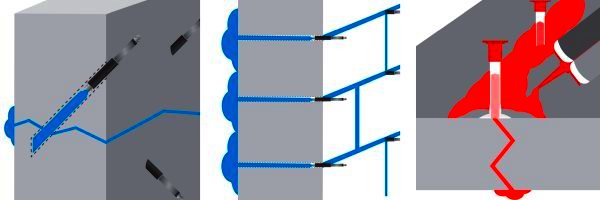
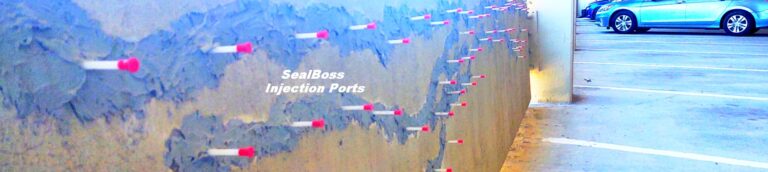
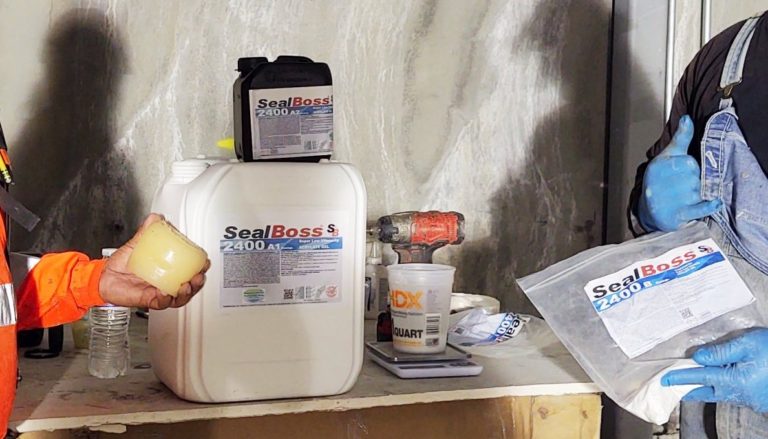
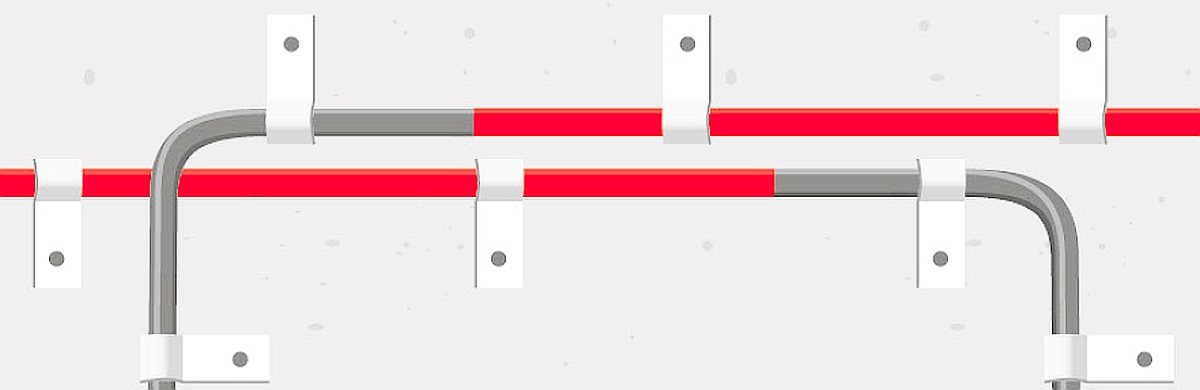
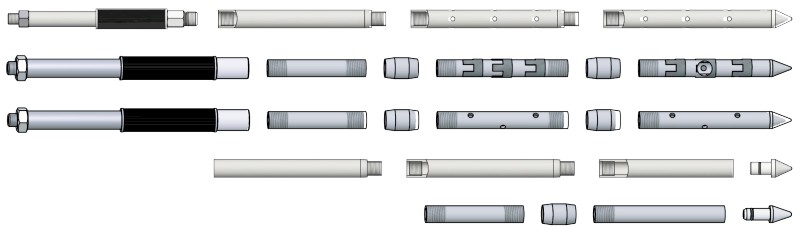
Preparation
Identify the source of the leak. Drill angled holes targeting the crack or joint. Install mechanical injection packers.Mixing
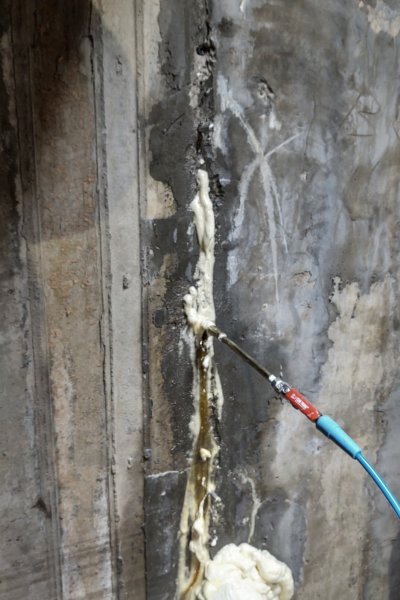
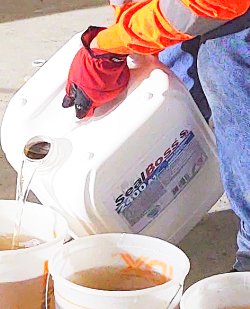
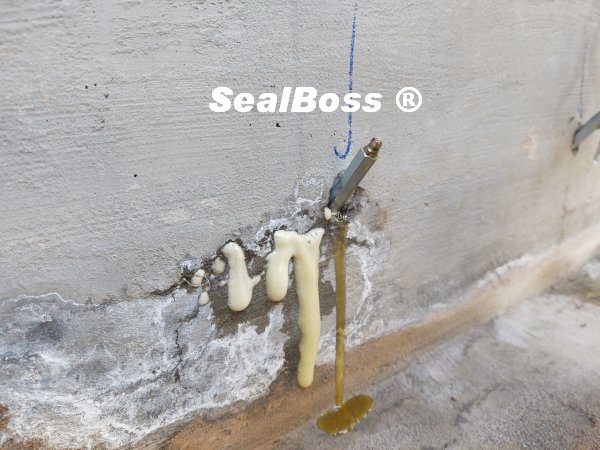
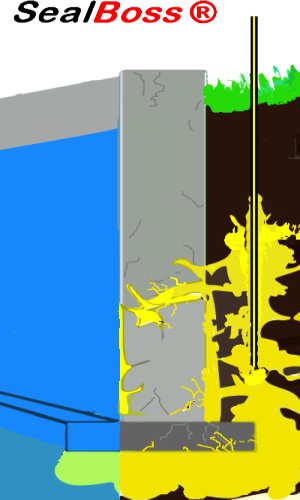
The SealBoss 1510 foam is catalyzed with a specific percentage of 15X Accelerator based on site conditions. For rapid leak sealing, 10–20% is often used.Injection
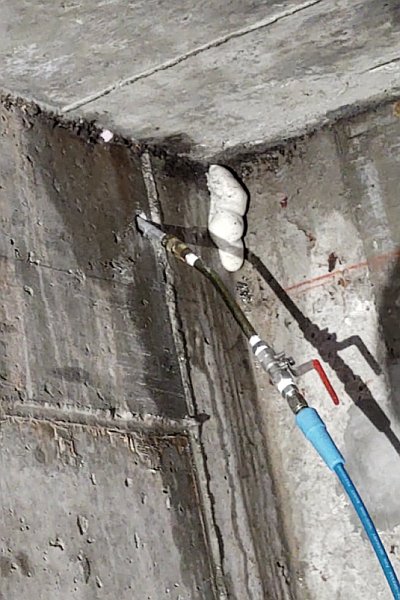
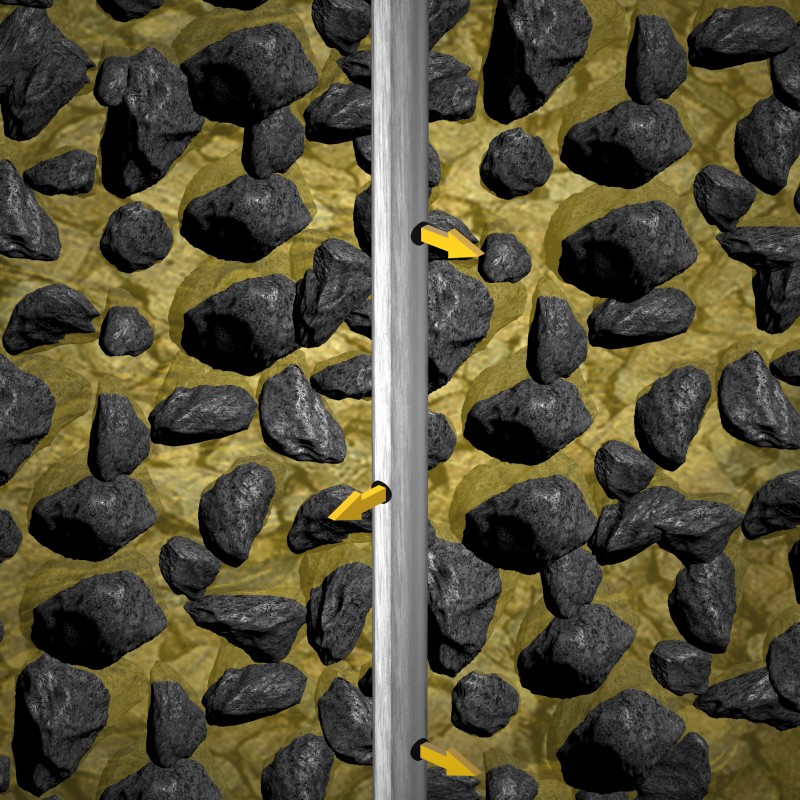
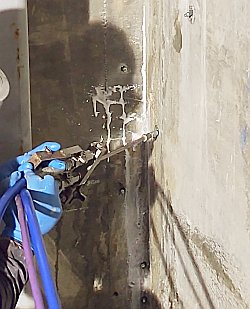
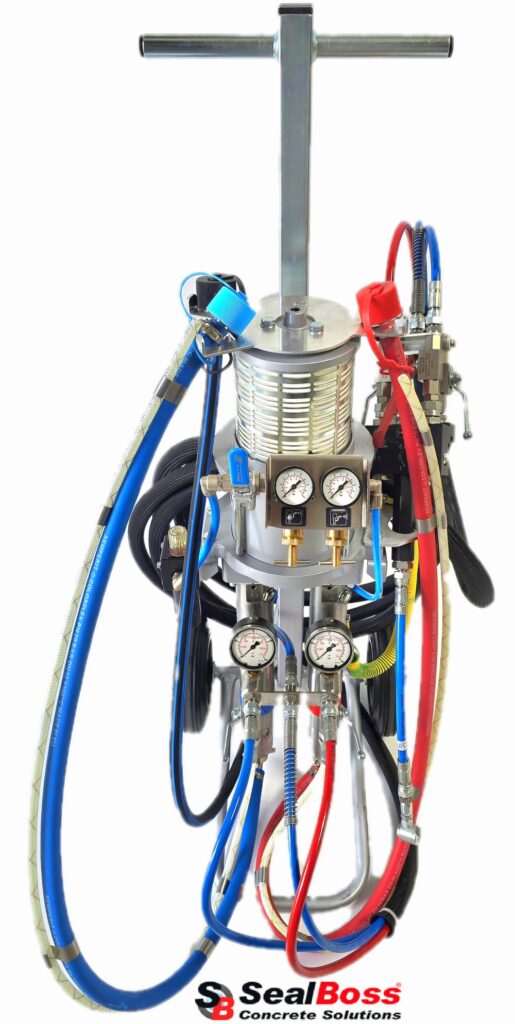
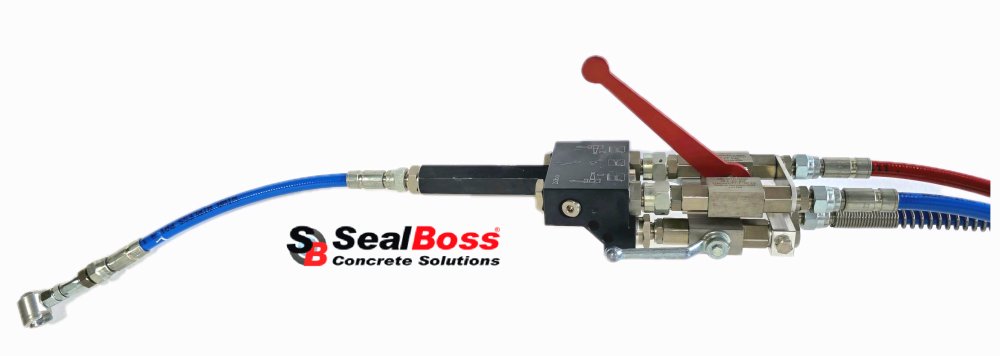
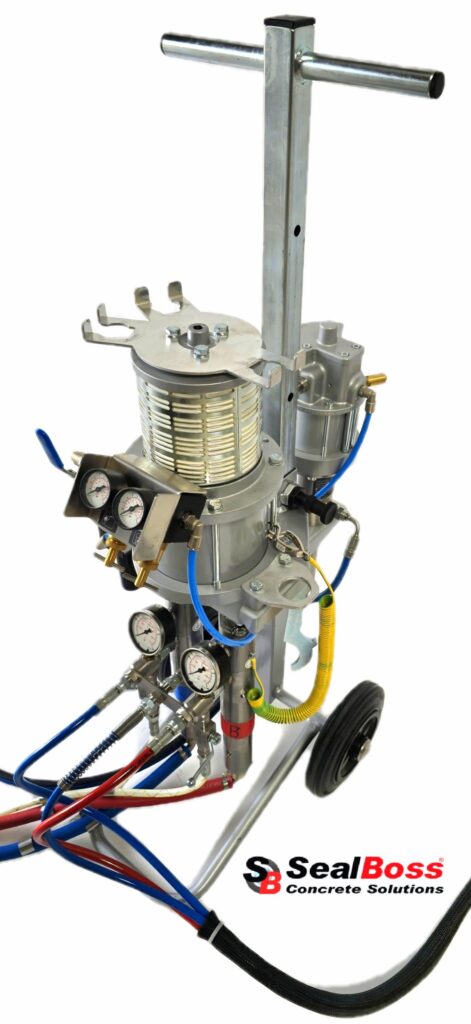
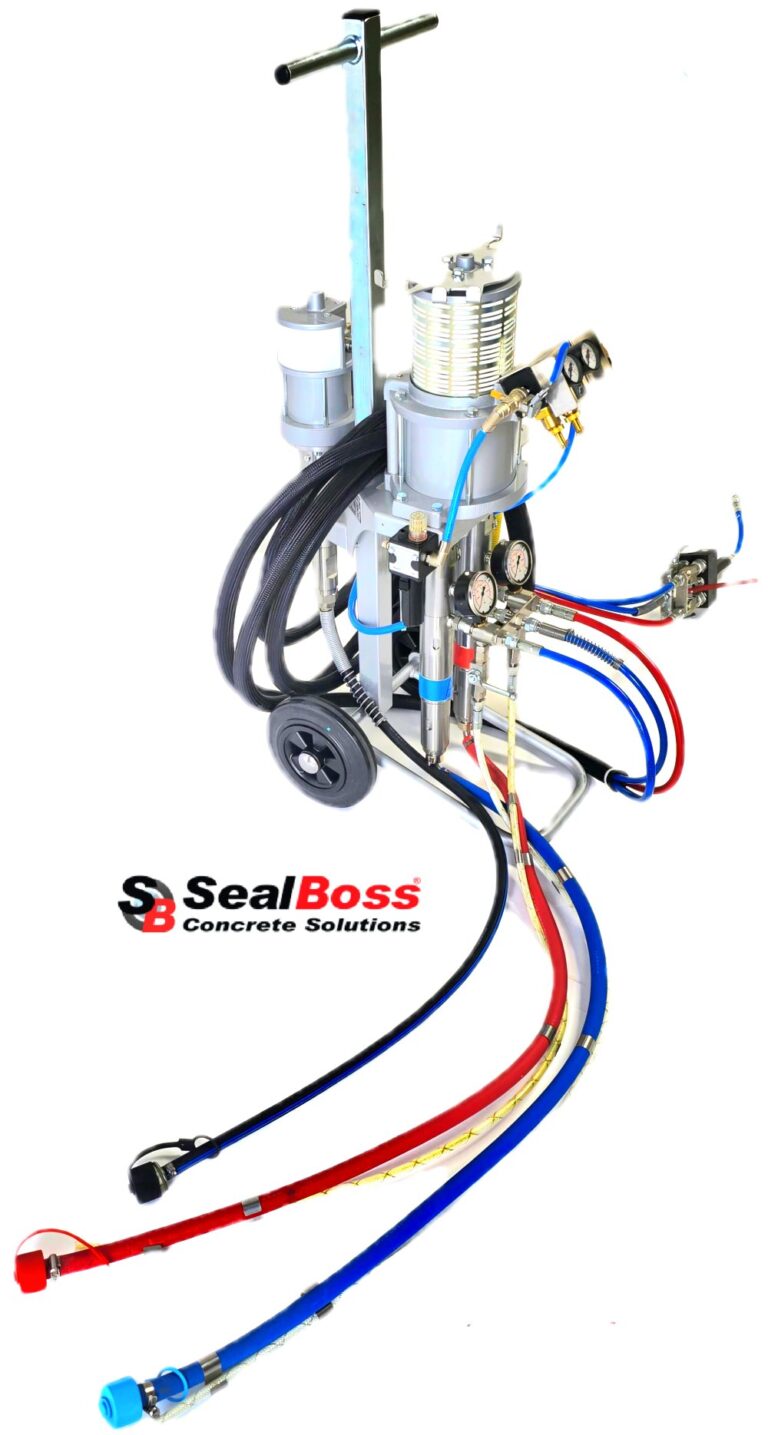
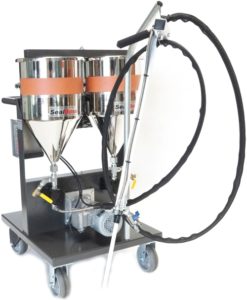
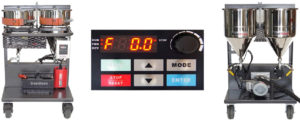
Using a high-pressure pump (like the SealBoss P2002), the catalyzed resin is injected into the structure. When it encounters water, it reacts instantly—expanding and pushing water out while filling every crevice.Curing
The foam cures rapidly, forming a permanent seal. Once the leak is stopped, packers are removed, and injection ports are patched.
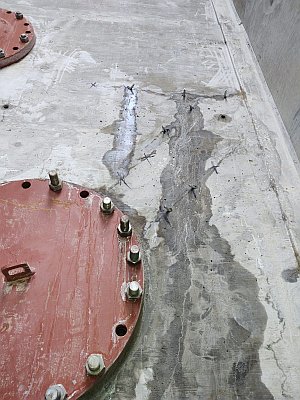
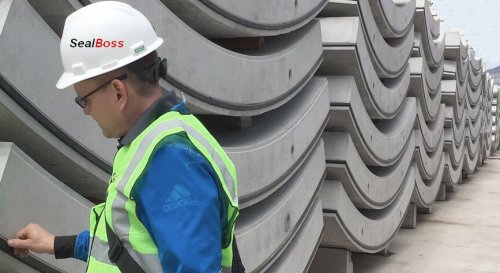
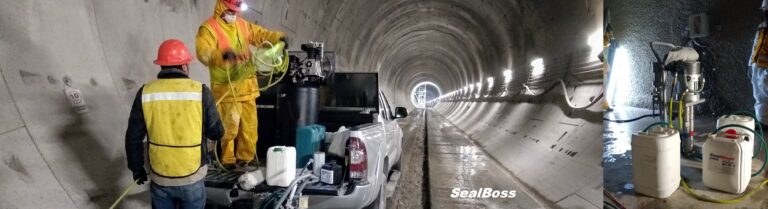
Applications: Where to Use the SealBoss System
- Below-grade foundation walls
- Elevator pits
- Parking garages
- Tunnels and subways
- Cold joints and construction joints
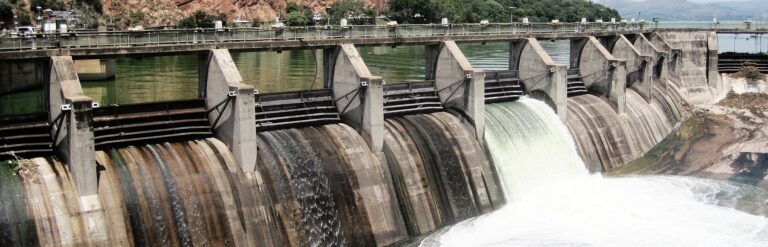
- Dams, reservoirs, and tanks
- Culverts and stormwater systems
Whether facing a slow leak or a gushing torrent of water, the SealBoss system provides a proven method to regain control and restore watertightness.
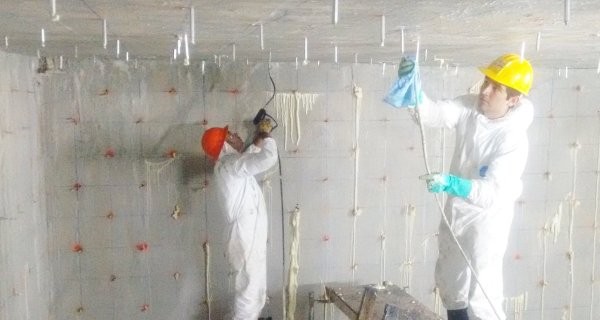
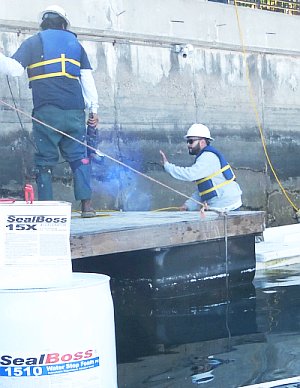
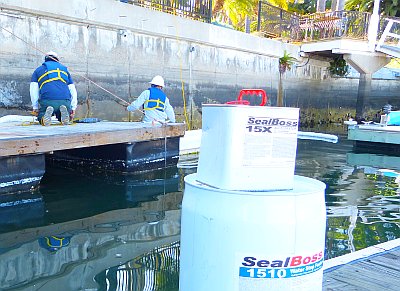
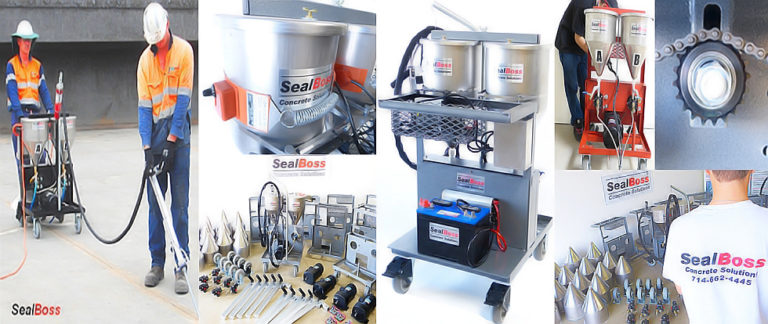
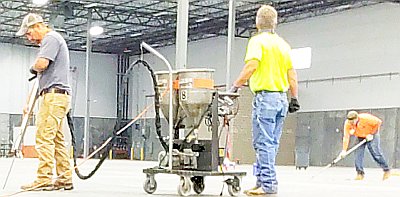
Real-World Performance
Contractors worldwide rely on the SealBoss 1510 and 15X system to manage demanding jobs. One of the key advantages is its flexibility. In colder climates or low-temperature substrates, a higher percentage of accelerator ensures the foam sets quickly. In situations where deeper penetration is needed, less accelerator allows the foam to travel before expanding.
With no need for excavation or external sealing, this internal injection method minimizes disruption while delivering powerful results.
Why Choose SealBoss?
- SealBoss is ISO-Certified: Quality and consistency in every batch
- Fast Support: Regional sales and technical teams available for on-site guidance
- Versatility: Solutions for leak seal, soil stabilization, and crack repair
- Training: On-demand training and technical support for contractors and engineers
Shut Down Gushing Leaks—The Right Way
Time is critical when you’re dealing with gushing leaks in a concrete structure. The longer water flows, the greater the risk of structural and environmental damage. The SealBoss 1510 and 15X Accelerator combo gives professionals the tools they need to act quickly and confidently.
With customizable reaction times, exceptional expansion, and field-proven durability, this system continues to be a go-to solution across a range of industries.
Get Expert Support Today
Need help selecting the right system for your leak repair project? Our team is here to assist. Whether you’re new to injection systems or looking to upgrade your leak sealing arsenal, SealBoss can provide the expertise, products, and equipment you need.
Contact us today: SealBoss Contact Page
View all leak sealing solutions: SealBoss Water Stop Products
Related Articles
15x Accelerator - the little star that does a lot.
Inquire more about 151X Accelerator when you call us here at SealBoss. Your representative will be happy to help you out.

Accelerator For 1510/1570 PU Injection Foam.
Adjust foam gel-time and foam expansion from low foamer to high foamer depending application.
Concrete Leak Sealing
Leak Sealing Foam Grout
Water Stop Foam Grout
Hydrophobic Injection Foam Grout
Our #1 Selling Polyurethane Injection Foam
Water Cut-Off Injection Grout
Semi-Flex Foam, Water-Activated chemical injection grout. Our most versatile product. Water activated hydrophobic polyurethane foam, expands up to 30-40 times.