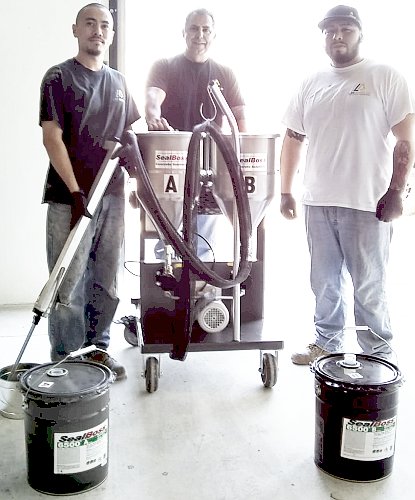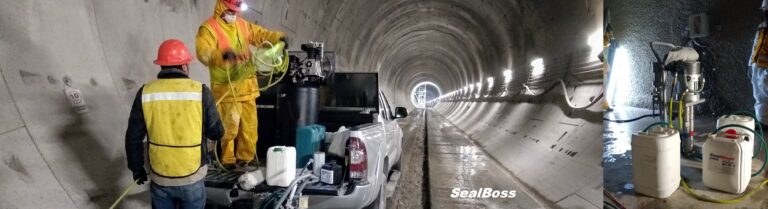


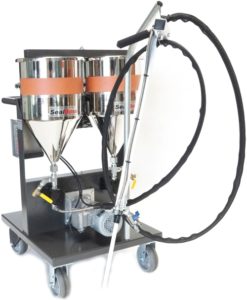


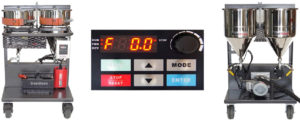


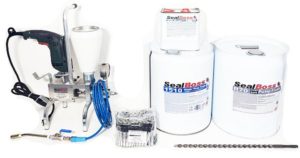
SealBoss SLP Polymer Pump Systems
Polymer Pump Systems

For
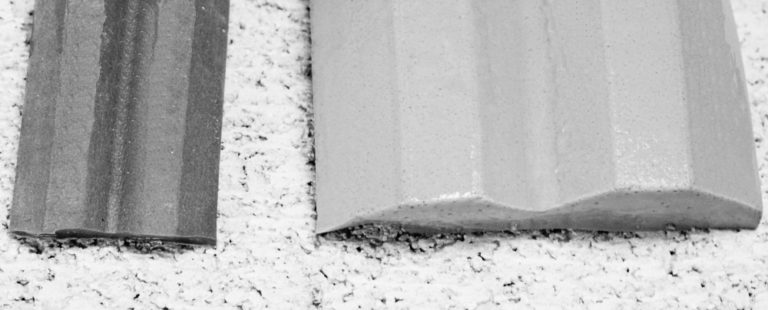
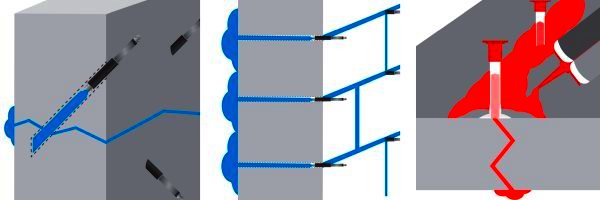
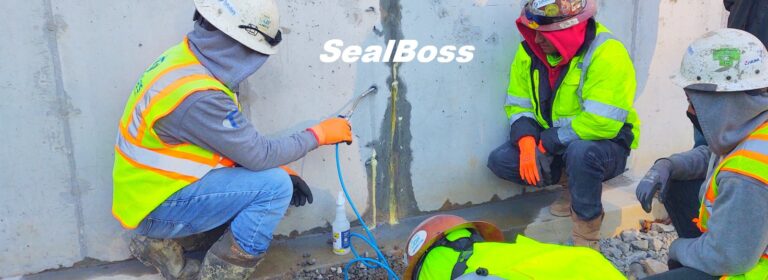
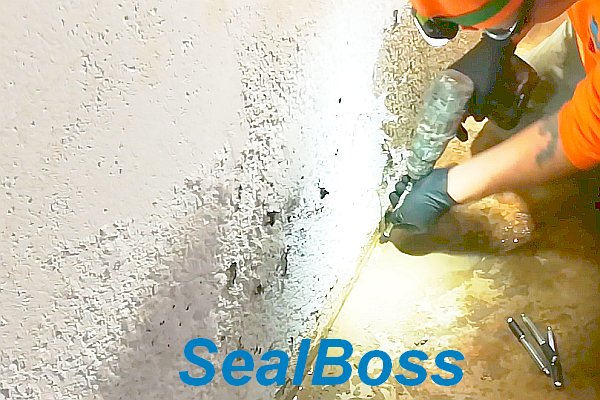
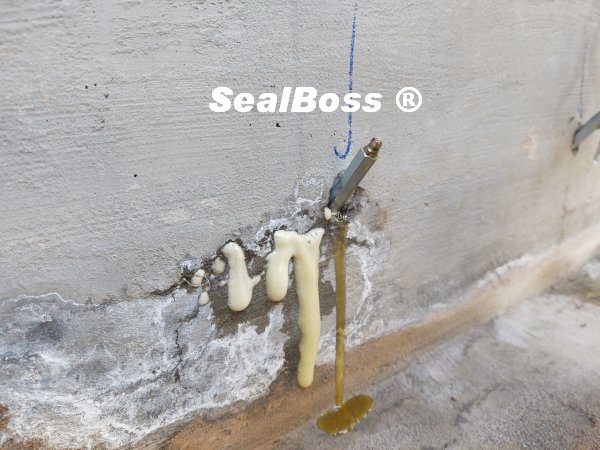
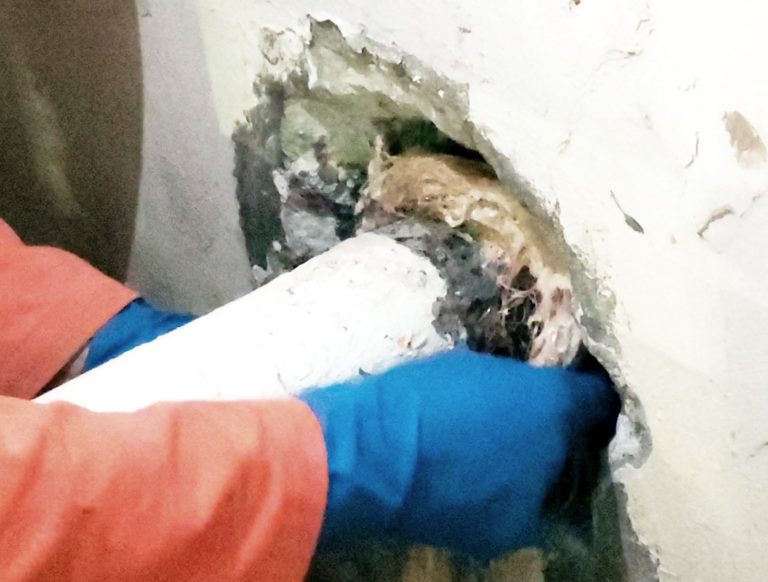
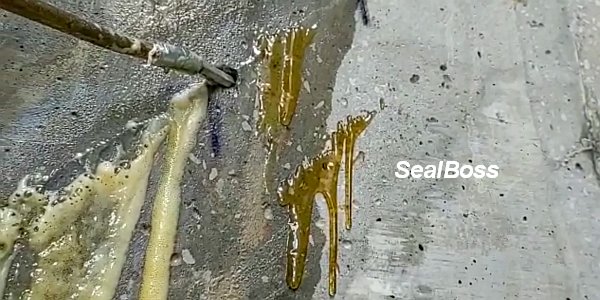
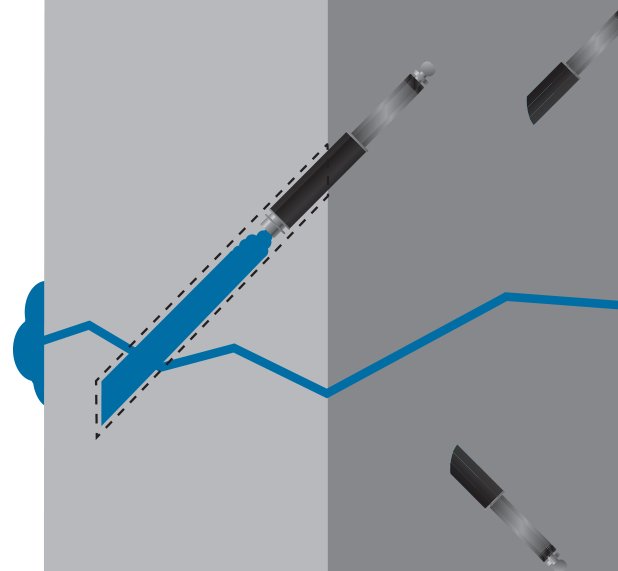
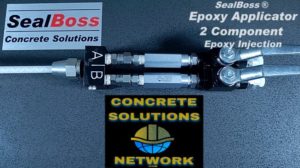
Crack Injection,
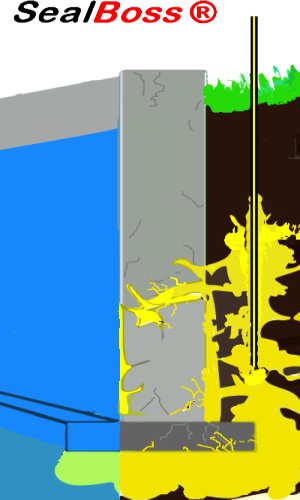
Curtain Injection,
Compaction Grouting
Soil Stabilization
Slab Lifting
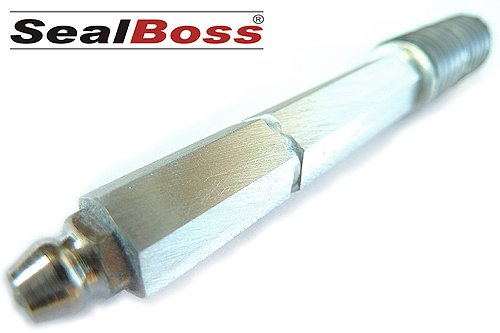
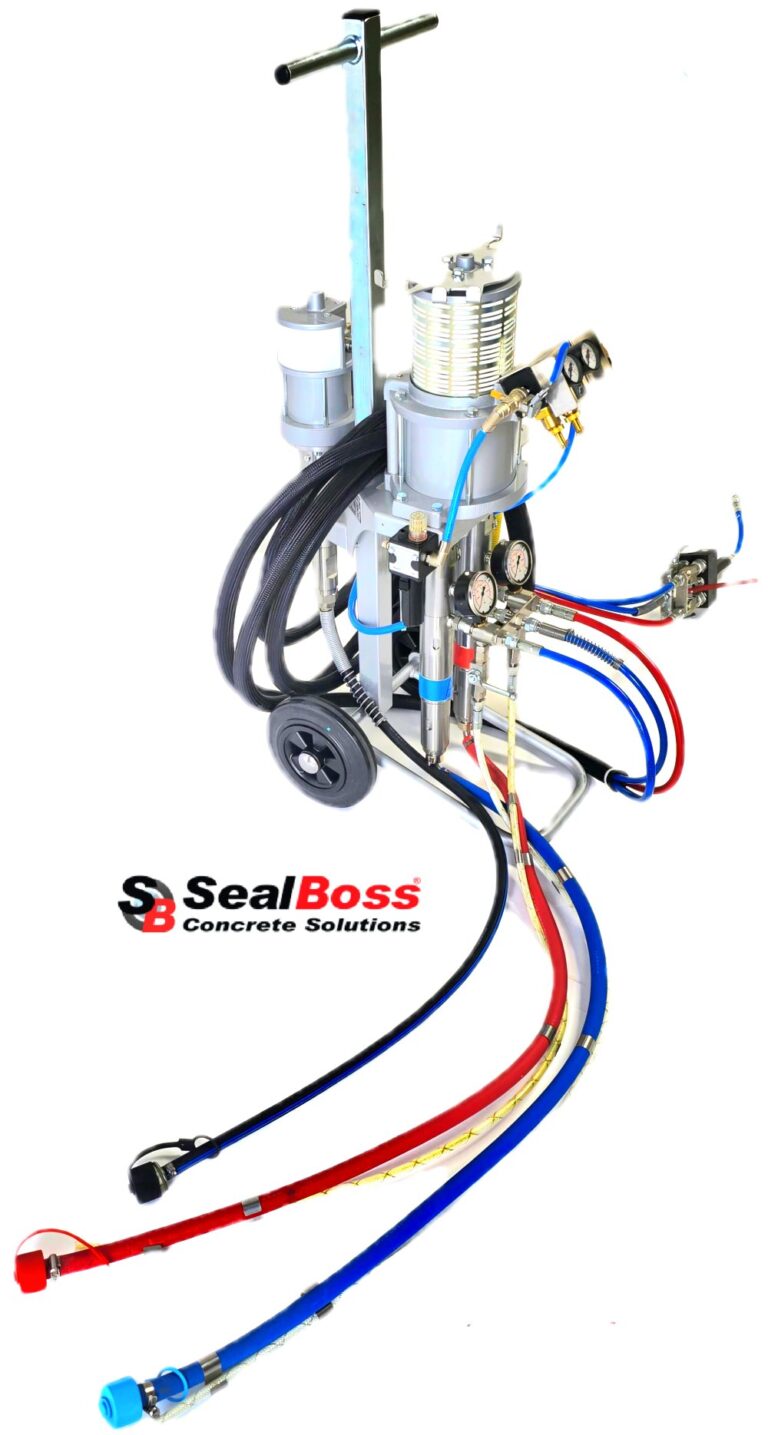
Signature Line Air-Powered Polymer Pumps
Design Cues
• Industrial Grade Lightweight Design
• Robust, Modern Steel Frames
• Advanced Piston Pump Systems
• Newly Designed Applicators
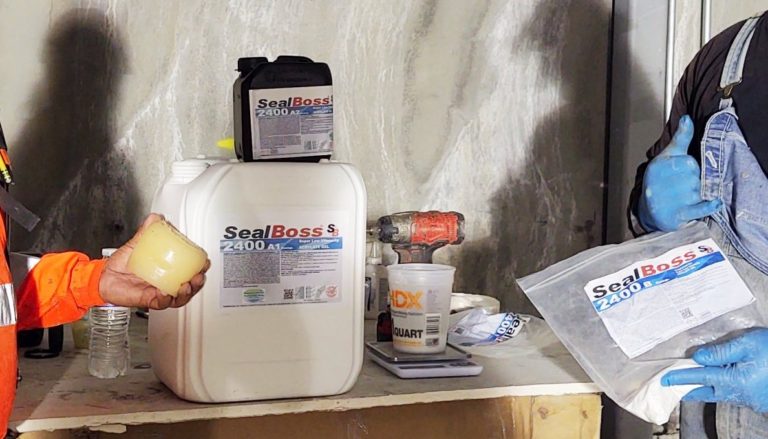
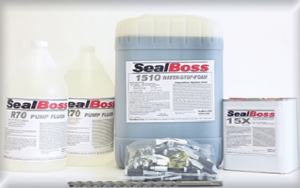
Range of Materials
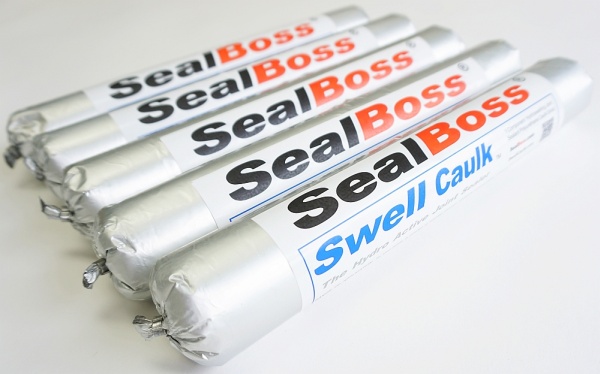
• Polyurethane resin
• Polyurethane foam grout
• Epoxy Resin
• Aqueous solution
Advantages
• Extremely lightweight designs
• Robust, heavy duty components
• Large material passages for use of products with higher viscosities
• Piston seals do not require tensioning
• Easy maintenance and repair
• Pneumatic design
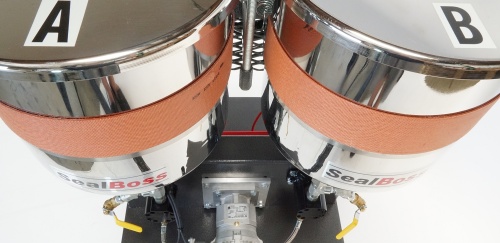
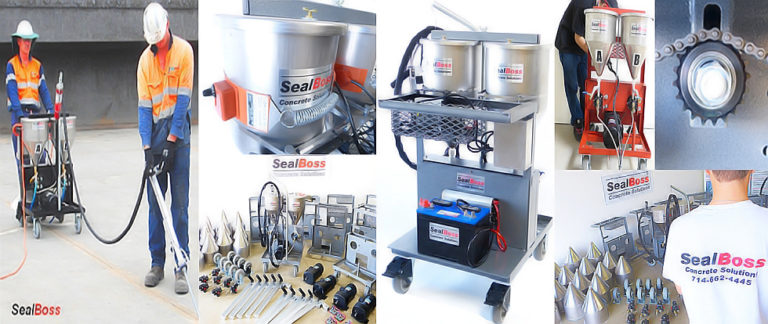
Four SLP Signature Pumps
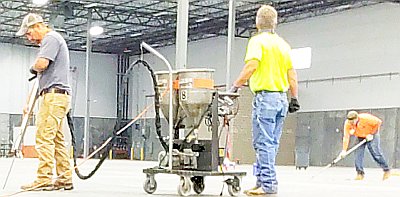
The SealBoss SLP Pump Signature Line of single and multiple component, pneumatic reciprocating piston injection machines are newly developed, professional and purpose built heavy duty air-powered injection pumps. They complement our existing comprehensive line of pneumatic, electric and hand operated pumps.
In the following we point out some advantages of air-powered equipment. Our pneumatic pumps are easily maintained, highly reliable and very easy to use. Air flow is effortlessly controlled and our pumps perform very well at low and high rates of product flow. Our pumps feature relatively large internal clearances in the major fluid passages (i.e. large intake and discharge openings), that allow liquids of higher viscosities to pass.
Air-powered pumps have been highly developed to provide long-term reliability and durability even under difficult injection conditions. With the air-powered design there is inherently less mechanical load and wear on key components than with other designs. Long term durability is achieved by the relatively low-speed, high clearance nature of the moving parts. Air-powered pumps have a unique advantage in their ability to throttle back flow to meet changing site needs. Stop/start cycle limitations do not apply to these pumps, so no adjustments need be made when dispensing rates decrease; the air-powered pump will function as intended, at a reduced refill/discharge cycle rate. If pump output rate reduction is desired, the applied air pressure can be easily adjusted downward with the provided regulator.
With air-powered pumping systems, airlines are run to the pump instead of electricity, which provides immediate benefits in simplicity and safety. Pumps are delivered as a complete system, with all the necessary tubing, connectors and applicators.
Service is easy due to mechanical simplicity, lightweight and ease of handling. If pump operation is stopped due to clogging or back-pressure, typically no structural damage to the equipment occurs.
Conclusion
Air-powered pumps provide many advantages in injection applications equipment. A proven approach is to inform the pump supplier of the full conditions of the application and obtain a recommendation for the suitable equipment. It is important to research the quality, performance and suitability before selecting either an electric or air-powered pump.