


Polyurethane Injection Kit
Polyurethane Injection Kit
Leak Sealing Water Infrastructure Projects Effectively
Introduction:
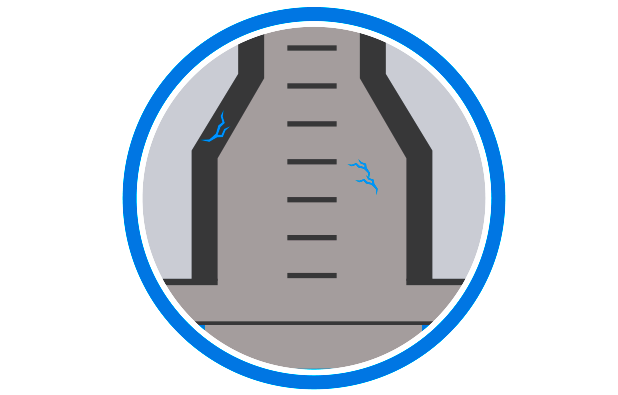
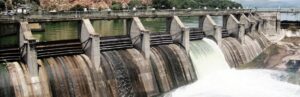
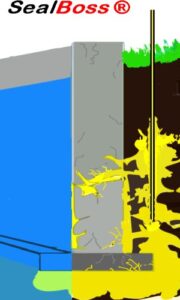
In large-scale water infrastructure projects, maintaining structural integrity through effective leak sealing is essential. Cracks and leaks in holding tanks, pipelines, and other critical components can compromise the entire system’s efficiency and safety.
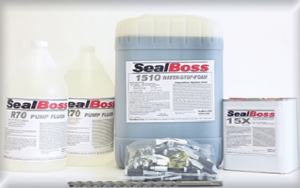
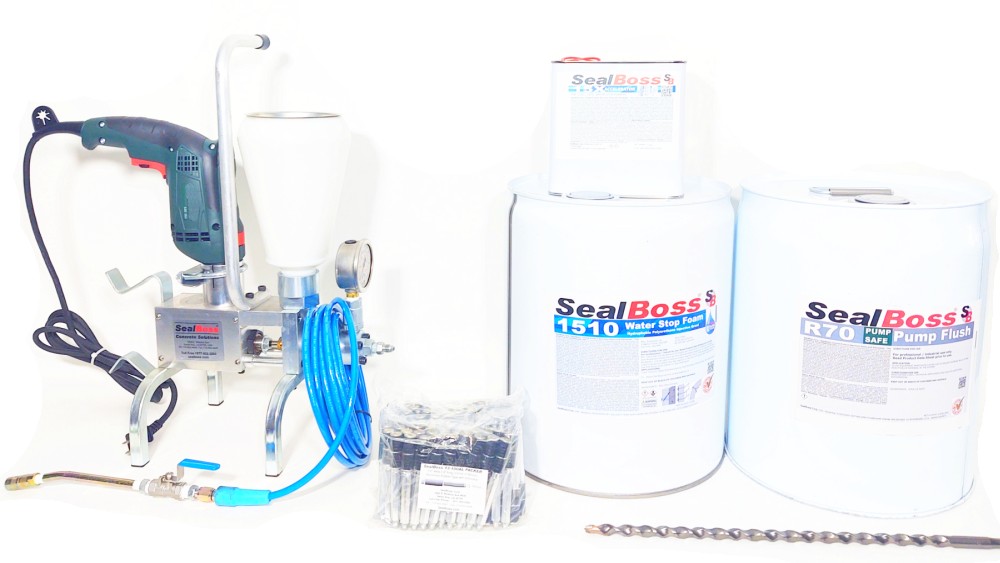
A polyurethane injection kit provides a comprehensive solution to these challenges, combining specialized polyurethane grout, durable injection packers, and a portable, high-powered injection machine. Designed to address the demanding requirements of water infrastructure, these kits ensure reliable, long-term repairs that enhance operational stability. This article explores the pivotal role of polyurethane injection kits in large water projects and their effectiveness in achieving lasting leak sealing in complex environments.
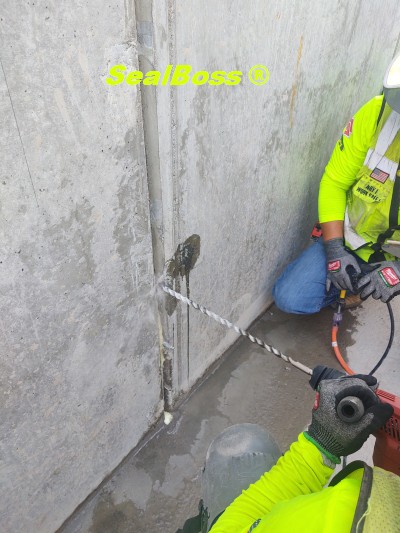
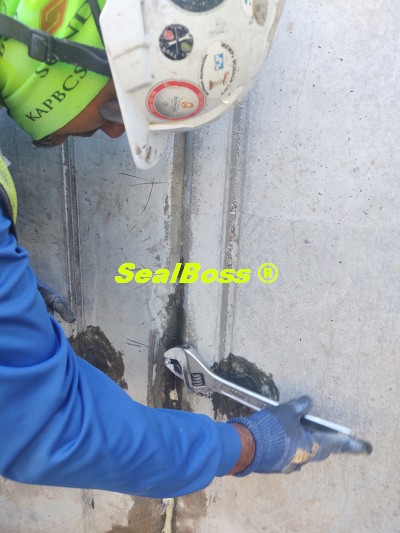
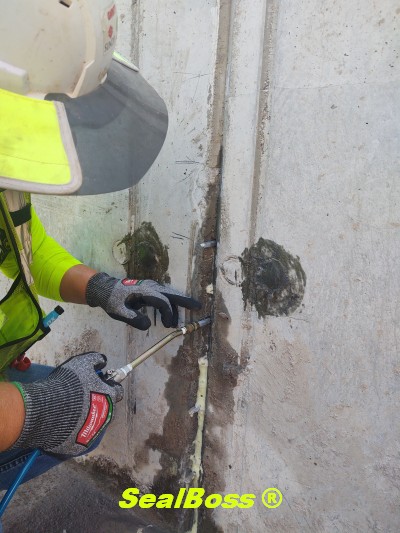
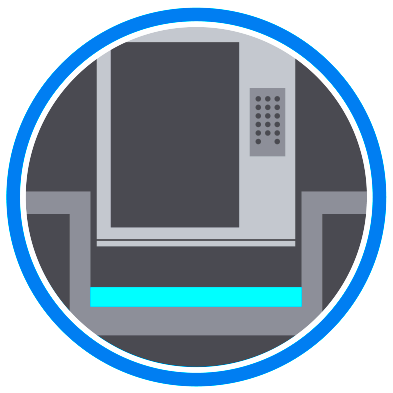
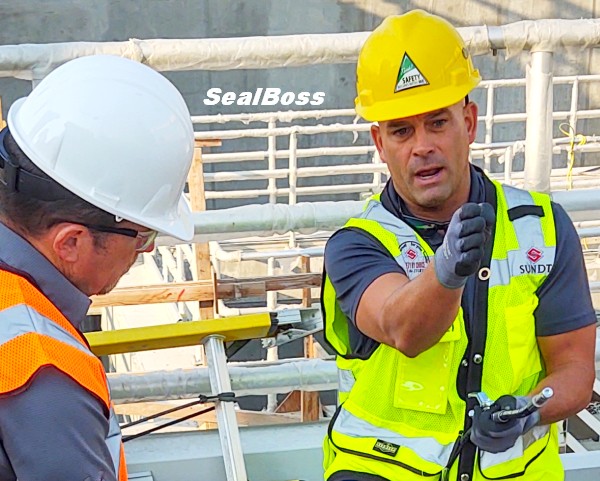
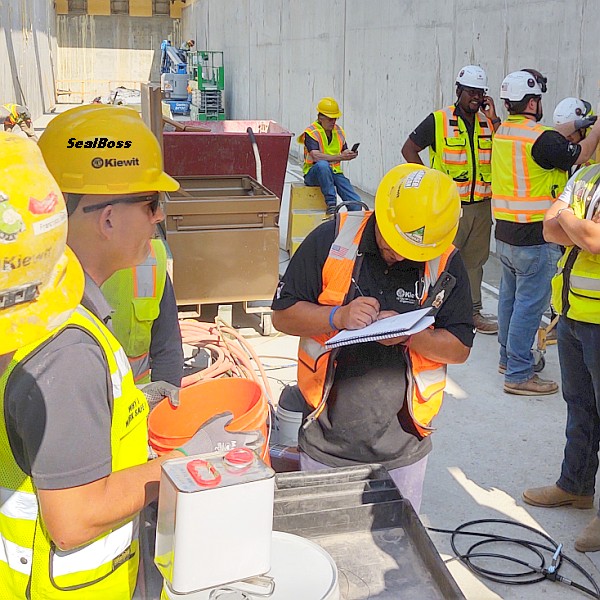
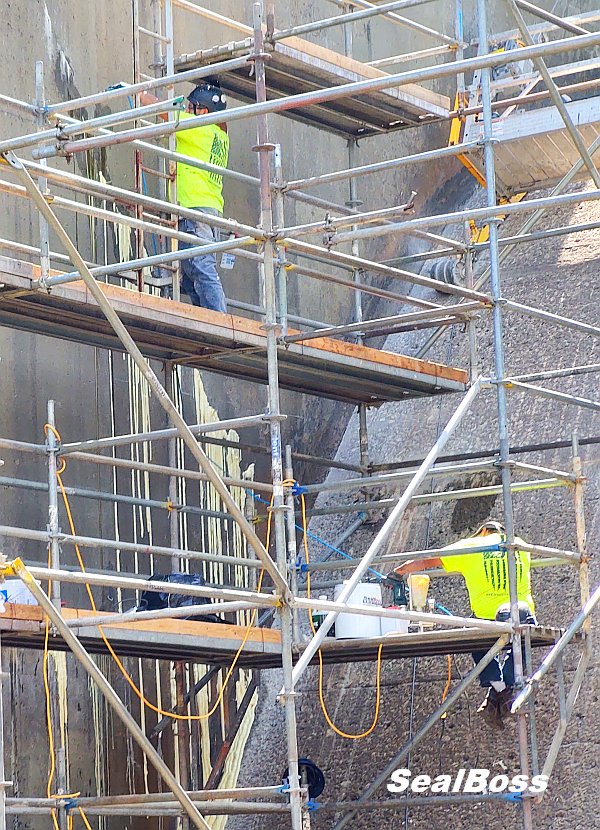
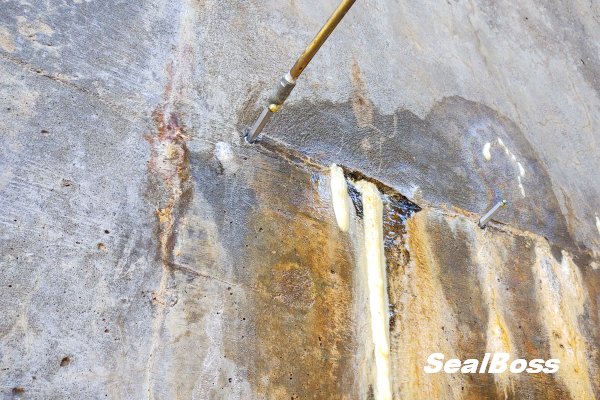
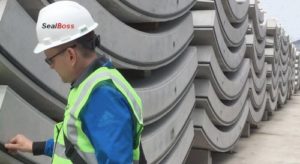
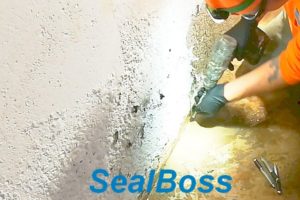
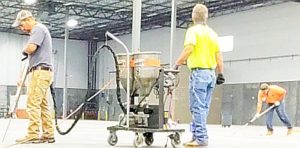
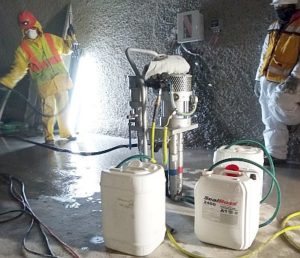
For large-scale infrastructure projects like the North Water Treatment Plant in Gilbert, Arizona, sealing leaks in critical areas such as holding tanks is a top priority. This high-stakes project required an advanced polyurethane injection kit to efficiently seal cracks and maintain the plant’s long-term structural integrity.
Using specialized polyurethane grout, injection packers, and a portable injection machine, this comprehensive kit is invaluable for leak repair across diverse climates, from Arizona’s warm, reaction-accelerating conditions to colder environments.
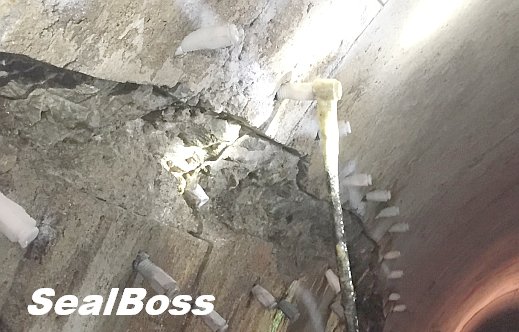
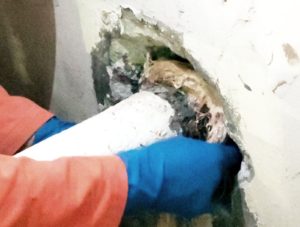
SealBoss 1570 LV Polyurethane Injection Kit: Engineered for Tight Cracks
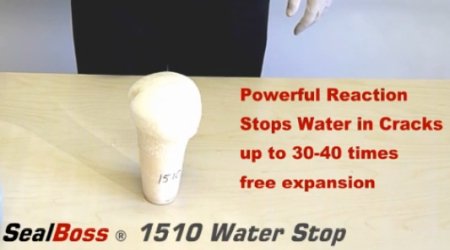
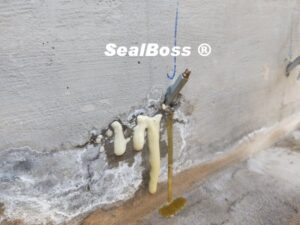
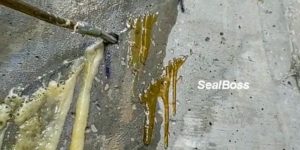
At the core of the project’s leak-sealing success was the SealBoss 1570 LV Polyurethane Injection Kit, renowned for its precision in sealing fine cracks. This kit’s key component, the SealBoss 1570 LV Water Stop Foam, is a hydrophobic polyurethane grout designed to penetrate ultra-tight spaces. Its low viscosity and centipoise allows it to fill the narrowest fissures at low pressure, making this polyurethane injection kit highly effective for infrastructure repairs that require thorough and lasting sealing.
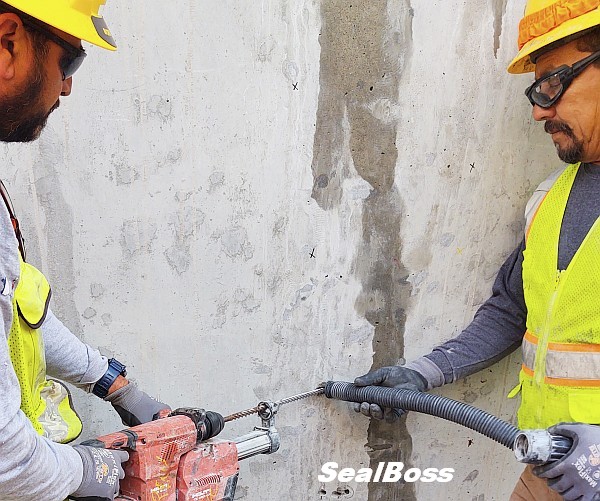
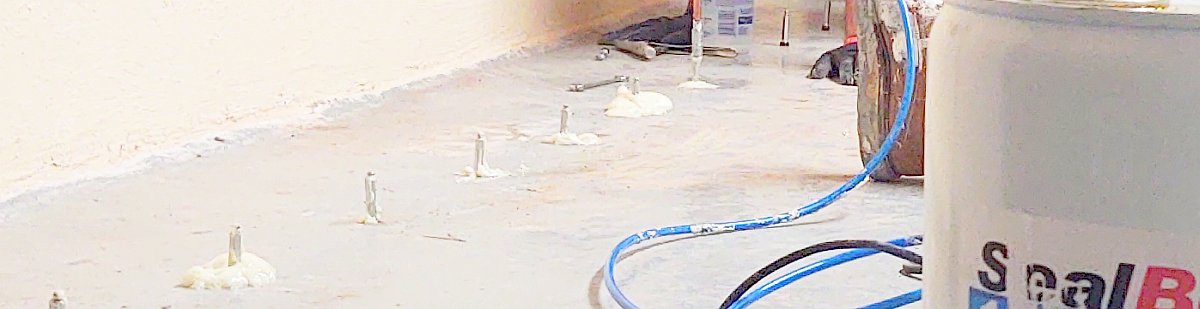
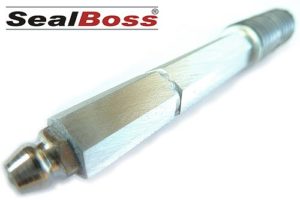
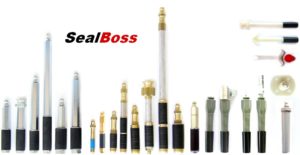
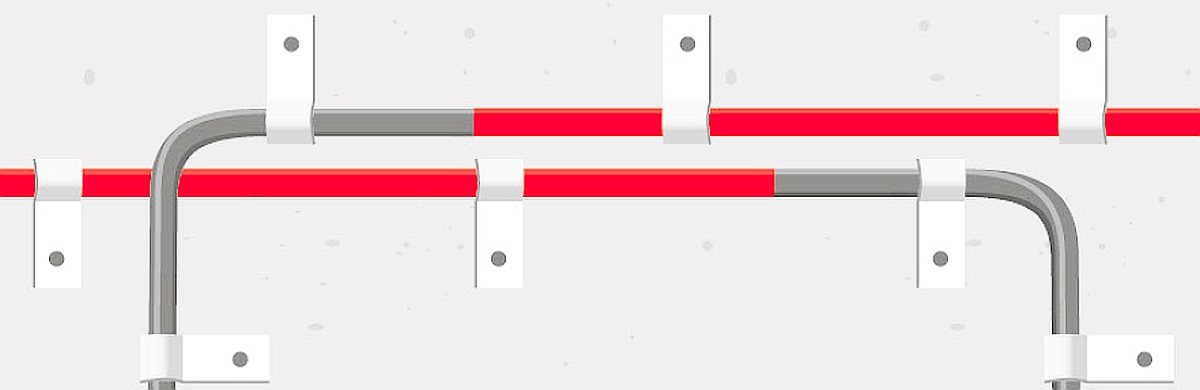
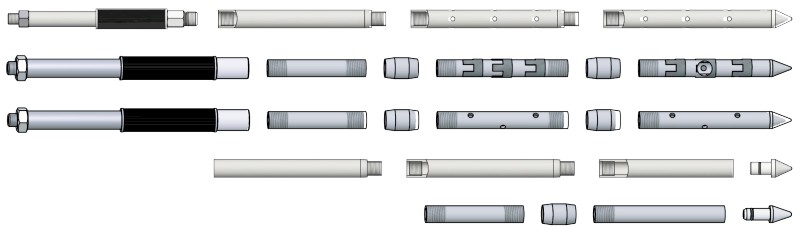
BP-13-100 AL Aluminum Packers: Reliable Components in the Polyurethane Injection Kit
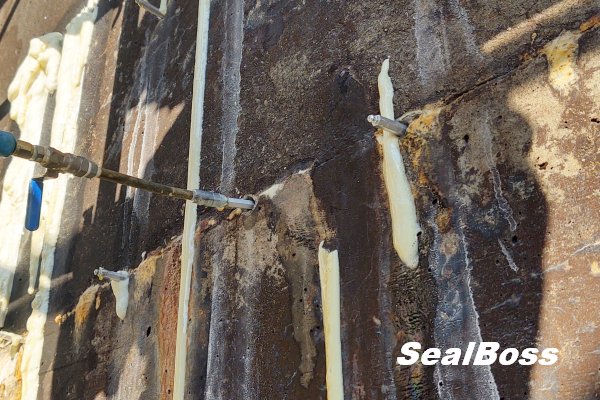
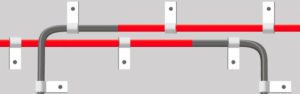
Included in this specific polyurethane injection kit are the industrial grade and economically friendlyBP-13-100 AL aluminum packers, which ensure secure entry points for grout injection. These aluminum packers feature a crucial anti-return valve, helping to control grout flow and enabling precise, port-to-port injection techniques. Known for compatibility with both polyurethane and epoxy grouts, these packers are reliable for various long-term infrastructure repair projects, making the polyurethane injection kit versatile and cost-effective.
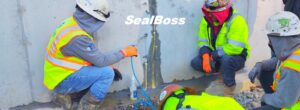
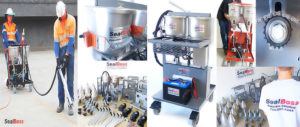
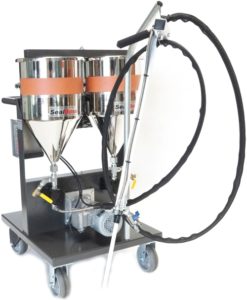
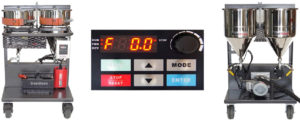
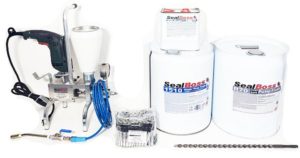
P2002 Drill-Operated Injection Machine: Power and Portability
Another key element in the polyurethane injection kit is the SealBoss P2002 drill-operated injection machine. Compact yet powerful, this machine was designed specifically for professional applications where maneuverability is essential. The P2002 machine allowed contractors to quickly and accurately apply grout, making it an essential tool in the polyurethane injection kit for large projects requiring efficiency and reliability.s
Adapting the Polyurethane Injection Kit for Temperature Conditions
Arizona’s warm climate introduced additional challenges, as chemical reactions in polyurethane can accelerate under heat. Adjustments to the injection timing and material preparation helped optimize the polyurethane injection kit under these conditions, demonstrating the importance of environmental planning. With temperature-sensitive materials, even slight adjustments to the process, such as adjusting the use of accelerator SealBoss 15x, can yield optimal results.
Top Benefits of Using a Polyurethane Injection Kit System for Water Infrastructure Projects
Using a polyurethane injection kit offers significant advantages for water infrastructure projects:
- Optimized Injection System: The polyurethane injection kit combines specialized grout, durable packers, and a reliable pump, creating a fully integrated system designed for optimal performance. This synergy allows for ease of application, controlled flow, and the best possible sealing results, making the process straightforward and efficient for contractors.
- Precision in Tight Spaces: Low-viscosity polyurethane grouts allow thorough penetration into fine cracks, ensuring lasting repairs.
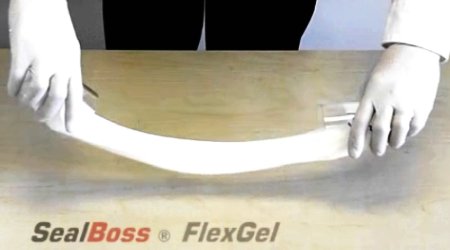
- Durability and Flexibility: Polyurethane is highly resilient to water exposure and pressure, ensuring that repairs remain intact over time.
- Efficient Application: With portable, powerful equipment like the P2002 injection machine, polyurethane grout can be applied quickly and accurately.
Conclusion - Polyurethane Injection Kits
In summary, our various polyurethane injection kits, exemplified by the SealBoss 1570 LV Kit, integrate all necessary components for effective leak-sealing in large-scale water projects.
The North Water Treatment Plant in Gilbert, Arizona, showcases how advanced polyurethane injection kits can enable reliable, long-lasting repairs, highlighting their critical role in preserving essential infrastructure.
Ready to enhance your water infrastructure projects with reliable, long-lasting, leak sealing polyurethaen injection kits?
Discover the benefits of a polyurethane injection kits today. With a fully optimized systems that combines precision grout, durable packers, and a powerful pump, this kit is designed for efficiency, ease of use, and superior results.
Contact SealBoss to learn more about our injection solutions and find the perfect kit for your project needs.