Search

SealBoss News / Blog

Hairline Crack Injection

Hairline Crack Injection

Super Fine Crack Injection

What are Hairline Cracks and how do they develop?

Fine cracks in concrete, thinner than a credit card thickness, are considered hairline cracks. here are a number of reasons concrete structures could form hairline cracks. 

Common causes of hairline cracks in concrete structures and foundations

Shrinkage
Concrete shrinks in volume as it dries. During this process of contraction, hairline cracks may develop.

Thermal Movement
Concrete expands and contracts during temperature changes. This process can cause hairline cracks to form in the structure.

Settlement
Foundation settlement can cause stress in a structure and lead to cracking. Voids varying in size from hairline cracks to more severe fractures and fissures can be observed.

Hairline Crack Injection Job Walk Comments

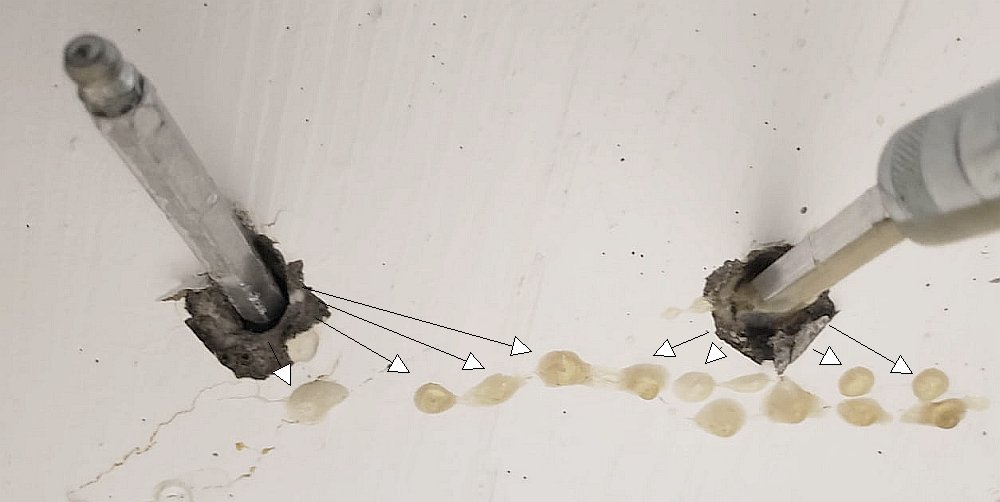
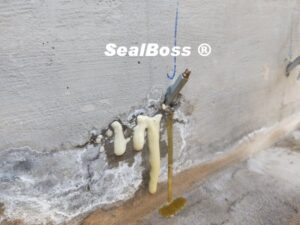
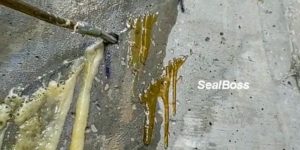
In the image presented, we highlight a detail we have previously discussed with the injection team during technical training. The almost imperceptible hairline crack beautifully demonstrates the resin’s travel, moving from the drilled hole pointy of injection within the crack and emerging on the wall’s surface.

SEALBOSS-HAIRLINE-CRACK-INJECTION

For effectively treating ultra-thin hairline cracks, it is advisable to utilize a low-viscosity chemical injection grout. This ensures optimal material penetration within the structure. Additionally, injection packers are typically positioned in close proximity to one another and nearer to the crack. This arrangement is due to the anticipated higher injection pressures and the increased challenges associated with material dispersion.

Hairline Crack Injection Products Used

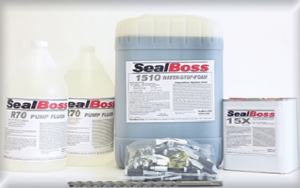
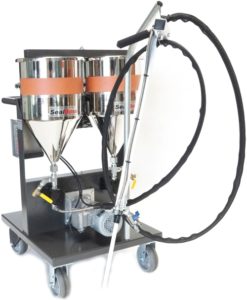
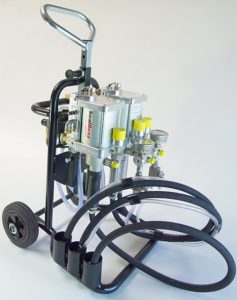
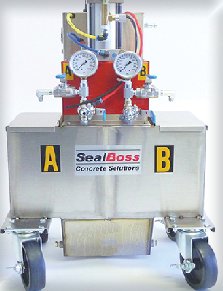
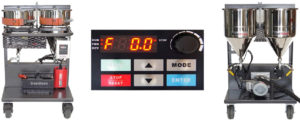
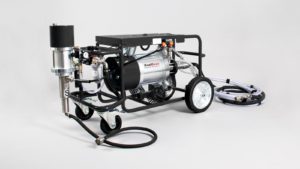
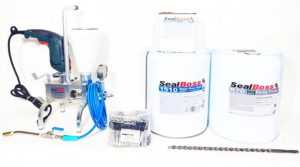
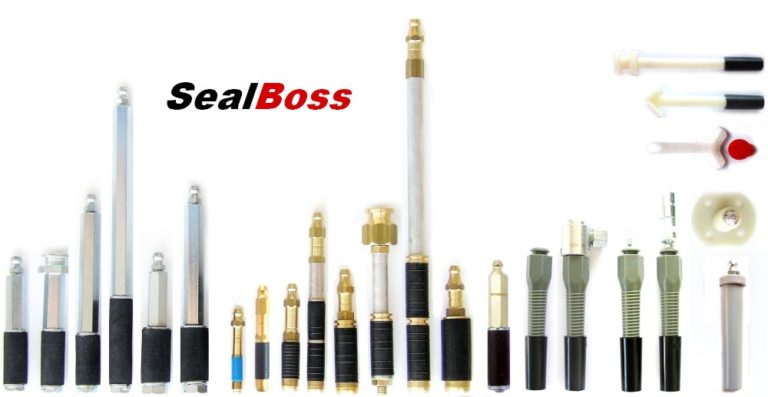
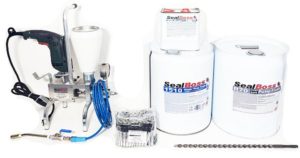
The contractor performed the hairline crack injection with the SealBoss Injection System.

Products used:

We also recommend for hairline crack injection: 

Learn More

Please don’t hesitate to call us at 714-662-4445 with any questions, or request to be contacted here, we look forward to helping you find a solution. On-site support from knowledgeable and experienced technical reps is available upon request. Check out our Crack Injection Kits.

Contact Your SealBoss ® Technician

Ceiling Crack Injection Shopping Mall

Ceiling Crack Injection

Shopping Mall

SealBoss ® 1510 Water Stop Foam Ceiling Crack Leak Repair

Job Walk Shopping Mall Los Angeles

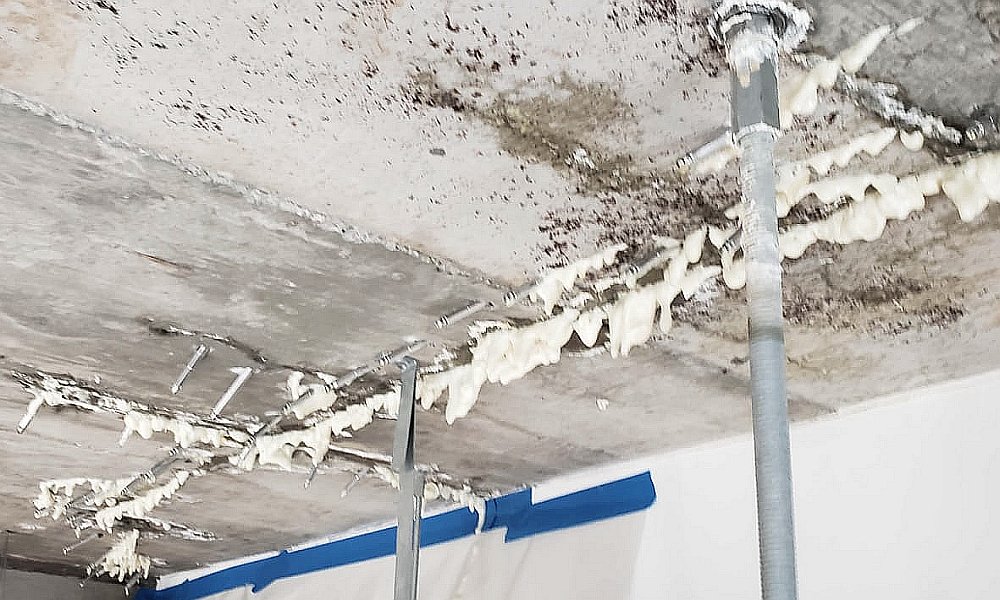
Before and after pictures. Ceiling leak repair. Hydroactive polyurethane foam grout injection with SealBoss ® 1510 Water Stop Foam and SealBoss ® Packer Evolution 13-100 AL.
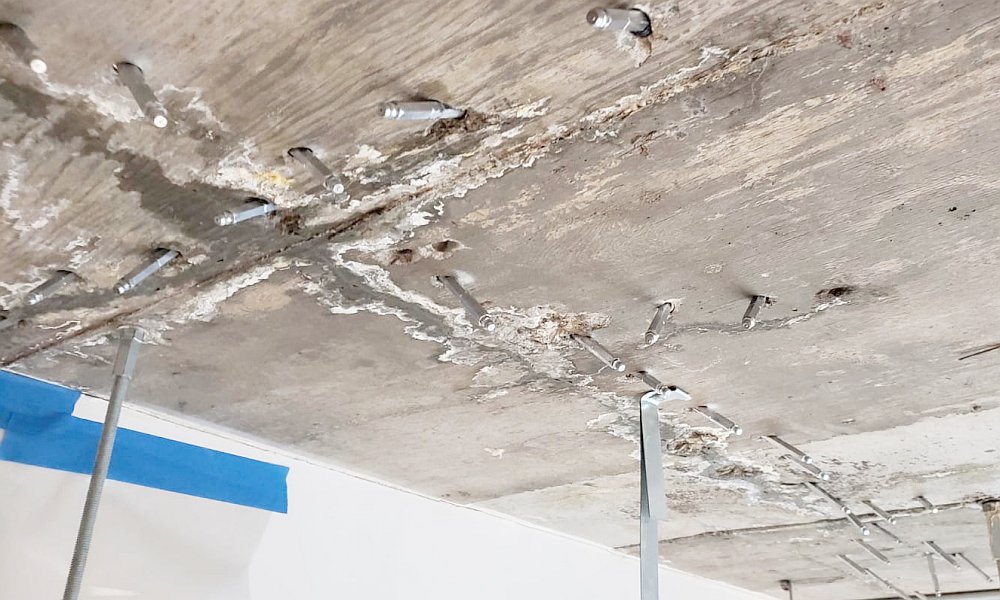
SealBoss ® 1-2-3 at 45 Degree Injection Method

SEALBOSS-CEILING-CRACK-INJECTION
Contact Your SealBoss ® Technician

Water Treatment Plant Repair

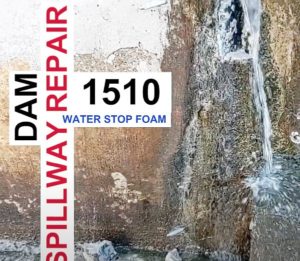
SealBoss 1510 Water Stop Foam Injection
Water Treatment Plant Langston, OK

Water Treatment Plant Repair Injection Training on the Jobsite

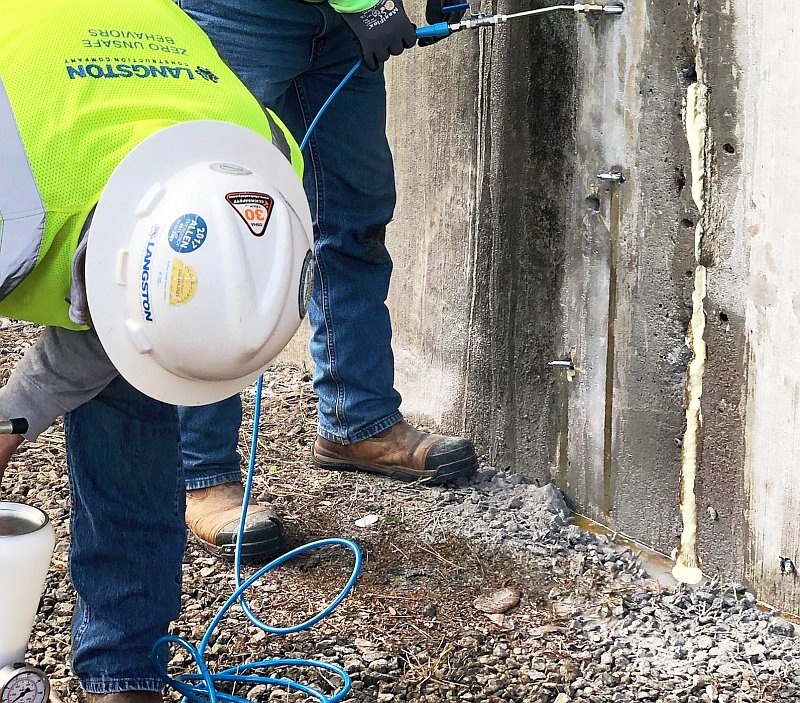
East Coast Sales Manager Craig Greenfield trains a local general contractor on the SealBoss Leak Sealing & Water Stop polyurethane injection procedure.
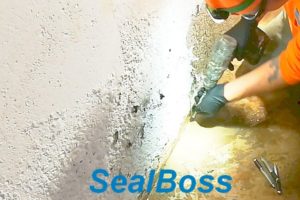
Using the SealBoss 1510 Water Stop Foam, P2002 Injection Pump and SealBoss Injection Packers. The newly trained applicator was able stop the active water leaks. A successful repair, a further contractor added to the growing SealBoss team!

Environmentally Safe

SealBoss 1510 Water Stop Foam is approved for contact with drinking water meeting the NSF/ANSI 61 Section 5 requirements. That means they can be used without having an adverse effect on water quality.

Why is the SealBoss System Polyurethane Crack Injection Essential for Leak Seal Applications?

Leaks in concrete structures are often detrimental to property values and safety. SealBoss injection products, such as our Water Stop Foam / HighFoamer formulations, FoamResins and low viscosity injection resins deliver ultimate solutions for hairline cracks, gushing water leaks and many other water stop issues.
How Effective is Concrete Crack Injection for Leak Seal Projects?

Leaks in concrete structures can be permanently repaired with SealBoss concrete crack injection systems. We supply water-activated foams, gels, hydrophobic polyurethane resins, mechanical packers and injection pumps to create watertight seals.

Materials and Tools Used

Related Articles

Learn More

Please don’t hesitate to call us at 714-662-4445 with any questions, or request to be contacted here, we look forward to helping you find a solution. On-site support from knowledgeable and experienced technical reps is available upon request.

Contact Your SealBoss ® Technician

SealBoss Injection Job Checklist

Injection Job Checklist

Checklist for a Crack Injection Procedure

Embarking on a crack injection procedure requires meticulous preparation and execution. Here’s your essential checklist to ensure a seamless process, from start to finish:

  • Prepare Your Equipment and Protective Gear: Begin by gathering all necessary materials and tools, such as epoxy, polyurethane, acrylate, injection ports, injection pump equipment, and other applicable tools. Safety should be your utmost priority, so don’t forget your personal protective equipment (PPE), including coveralls, gloves, and safety glasses.

  • Perform an In-depth Inspection: Carry out a thorough examination of the injection area to identify any leakage or visible cracks. Be meticulous, ensuring even the smallest joints and cracks are detected and documented.

  • Clean the Cracks: After identifying the cracks, clean them thoroughly. Remove any loose concrete, dust, or debris using appropriate tools, such as a wire brush, to ensure optimal adhesion during the injection process.

  • Install Injection Packers or Ports: Position the injection packers or ports along the crack at regular intervals. While the distance can vary based on the nature of the crack and the product used, a general rule of thumb is approximately 8-10 inches between each port.

  • Prepare the Injection Product: Follow the manufacturer’s instructions to prepare the epoxy, polyurethane, or acrylate polymer product. This step often involves combining multiple components until a uniform solution is achieved.

  • Seal the Crack Surface: If necessary, especially with epoxy injections, seal the surface of the crack with epoxy or the specified sealing material. Ensuring the crack is sealed from end to end will force the injected material to flow through the crack.

  • Start the Injection: Unless otherwise specified, begin the injection at the lowest port and progress upwards. This method allows the epoxy or polyurethane to fill the crack from the bottom, ensuring a thorough seal. Move to the next port as each one fills.

  • Monitor the Procedure: Keep a close eye on the process to ensure the injection material is filling the entire crack. If leakage occurs or the crack isn’t filling properly, additional steps may be necessary.

  • Allow the Product to Cure: After injection, let the product cure according to the manufacturer’s guidelines. This duration can range from a few minutes to several days, depending on the specific product.

  • Remove Injection Ports and Finish Surface: Once the material has fully cured, remove the injection packers or ports and finish the surface as per the specifications.

  • Final Inspection: Conduct a final review to ensure the cracks are completely filled and sealed.

Remember, while this list provides a general guide, you should always follow the specific instructions provided by the manufacturer of the injection materials and equipment. Different products may require different procedures, so carefully adhering to the provided guidelines is paramount. Be prepared to adjust this general guide based on the specifics of your project.

Arrive prepared at the job site – it saves you time, aggravation and money. Here are some of the essentials.

EquipmentConsumablesGearClean up
Pumps, Parts, HosesInjection resinSafety GlassesTrash bags
ApplicatorAcceleratorSafety GlovesPaper Towels
BucketsInjection Packers, CouplersSafety VestsRags
Extension CordsPump FlushHard HatsDisposable Gloves
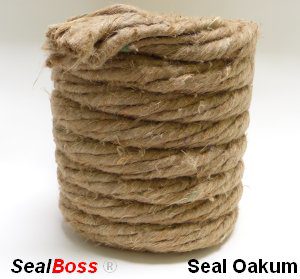
Hammer Drill, Drill BitsOakumSafety BootsCleaner
Flashlights   
Complete Tool Box   

Recent Posts

More Posts

Archives
Categories
Scroll to Top