


Types of Concrete Cracks
Types of Concrete Cracks
A Concrete Crack Overview
Introduction:
Concrete structures can experience a range of cracks due to various causes, including environmental factors, structural issues, and material weaknesses. As a concrete repair professional, understanding these different crack types and how to address them using suitable repair methods—such as polyurethane resin, foam injection, acrylate gel, and epoxy injection—is essential for maintaining the integrity and longevity of concrete structures.
For Concrete Crack Repair Details read our Quick Guide
Types of Concrete Cracks
Shrinkage Cracks in Concrete
Shrinkage cracks occur when hardened concrete loses moisture during the curing process, causing it to contract. These cracks are common in driveways, slabs, and foundation walls. As concrete dries over time, this moisture loss can lead to shrinkage if the concrete is restrained, resulting in cracks. These cracks may be larger and can appear throughout the structure.
Cause: Uneven moisture loss and restraint in the structure.
Repair Solution: Polyurethane resin, foam injection, depending on the severity and circumstances, to seal the cracks, prevent moisture ingress, or, in some cases, epoxy injection to regain structural strength.Plastic Shrinkage Cracks in Concrete
Plastic shrinkage cracks form while the concrete is still in its plastic (unhardened) state. They result from rapid moisture evaporation from the surface, often due to high temperatures, low humidity, or strong winds. These shallow cracks resemble a spiderweb pattern and typically affect newly poured slabs.
Unlike regular shrinkage cracks, which develop after the concrete has hardened and contracted over time, plastic shrinkage cracks appear within the first few hours after pouring, making them a common issue in newly poured slabs or exposed surfaces. These cracks are typically shallow and widespread across the surface, while regular shrinkage cracks are generally larger and occur throughout hardened concrete structures.
Cause: Rapid moisture loss from the surface during curing.
Repair Solution: Typically Polyurethane resin, foam injection, depending on the severity and circumstances, to seal the cracks, prevent moisture ingress. Acrylate gel in some cases.Spalling Concrete Cracks
Spalling occurs when sections of concrete break away from the surface, exposing the reinforcing steel. This typically results from corrosion within the steel, causing it to expand and exert pressure on the surrounding concrete.
Cause: Corrosion of embedded reinforcing steel.
Repair Solution: Epoxy injection to fill and bond the cracks, combined with a surface coating to prevent future corrosion.D-Cracking in Concrete
Durability cracking, or D-Cracking, results from concrete’s inability to withstand freeze-thaw conditions. It usually manifests as cracks running parallel to joints or linear cracks, often with discoloration around the affected area. D-Cracking is primarily caused by the use of coarse aggregates that trap moisture, which expands during freezing and leads to cracking over time.
Cause: Coarse aggregates that absorb moisture and expand during freezing.
Repair Solution: Polyurethane injection, which remains flexible during freeze-thaw cycles.Corrosion Cracks in Concrete
Corrosion cracks develop due to the rusting of steel reinforcement embedded in concrete. As the steel corrodes, it expands, creating internal pressure that leads to cracking.
Cause: Rusting of embedded steel.
Repair Solution: Polyurethane resin, foam injection, depending on the severity and circumstances, to seal the cracks, prevent moisture ingress, or epoxy injection to regain structural strength.Stress Corrosion Cracks in Concrete
Stress corrosion cracks arise from a combination of tensile stress and a corrosive environment. These cracks are common in marine structures, bridges exposed to de-icing salts, or industrial facilities where chemical exposure is prevalent. This phenomenon often involves the interaction of aggressive chemicals (like chlorides or sulfates) with embedded steel reinforcement, resulting in cracks that may propagate rapidly under continued stress.
Cause: Interaction of tensile stress with corrosive chemicals.
Repair Solution: Polyurethane resin, foam injection, depending on the severity and circumstances, to seal the cracks, prevent moisture ingress, or epoxy injection to regain structural strength.Overloading Cracks in Concrete
Overloading cracks develop when concrete structures bear more weight than they were designed to handle. These cracks usually occur in heavily trafficked areas like driveways or industrial floors where heavy machinery operates.
Cause: Excessive loads exceeding the design capacity.
Repair Solution: Most likely high-strength epoxy injection to restore structural integrity.Concrete Expansion Cracks
Expansion cracks develop when concrete expands due to heat, exerting pressure on the structure. Like most materials, concrete expands when heated, and if it lacks sufficient space to expand, the resulting internal stress can cause cracks. Expansion joints are often installed to provide relief and absorb the stress of expanding concrete.
Cause: Thermal expansion without adequate expansion joints.
Repair Solution: Polyurethane foam injection, which is flexible enough to accommodate movement.Heaving Cracks in Concrete
Heaving cracks typically occur in cold climates where freeze-thaw cycles are common. When water within the concrete freezes, it expands considerably, causing the concrete slab to lift or “heave.” As temperatures rise and the ice melts, the slab settles back down, leading to the formation of cracks due to the constant movement. This can be prevented by allowing space for expansion and contraction.
Cause: Freeze-thaw cycles and temperature changes.
Repair Solution: Flexible polyurethane foam that can expand and contract with temperature variations.Crazing and Crusting Cracks in Concrete
Crazing refers to shallow, fine cracks resembling spider webs that appear due to premature drying. Crusting, on the other hand, occurs when the top surface dries faster than the bottom during stamping. While these cracks are not usually structural concerns, they can impact aesthetics and lead to moisture ingress.
Cause: Uneven drying during the curing or stamping process.
Repair Solution: Low-viscosity polyurethane foam for sealing and moisture protection.Disintegration Cracks in Concrete
Disintegration cracks are a result of the gradual breakdown of concrete, starting with surface scaling and leading to large pieces breaking away. Disintegration often results from chemical attacks like carbonation or sulfate exposure and poor construction practices.
- Cause: Chemical attacks or poor-quality aggregates.
Repair Solution: High-strength epoxy injection to reinforce the structure and sealant application to prevent further chemical exposure. Re-Entrant Corner Cracks in Concrete
Re-entrant corner cracks occur at areas with abrupt changes in geometry, such as around columns, pipe penetrations, sharp corners column bases, pipe penetrations, around rounded objects like manholes, and intersections where slab and wall joints meet. As the concrete dries, uneven shrinkage around these regions creates stress concentrations that lead to cracking.
Cause: Stress concentration around corners or openings.
Repair Solution: Polyurethane resin, foam injection, depending on the severity and circumstances, to seal the cracks, prevent moisture ingress, or, epoxy injection to regain structural strength.Alkali-Silica Reaction (ASR) Cracks in Concrete
Alkali-Silica Reaction (ASR), also known as concrete cancer, is a harmful chemical reaction between highly alkaline cement paste and reactive silica in aggregates. This reaction produces a hygroscopic gel that absorbs water, expands, exerts internal pressure, and progressive loss of concrete strength leading to map cracking, also known as pattern cracking or alligator cracking. This distinct crack pattern consists of randomly-oriented, web-like cracks on the surface of concrete elements that move in multiple directions.
Cause: Reaction between alkaline cement and reactive silica.
Repair Solution: Polyurethane resin, foam injection, depending on the severity and circumstances, to seal the cracks, prevent moisture ingress, or epoxy injection to regain structural strength.
Choosing the Right Repair Method for many Types of Concrete Cracks
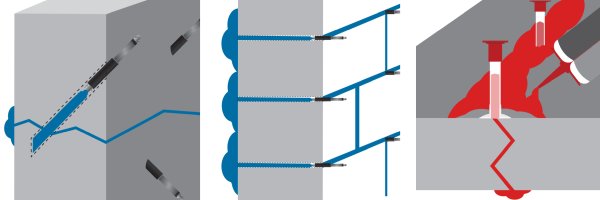
When selecting a repair method for different types of cracks, consider the crack’s cause, size, and impact on the structure:
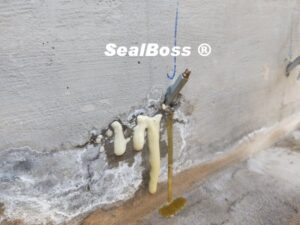
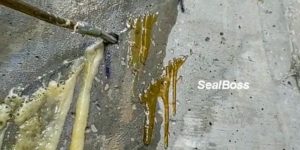
- Polyurethane Foam and Resin Injection: Ideal for flexible sealing in areas with moisture issues and minor movements. Works well for sealing finest cracks as well as large voids or areas prone to temperature changes, due to its expanding and flexible properties.
- Acrylate Gel: Perfect for curtain injection and super fine hairline cracks.
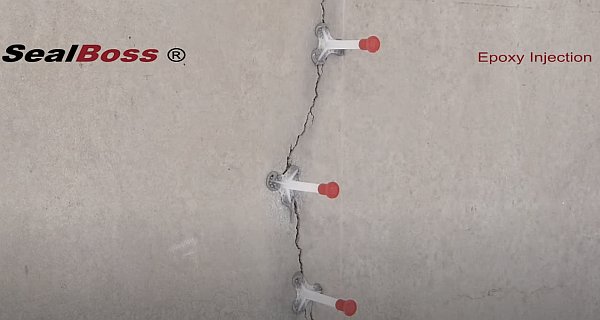
- Epoxy Injection: Best suited for structural repairs of cracks requiring high strength and load-bearing restoration.
Conclusion
Concrete cracks are an inevitable challenge for any concrete structure due to the diverse range of factors that can cause them, such as environmental conditions, structural issues, and material weaknesses. Understanding the different types of concrete cracks, such as shrinkage cracks, plastic shrinkage cracks, spalling, D-cracking, and more, is crucial for professionals tasked with maintaining the structural integrity of concrete elements.
By recognizing the root causes of these cracks, repair professionals can determine the most effective methods for restoration. For example, structural cracks due to overloading or stress corrosion may require high-strength epoxy injection to restore the original load-bearing capacity, while cracks resulting from freeze-thaw cycles or moisture ingress are better addressed using flexible polyurethane foam injections. For fine hairline cracks or moisture control in large sections, acrylate gels provide a versatile and efficient solution.
Proper selection of repair materials and techniques not only helps in addressing visible damage but also aids in preventing future deterioration, extending the life of the concrete structure. Each crack type demands careful evaluation to choose the right repair approach, ensuring both safety and durability.
Polymer-based injections, including polyurethane resins, foams, acrylates, and epoxies, offer comprehensive solutions for addressing a wide variety of concrete cracks. They provide the versatility to handle anything from superficial fine cracks to deep structural fissures, making them indispensable for professionals committed to maintaining the integrity of concrete elements.
By integrating these repair methods into their toolkit, professionals can confidently tackle any concrete crack repair challenge, ensuring long-term durability and safety for the structures they manage. As always, consulting experts and selecting high-quality products for each specific application remains key to achieving successful and lasting results.
To learn more about how to approach specific concrete crack repair projects, explore our Concrete Crack Repair Quick Guide
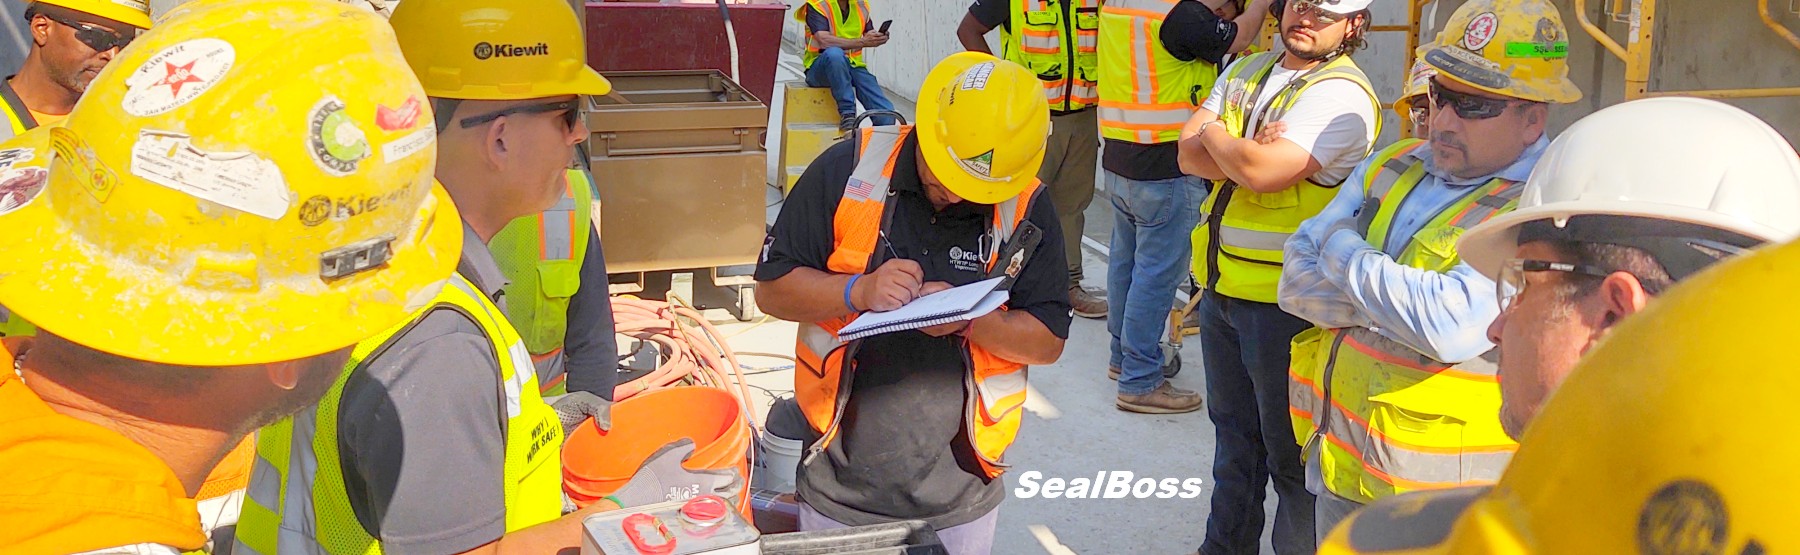

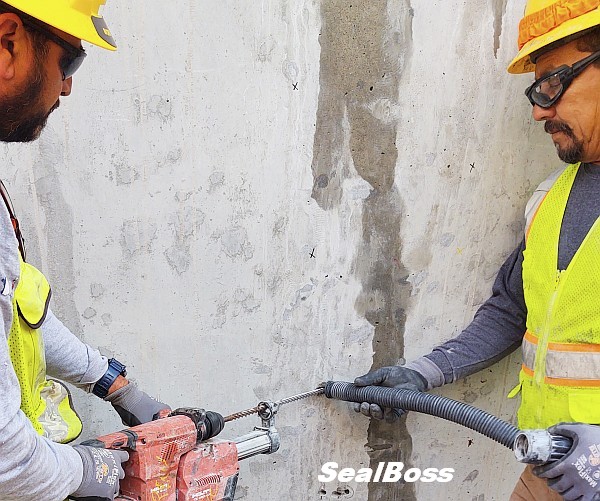
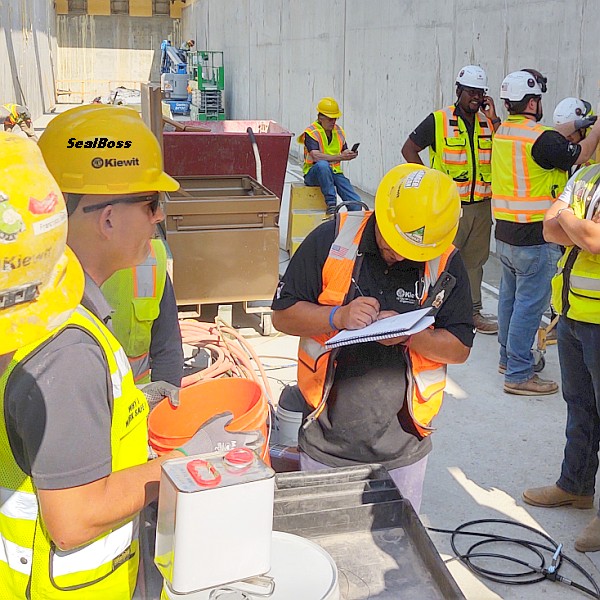


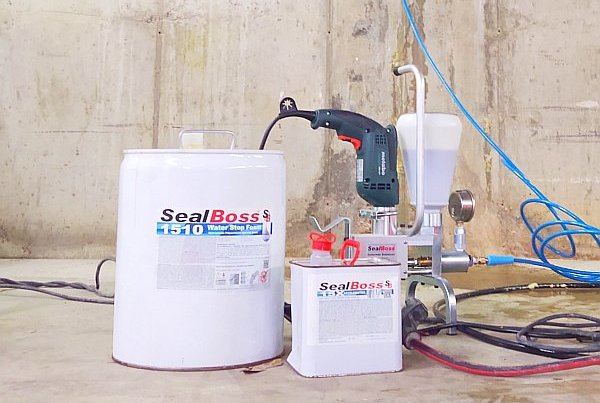
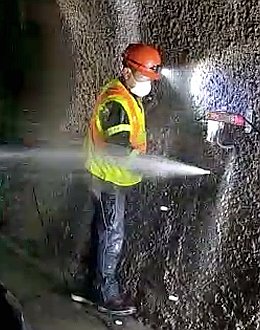
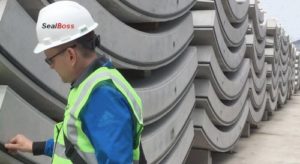
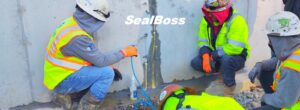
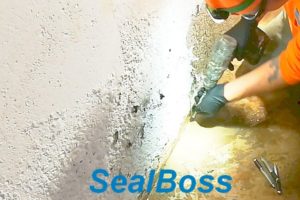
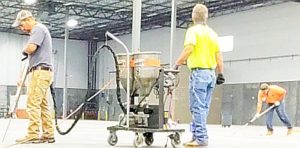
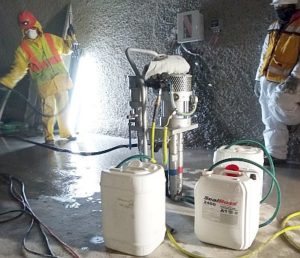
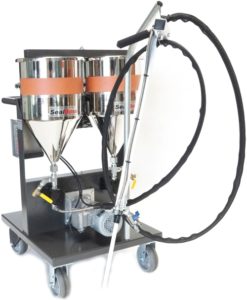
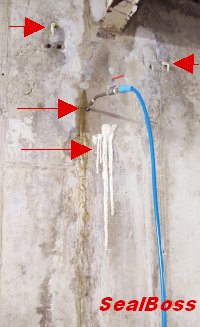 Injection of concrete parking structure in St. Louis, Missouri using the SealBoss Water Stop System