


Beam Pocket Leaks Sealed
Beam Pocket Leaks Sealed
Polyurethane Foam Injection Leak Stop
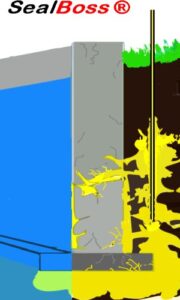
What is a Beam Pocket ?
A beam pocket is a recessed space designed to hold the end of an intersecting beam in a concrete wall, a masonry wall, or a column.
Beam pockets in exterior structures are often subject to water leakage.
Addressing the Challenge: Comprehensive Water Intrusion Remediation
The Issue at Hand
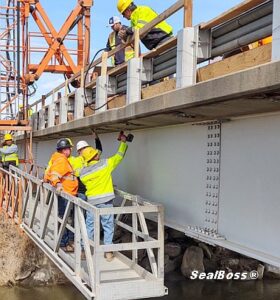
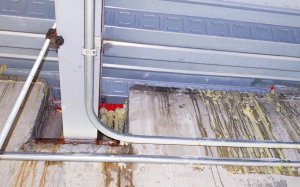
A notable challenge emerged when a client reported significant water intrusion through beam pockets in an exterior structural concrete wall. This issue led to consequential water leak-related damages within a concessions room and storage area, necessitating immediate action.
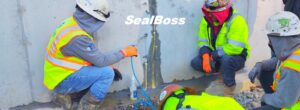
To address this critical situation, a specialized waterproofing contractor was enlisted to not only remediate all existing leaks but also to provide expert advice on strategies to thwart future water intrusion events.
Strategic Resolution
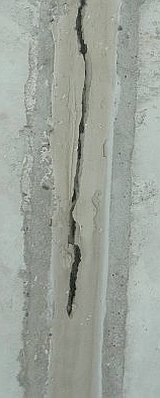
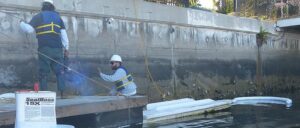
The contractor initiated a meticulous examination of the afflicted structure, pinpointing the origin of the leakage on the Northwest side. This area was notably vulnerable due to the accumulation and subsequent stagnation of snow melt, exacerbated by winter storms. Compounding the problem were the compromised gutters and evident signs of water overflow at exterior joints, which facilitated the ingress of water into the structure through various openings, including joints, cracks, and unsealed beam pockets.
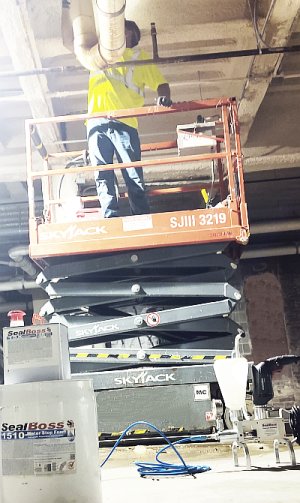
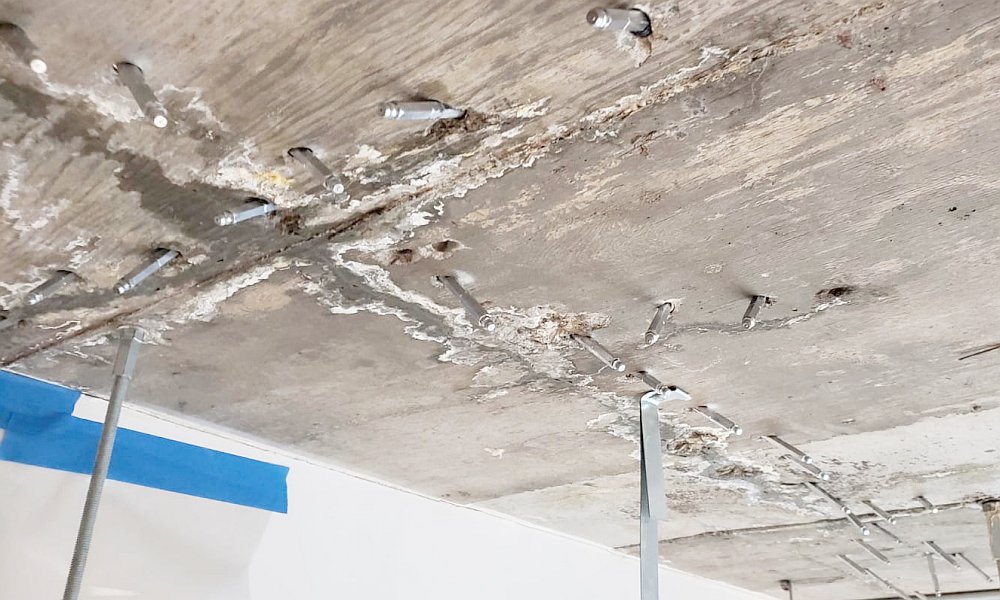
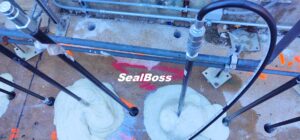
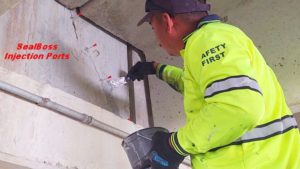
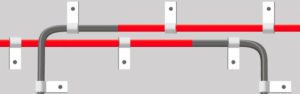
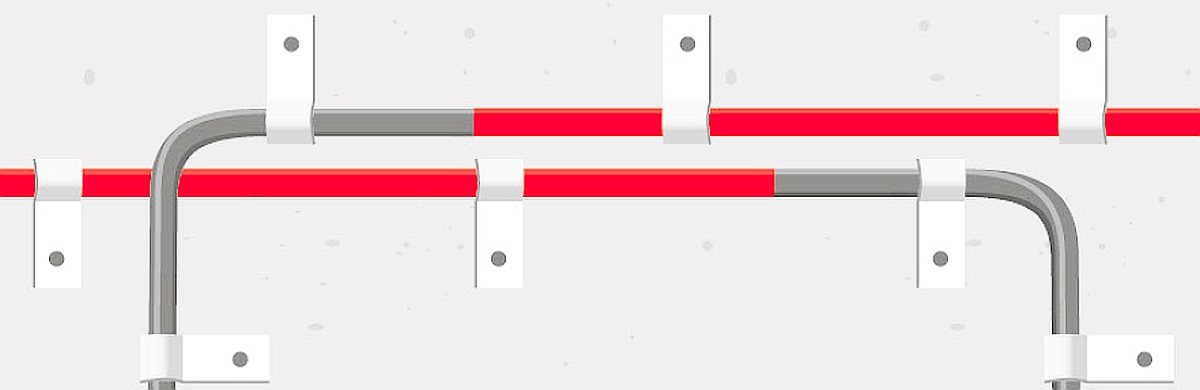
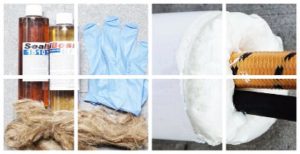
To counteract these issues, a strategic approach was employed using SealBoss 1510 NSF/ANSI 61 Water Stop Foam. This innovative solution was meticulously injected into the problematic beam pockets and along the cold joints between the concrete wall and the adjacent corrugated metal, targeting the very sites where leaks had been identified. The application followed the SealBoss 1, 2, 3, 45 Degree Injection Method, employing injection packers positioned approximately 4 inches from the joint. This method involved drilling ½-inch holes at a 45-degree angle, directly targeting the compromised joints for optimal resin injection.
The SealBoss 1510 resin was administered until a condition known as ‘positive refusal’ was achieved, indicating that the hydro-active resin had fully occupied and sealed the intended areas, both in the beam pockets and along the junctions between corrugated metal and concrete.
Proactive Measures for Future Prevention
In addition to addressing the immediate leaks, the client received crucial advice to mitigate future risks. Recommendations included the installation of additional downspouts and the repair of damaged gutters, crucial steps to effectively manage water flow and prevent its accumulation near the building’s foundation. Furthermore, the client was advised to ensure the prompt removal of snow from the building’s vicinity to avoid the formation of stagnant snow melt, a key contributor to the initial problem.
Through these comprehensive measures, the structural integrity and dryness of the client’s property were significantly enhanced, providing a robust solution to a complex problem and laying the groundwork for a drier, more secure future.
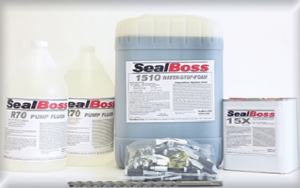
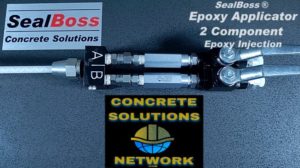
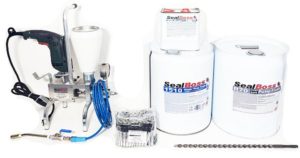
Products Used:
Injection Resin: SealBoss 1510 with SealBoss 15x Accelerator
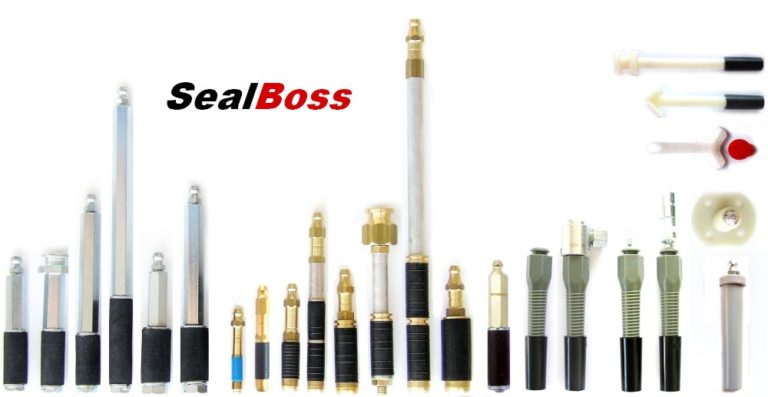
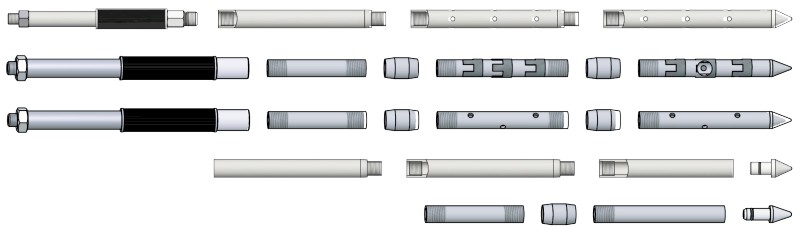
Injection Packers: 1/2” 13-100 Evolution Aluminum Packers
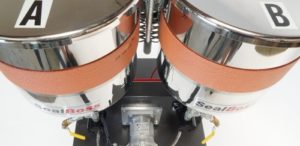
High Pressure Pump: P2002 Single Component Injection Pump
Cleaning Materials: Xylene, R70 Pump Flush, rags, bucket
Additional Tools: 18” x 1/2″ drill bit — 3/8” Crescent Wrench — Dead Blow Hammer
Hammer Drill — Access 110v Power — Vacuum
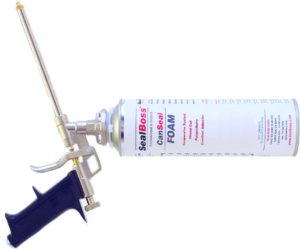
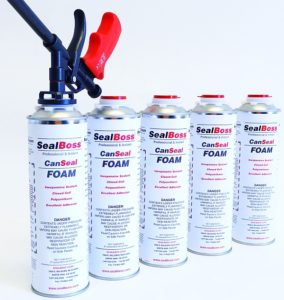
SealBoss ® 1510 NSF Beam Pocket Water Stop Foam
- Beam Pocket Repair, Crack & Joint Leak Sealer
- Concrete Walls, Masonry Walls, Columns
SealBoss ® 1510 NSF Beam Pocket Seal Foam Advantages
- Low Viscosity
- Fast Cure Time
- Advanced and Proven SealBoss ® Product-Pump-Packer System
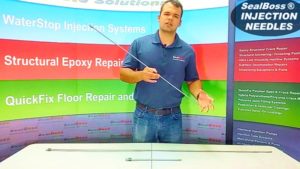
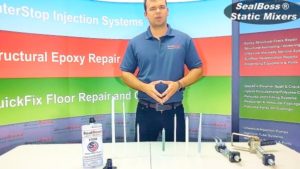
In Person and Video training is available upon request, contact SealBoss today to speak to your regional technical representative on our SealBoss full system solutions and offerings.
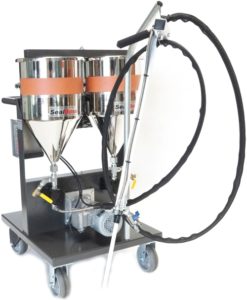
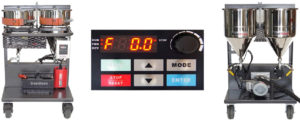
Bestselling SealBoss ® Brand P2002 Injection Pump Advantages
- Light Weight Injection Pump
- High Quality Components for Durability
- Proven Design – Thousands of Units Sold
- Easy To Clean
- Easy To Maintain
- Heavy Duty For Daily Use
- Pressure Gauge, Hose Set, Hopper Included
- Recommended For Beginners & Injection Pros
- > 5000 PSI Injection Pressure Possible
In Person and Video training is available upon request, contact SealBoss today to speak to your regional technical representative on our SealBoss full system solutions and offerings.
‘When I am asked to provide jobsite assistance, support and training, I try to create a positive learning environment where confidence and a level of comfort can be achieved in a short period of time allowing for successful repairs to be continued after the training.
From training new companies to new employees, SealBoss has continued to provide support to our users for 36 years and I look forward to continuing this tradition in the years to come.
With a knowledgeable technical support team, we are here to help with any questions you may have’