


Concrete Injection Job Checklist
Confirm the material, pump, packers, site conditions, documentation, cleanup plan, and field records before injection begins.
This planning checklist connects products, equipment, and method without treating epoxy, polyurethane, and acrylate injection as one universal procedure.
Use This as a Readiness Checklist
Use this page to plan mobilization, confirm field readiness, organize quality-control observations, and document the work. It does not replace the current product data sheet, SDS, application guideline, equipment manual, project specification, or direction from a qualified technical representative or design professional.
Quick Guide: Crack Injection Procedure
Crack injection requires careful preparation, the correct material and equipment, and close observation throughout the work. Use this guide as a general sequence alongside the job checklist. The exact procedure depends on the injection material, crack condition, structure, equipment, and approved application method.
1. Prepare Equipment and Protective Gear
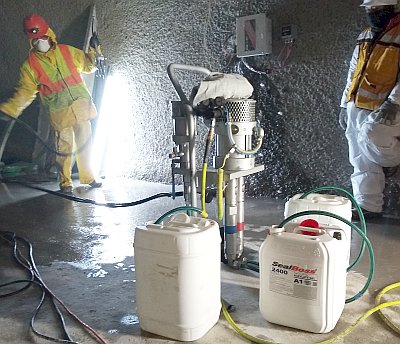
Gather the required injection material, pump, hoses, applicator, packers or ports, couplers, tools, cleaning materials, and spare components. Confirm personal protective equipment and jobsite safety requirements from the current SDS, project safety documents, and site rules.
2. Inspect and Document the Injection Area
Examine the crack, joint, or leak area before work begins. Record visible conditions, moisture or active water, access limitations, possible material exits, and adjacent areas that may require protection.
3. Prepare the Crack and Surrounding Surface
Remove loose material, dust, debris, coatings, or contaminants as required by the approved procedure. Preparation methods vary by injection system and substrate condition.
4. Install Packers or Ports
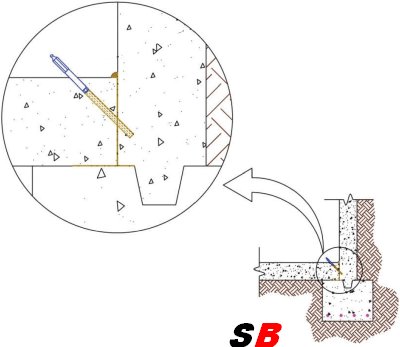
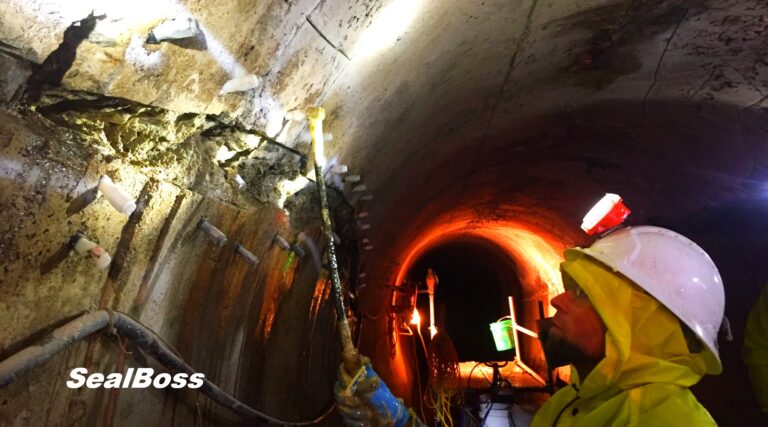
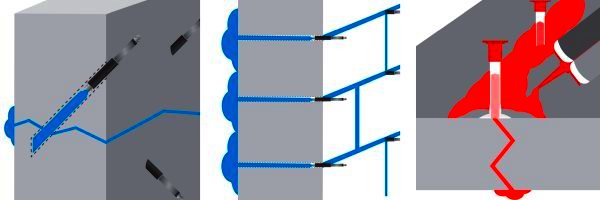
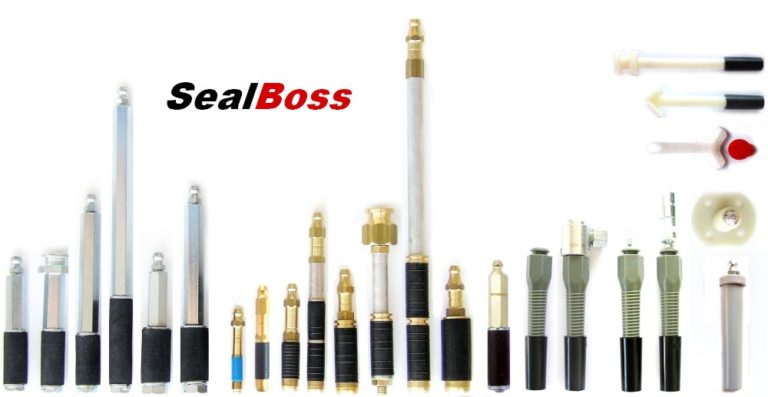
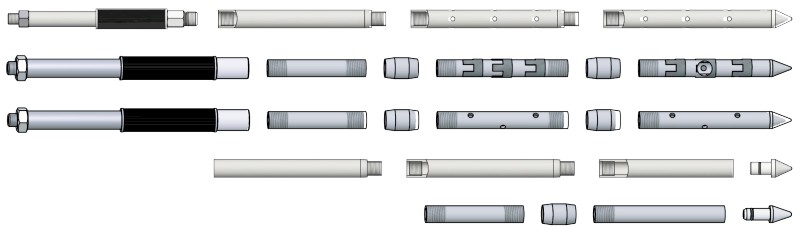
Select and install the specified mechanical packers or surface-mounted ports. Packer type, drilling angle, depth, and spacing must follow the approved application method and actual project conditions.
5. Prepare the Injection Material
Confirm the exact product and component system. Follow the current product data sheet and application instructions for conditioning, mixing, proportioning, accelerator use, and equipment setup. Do not substitute components or alter ratios without technical authorization.
6. Apply a Surface Seal When Required
Some injection methods—particularly certain epoxy procedures—may require the exposed crack surface to be sealed between ports. Use the specified material and allow it to develop the required condition before injection.
7. Begin the Injection
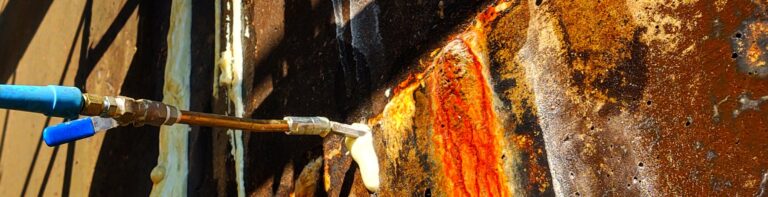
Start at the location identified in the approved injection sequence. Connect the pump to the first packer or port and proceed according to the product, equipment, and application instructions. The correct sequence may vary with crack orientation, water condition, structure, and injection objective.
8. Monitor the Procedure
Observe material flow, pressure response, packer or port stability, returns at adjacent locations, and any unintended leakage or discharge. Stop and request technical review when conditions differ materially from the approved plan.
9. Allow the Material to React or Cure
Follow the current product documentation for reaction, cure, hold, or waiting requirements. These periods vary significantly among epoxy, polyurethane, and acrylate systems.
10. Remove or Finish Packers and Ports
Remove, cut back, or leave packers and ports in place as directed by the approved procedure. Patch or finish the injection locations according to the project requirements.
11. Clean Equipment and Manage Waste
Thorough equipment cleaning is essential. Follow the current SealBoss cleaning instructions for the specific material and equipment system, and handle or dispose of all waste and cleaning materials in accordance with the SDS, site requirements, and applicable regulations.
12. Complete the Final Inspection
Document the completed work, material use, injection observations, and any remaining conditions. Acceptance should be based on the project specification and the criteria established by the responsible contractor, technical representative, or design professional.
Important: This quick guide is a general planning reference. Always follow the current SealBoss product data sheet, SDS, application guideline, equipment manual, and project-specific requirements for the exact material and system being used.
Stop before starting: Product and method selection must be based on the repair objective and actual project conditions.
Material
Confirm the exact product variation, components, condition, current documents, and approved cleaning materials.
Equipment
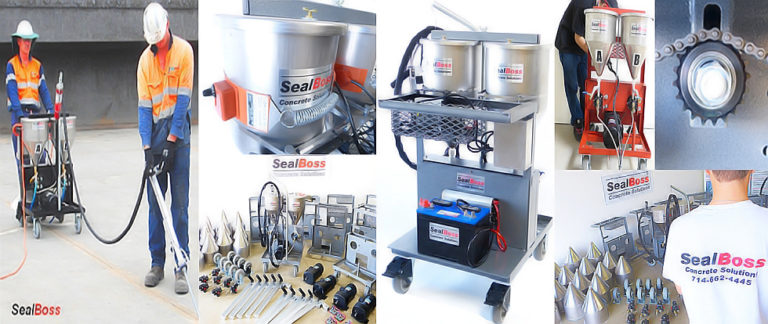
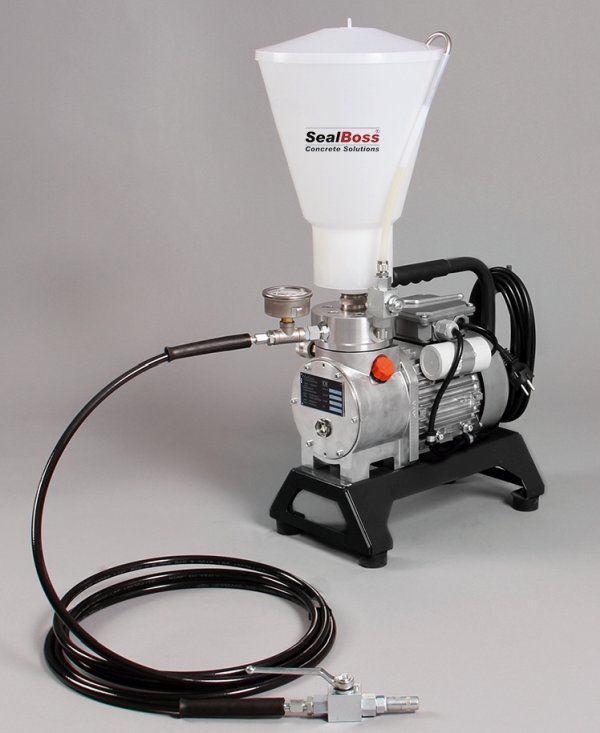
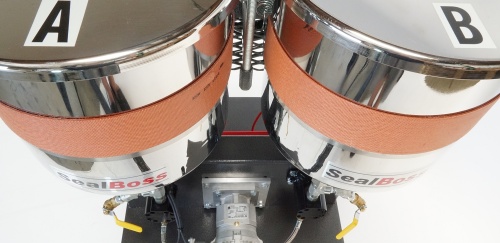
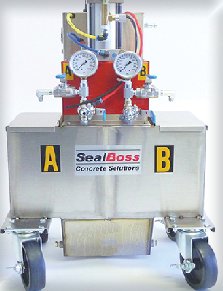
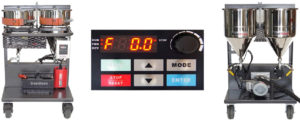
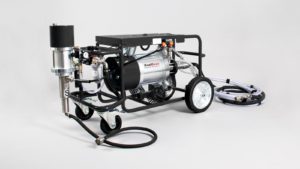
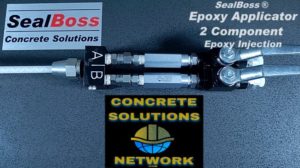
Match the pump, hose, applicator, packers or ports, couplers, spares, and power requirements to the system.
Method
Use the approved preparation, installation, monitoring, shutdown, and field-record procedure for the application.
Project Information
Complete these fields before mobilization or at the pre-job meeting.
- Project and location: ______________________________
- Date and shift: ____________________________________
- Contractor and crew lead: ___________________________
- Repair objective: __________________________________
- Injection product and variation: ____________________
- Pump and applicator: _______________________________
- Packer or port system: _____________________________
- Project specification or method statement: __________
- Technical contact: _________________________________
1. Confirm the Repair Objective
- The repair objective has been clearly documented.
- The condition has been identified as dry, damp, wet, or actively leaking.
- The substrate type, thickness, accessibility, and visible condition have been reviewed.
- Crack movement or structural requirements have been referred to the appropriate design professional where applicable.
- Access to one or both sides of the structure has been confirmed.
- Likely material travel paths, exits, drains, voids, and occupied spaces have been considered.
- Project acceptance criteria have been established by the responsible party.
- The selected injection material category is appropriate for the stated objective, subject to technical confirmation.
2. Documents to Have at the Jobsite
- Current product data sheet for the exact product variation.
- Current SDS for every product, component, cleaner, and flush material.
- Current SealBoss application guideline.
- Current pump and equipment manual.
- Packer, port, coupler, and accessory information.
- Project drawings, specifications, and approved method statement.
- Job hazard analysis or site safety documentation.
- Technical clarification and approval records.
- Batch, lot, material-use, daily injection, and photo records.
- Emergency and technical-support contact information.
3. Materials and Components
- Exact product name and variation confirmed.
- Required components, accelerators, hardeners, or additives confirmed.
- Material quantity estimated from the project plan, with appropriate contingency.
- Lot numbers, shelf-life information, storage, and site-conditioning requirements checked.
- Containers and components clearly labeled.
- Measuring and mixing equipment available where required.
- Dedicated tools and containers assigned to prevent cross-contamination.
- Patch, surface-seal, finishing, and containment materials available when required by the approved method.
4. Pump, Hose, and Applicator Readiness
- Pump type and configuration are compatible with the selected injection system.
- Required component ratio and wetted-part compatibility have been confirmed.
- Pump is clean, operational, and ready for the selected material.
- Hoses, fittings, valves, gauges, seals, couplers, and applicator have been inspected.
- Required power, compressed air, extension cords, or other utilities are available.
- Spare seals, hoses, fittings, couplers, valves, and wear components are available.
- Static mixers, nozzles, or mixing heads are available where required.
- The approved priming, testing, startup, flushing, and cleaning procedures have been reviewed.
5. Packers, Ports, and Drilling Equipment
- Packer or port type, diameter, length, valve position, and coupler configuration confirmed.
- Sufficient quantity plus replacements available.
- Drill, suitable drill bits, spares, and depth control available where required.
- Hole-cleaning, vacuum, or dust-control equipment available as required.
- Wrenches, sockets, drivers, setting tools, and marking tools available.
- Surface ports and surface-seal materials available when required.
- Port-removal and patching materials available.
- Packer or port layout has been marked according to the approved method.
6. Jobsite and Safety Readiness
- Crew has reviewed the current SDS, product labels, job hazard analysis, and site requirements.
- PPE, ventilation, hygiene, first-aid, and emergency provisions have been confirmed from current safety documents.
- Drilling, electrical, pressure, access, dust, and fall hazards have been assessed.
- Rebar, utilities, post-tensioning, and embedded items have been addressed as required by the project.
- Work-zone barriers and access controls are in place.
- Occupied spaces, adjacent property, drains, openings, equipment, and finishes are protected where necessary.
- Spill-control, containment, suitable waste containers, and sufficient lighting are available.
- Communication between the pump operator and injection personnel has been established.
7. Crack and Injection-Area Assessment
- Crack or repair area has been photographed before work.
- Location, orientation, visible width, extent, and water condition have been recorded.
- Access limitations and visibly unsound, contaminated, loose, or spalled material have been identified.
- Visible exits and possible material-loss locations have been identified.
- Adjacent joints, penetrations, drains, cavities, and voids have been reviewed.
- Areas requiring engineering or technical review have been marked.
- The proposed injection sequence and first test location have been established from the approved method.
- Required field observations and acceptance criteria have been discussed with the responsible party.
8. Final Pre-Injection Check
- Repair limits and injection sequence confirmed.
- Drill holes or surface-port locations prepared and cleaned according to the approved method.
- Packers or ports installed and secure; surface seal ready where required.
- Pump, hose, applicator, and couplers assembled and setup verified against the current manual.
- Correct material components staged and mixing or proportioning instructions reviewed.
- Required field test or reaction check completed when specified.
- Containment, monitoring areas, cleanup materials, and waste containers are ready.
- Field record form started, crew responsibilities confirmed, and stop-work conditions reviewed.
9. Injection Quality-Control Record
- Assign a number to each packer or port.
- Record start and stop time and material quantity.
- Record equipment setting or pressure observation as required by the approved method.
- Record material travel, return, leakage, or unexpected discharge.
- Record packer or port condition and corrective action.
- Monitor pump operation, material flow, adjacent surfaces, openings, and the opposite side where accessible.
- Keep communication open between the injector and pump operator.
- Stop work when conditions differ materially from the approved plan.
10. Shutdown, Cleanup, and Closeout
- Required cure or hold period confirmed from current documents.
- Packers or ports removed or left in place according to the approved method.
- Holes, surface seals, and injection locations finished as specified.
- Pump, hoses, applicators, mixers, valves, and couplers cleaned using the approved chemistry-specific procedure.
- Unused mixed material, cleaners, flush material, rinse water, and waste handled according to the SDS and site requirements.
- Equipment inspected after cleaning; damaged or worn parts tagged for service or replacement.
- Remaining materials stored according to current product documentation.
- Final photographs, treated-area map, lot numbers, quantities, daily report, and closeout records completed.
Stop Work and Request Review When
- A packer or port moves, loosens, or becomes unstable.
- Pressure or flow changes unexpectedly.
- Material discharges into an unintended area.
- The substrate shows damage or distress.
- The pump, hose, applicator, or proportioning system malfunctions.
- Material behavior differs from the current technical documentation.
- The crew cannot confirm the correct component, ratio, cleaner, or equipment setup.
- An unsafe or uncontrolled condition develops.
Product-System Verification
Use these prompts to verify readiness. They are not universal application instructions.
Polyurethane Leak-Seal Injection
- Exact polyurethane product and variation confirmed.
- Water condition and intended reaction identified.
- Accelerator or component instructions confirmed where applicable.
- Pump condition and compatibility confirmed.
- Required testing, flushing, containment, and cleanup materials available.
Epoxy Crack Injection
- Repair objective and structural responsibility confirmed.
- Crack moisture and standing-water limitations checked.
- Surface-port or mechanical-packer method confirmed.
- Surface-seal readiness, mixing ratio, dispensing configuration, and static mixers confirmed.
- Cleanup can begin within the period required by current documents.
Acrylate or Gel Injection
- Exact component system confirmed.
- Pump ratio and wetted-part compatibility confirmed.
- Component containers and tools clearly separated.
- Required field reaction or gel-time check and site-condition records confirmed.
- Dedicated flushing, cleanup, and unintended-travel controls confirmed.
Build the Complete Injection System
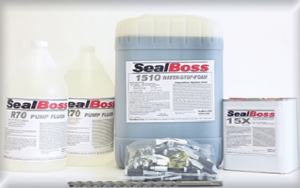
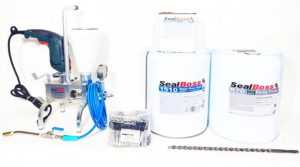
A prepared injection crew needs more than the resin.
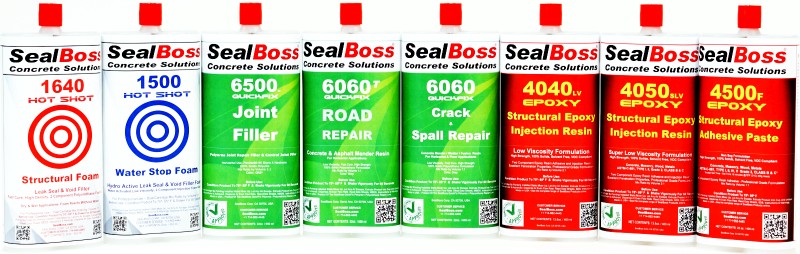
Products
- Injection product and components.
- Accelerator or hardener where applicable.
- Surface-seal or patching materials.
- Approved cleaners and flush materials.
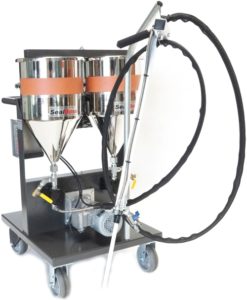
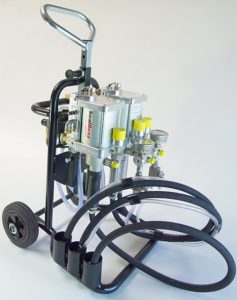
Equipment
- Injection pump.
- Hoses and applicator.
- Gauges, valves, and fittings.
- Packers, ports, couplers, connectors, drill, bits, and spares.
Field Support
- Current product and safety documents.
- Approved application method.
- Crew training and field records.
- Technical support and cleanup plan.
Review Current Technical Resources Before Mobilizing
Review the current documents for the exact product and equipment system. Contact a SealBoss technical representative for application-related product, pump, packer, and system information.
Products, Equipment, and Training