


Watertight Pipe Penetration Sealing
Watertight Pipe Penetration Sealing
Guidelines for Pipe Penetration Waterproofing
Introduction
Waterproofing pipe penetrations is a critical task in maintaining the integrity of a structure housing utility systems. Ensuring that pipes and conduits passing through walls or floors do not allow water ingress is essential for preventing damage and maintaining safety, especially in environments with high moisture or any water exposure. This guide provides a comprehensive overview of the steps and techniques necessary for effective pipe penetration waterproofing and sealing.
It covers the basics of installing new or replacing failed water stops around existing pipe penetrations, utilizing a range of products and techniques to seal these areas effectively. Whether you are dealing with active leaks, dormant leaks, or the unwanted migration of pollutants or gases such as exhaust fumes, unsealed pipe penetrations and conduits require an understanding of the best sealing procedures for your specific situation, this guide, along with the expert assistance of SealBoss technicians, offers the knowledge and solutions needed to address these challenges confidently.
How to Replace failed Water Stop around existing Pipe Penetrations
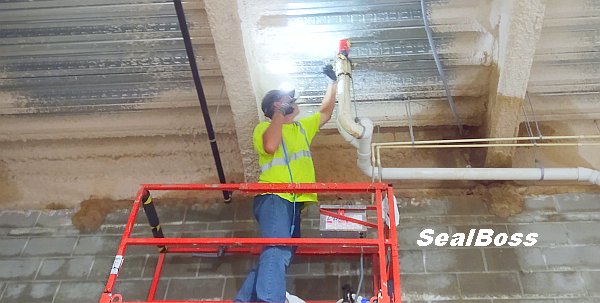
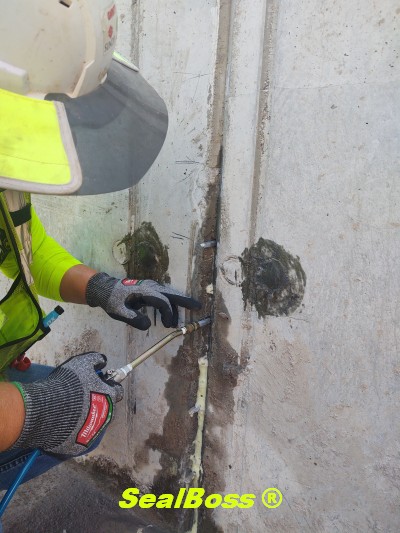
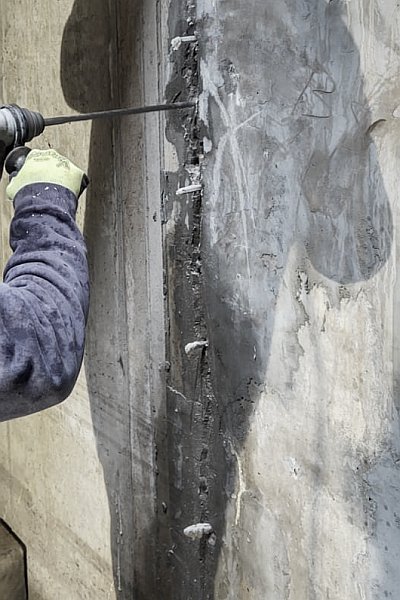
Step 1: Clean the area – Begin by eliminating any old grout or deteriorated concrete from around the pipe penetrations. Ideally, remove material to a depth of at least 1″ and a width of 1/2″ all around the pipe’s circumference. In this demonstration, an air chisel was utilized adhering to the safety protocols outlined by the natural gas plant.
Step 2: Clear the debris – After the removal of old grout or concrete, it’s essential to thoroughly clean the area. Employ a brush, air blower, or vacuum cleaner to eliminate any remaining dust or loose particles.
Step 3: Initiate the repair process – Once the area is clean, you’re ready to proceed with the installation of the repair products. Your pipeline is now prepped for the restoration process to commence.
Utilizing Multiple Products and Techniques for Pipe Penetration Sealing
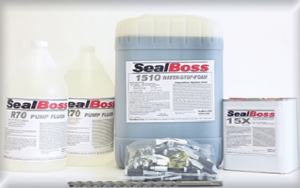
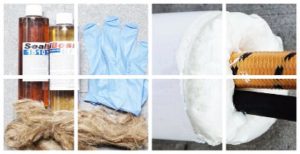
- Using SealBoss Seal Oakum for pipe penetration waterproofing by following the “Oakum Soakum” technique with SealBoss Water Stop Foam 1510 / 1570 and Oakum.
Oakum Saturation with Foam Grout
Oakum Soakum Installation
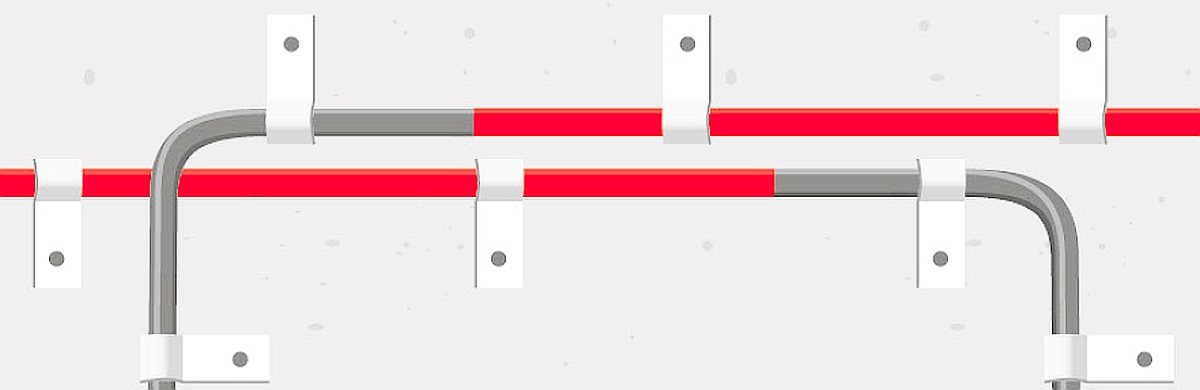
The process starts by unwinding and snipping an adequate length of Oakum rope to encircle the part of the pipe where it breaches the wall. The installer will initially manipulate and expand the Oakum, augmenting its surface area for better adherence with the catalyzed resin.
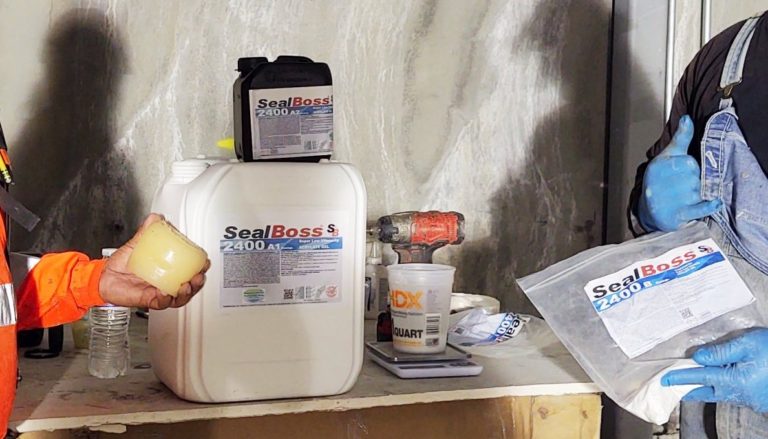
Next, using a zip-top bag or a bucket, dispense a sufficient quantity of SealBoss 1510/1570 resin to comprehensively saturate the Oakum strand. Following this, add the desired 15x catalyst concentration of 5% – 20%, contingent on the intensity of the leak.
The catalyst ratio dictates the reaction time and expansion rate. For dormant leaks, we recommend a catalyst percentage of 5% to 10%, and for active leaks, a proportion of 10% to 20% is suggested. Our technical representatives are available for any queries related to catalyst ratios.
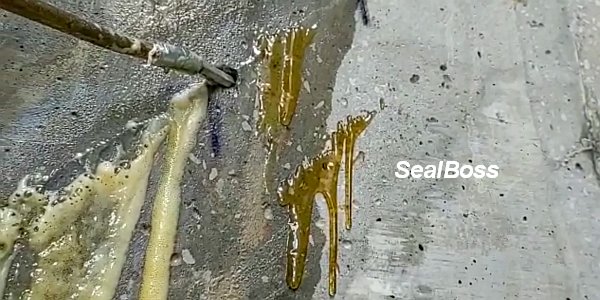
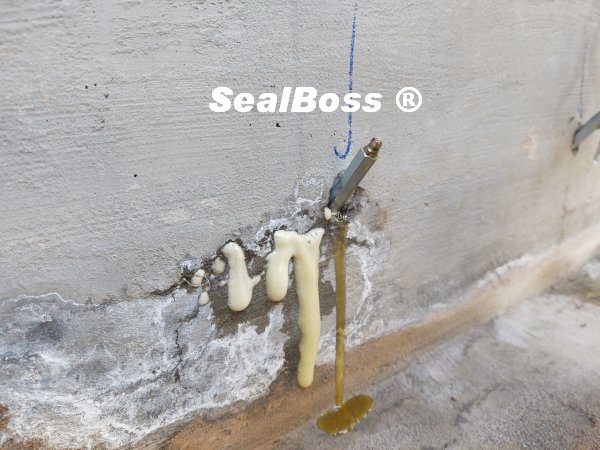
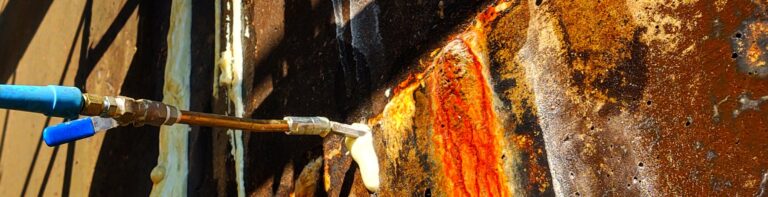
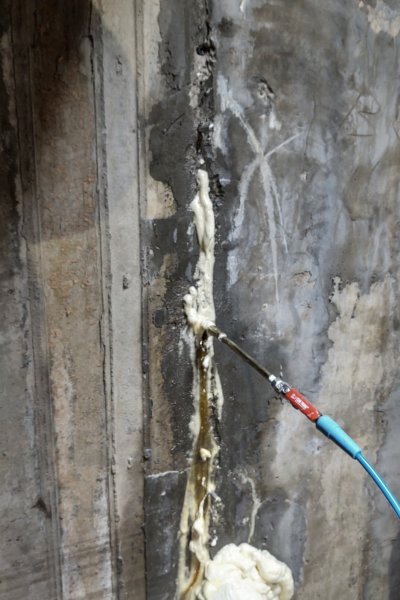
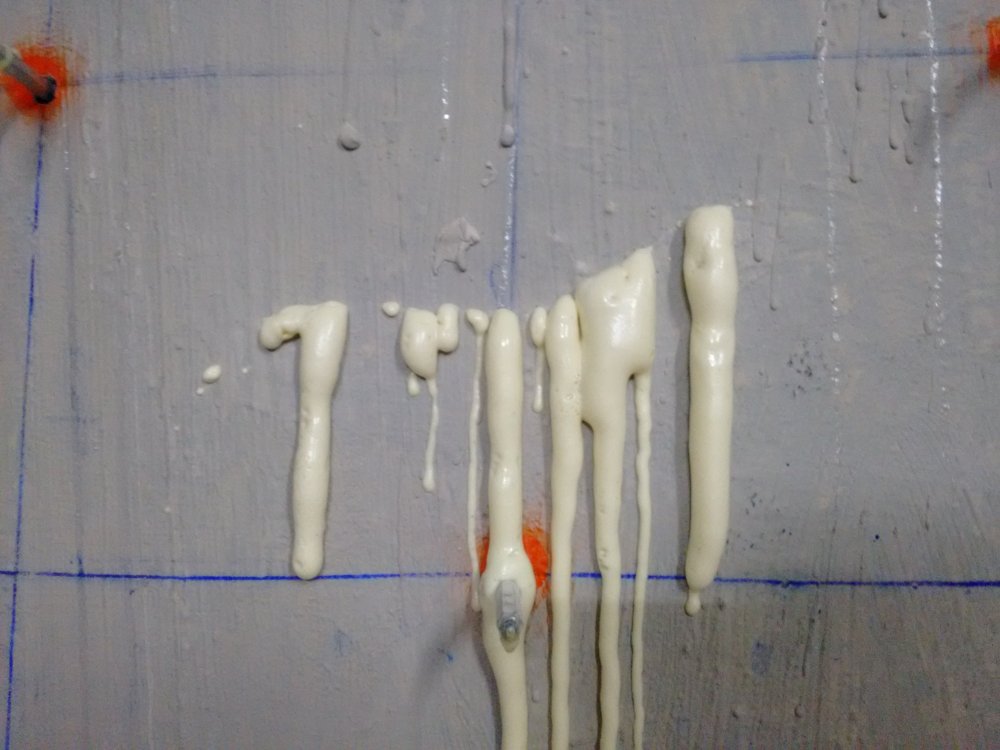
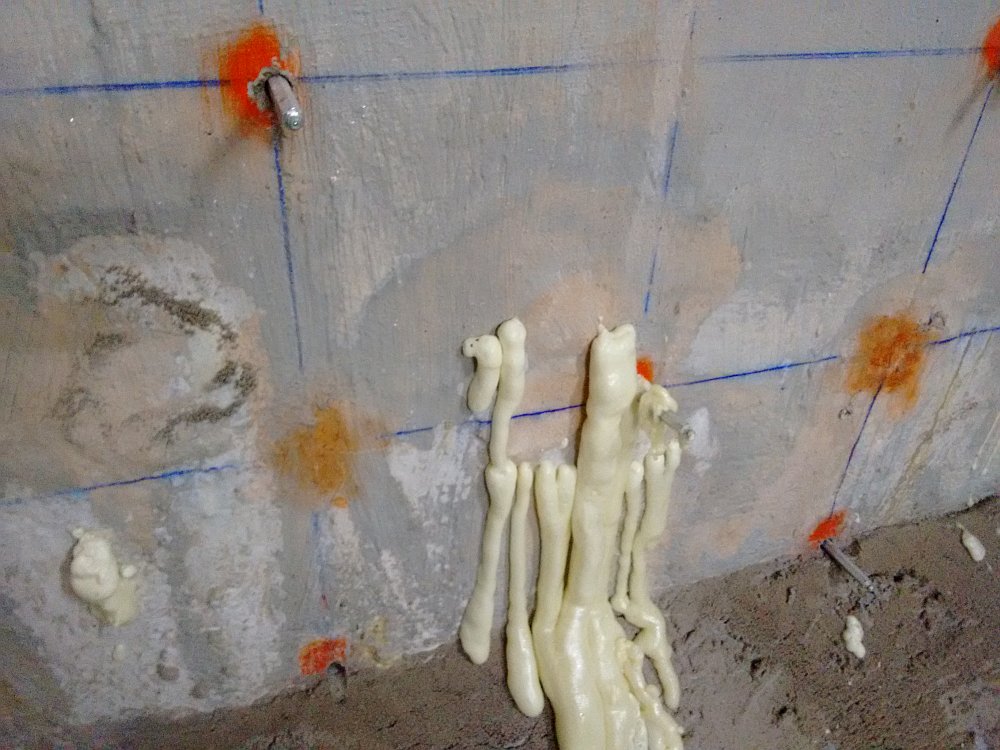
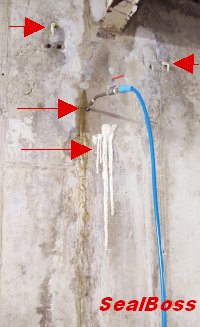
After thoroughly soaking the Oakum, swiftly wrap it around the pipe, manipulating the fibers to fill as much of the pipe penetration annulus as possible. This forms a gasket-like sleeve around the pipe. Spray the soaked Oakum with water to facilitate the foam’s catalyzation. Within moments, you’ll observe the foam starting to form and expand.
Upon the foam’s complete curing, consider the repair concluded successfully.
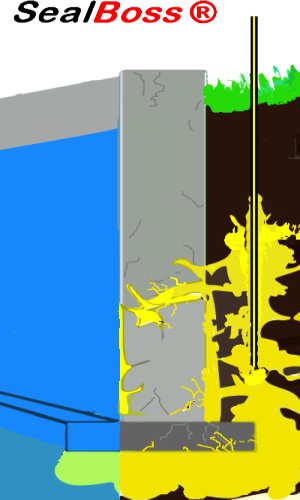
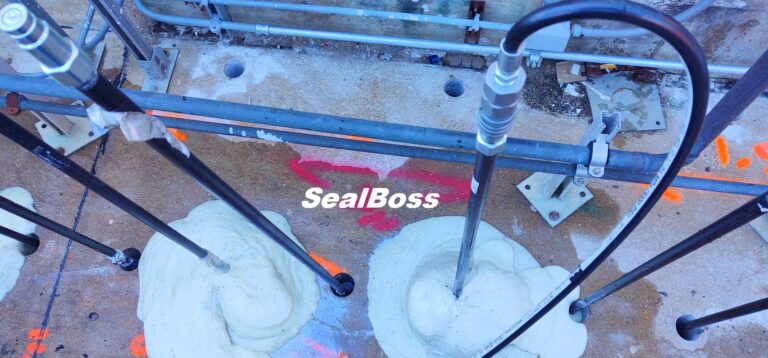
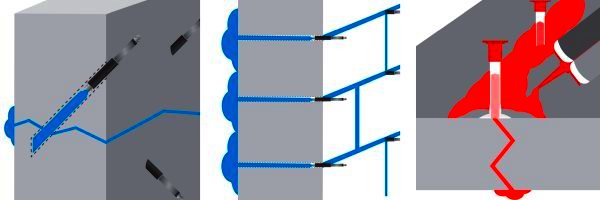
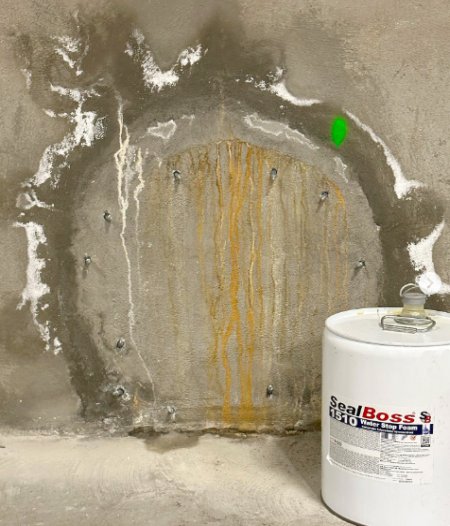
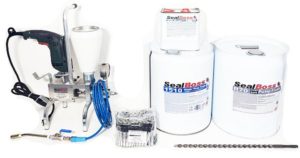
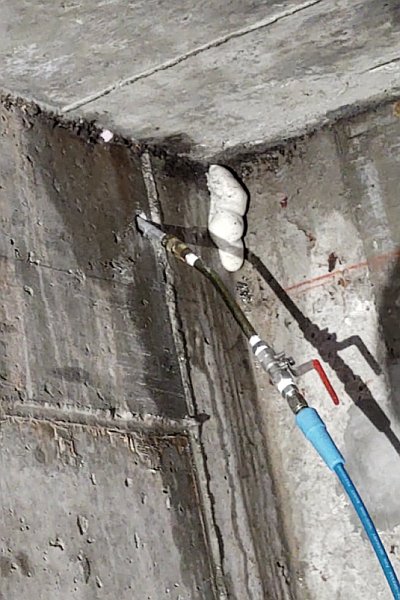
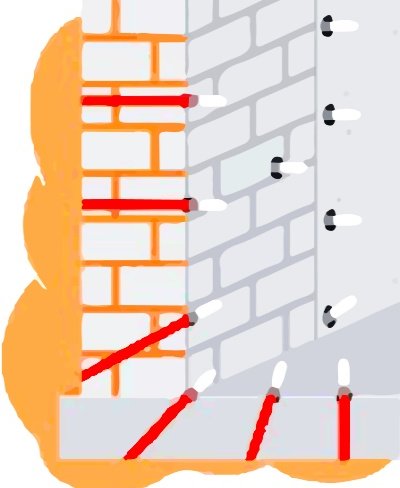
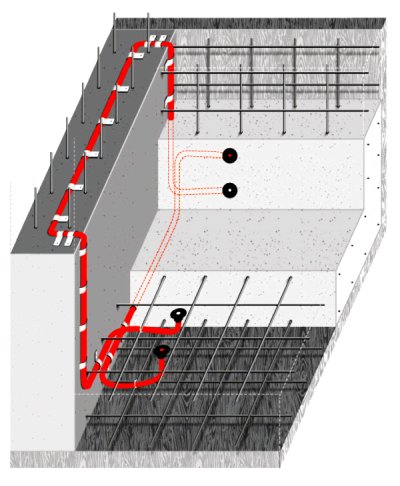
- In areas of constant hydrostatic pressures it is often recommended to inject the circumferential void throughout the thickness of the wall using SealBoss 1510 or 1570 Water Stop Foam.
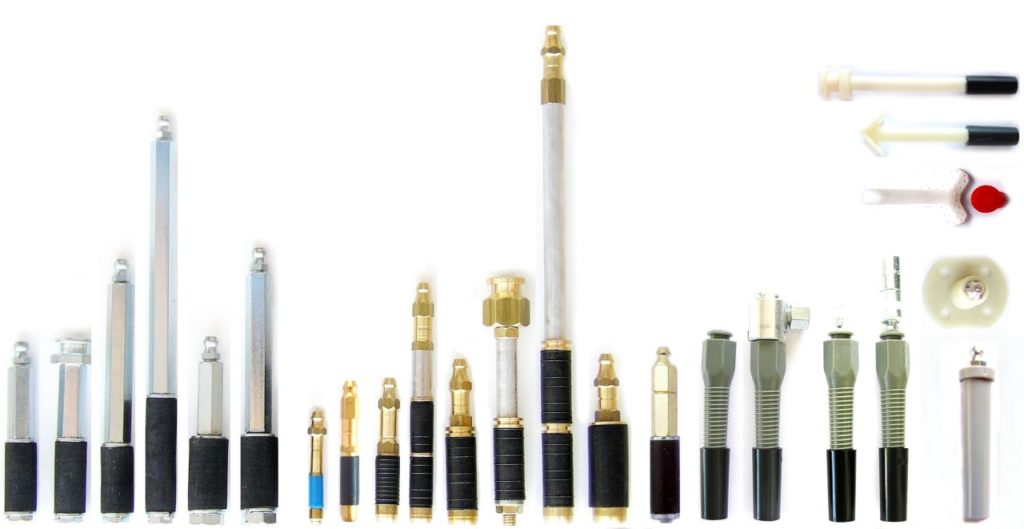
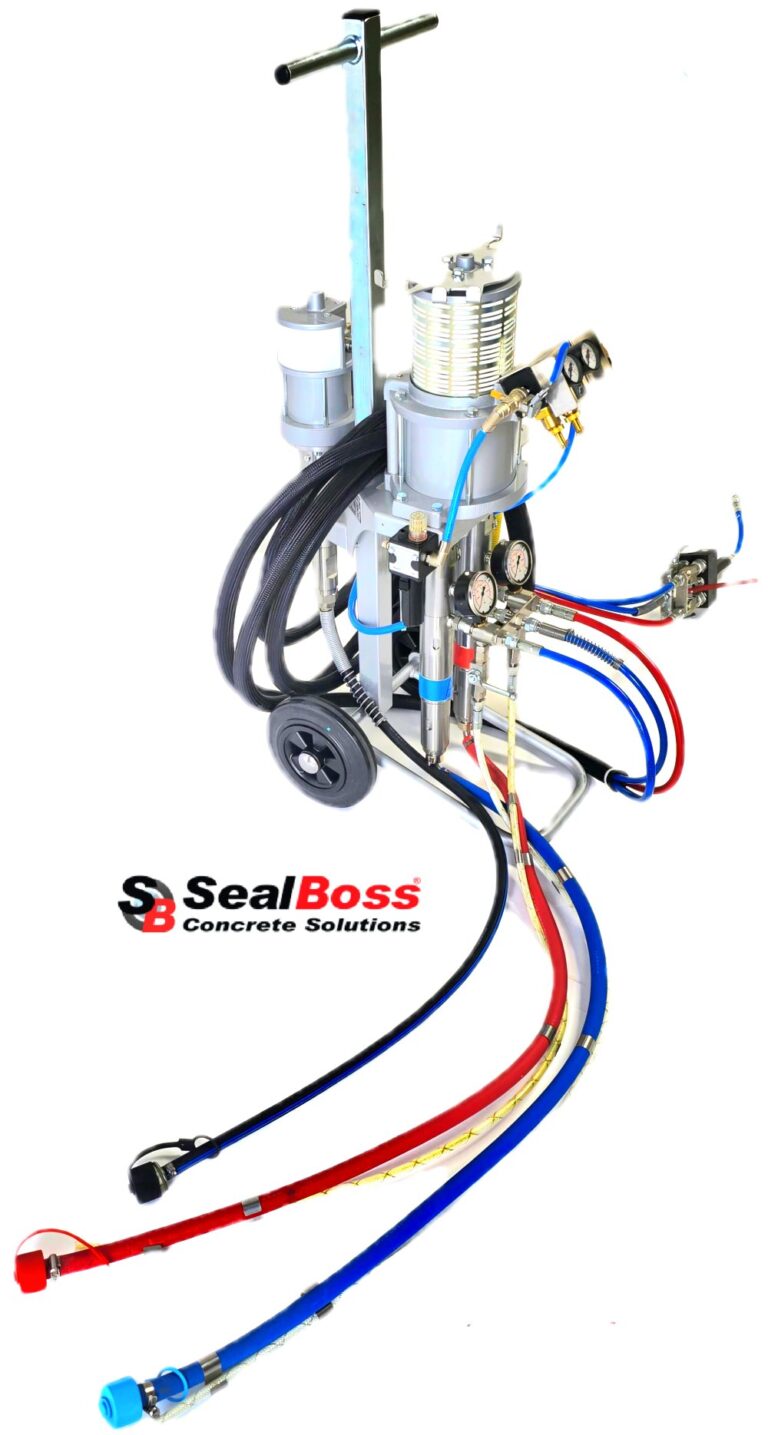
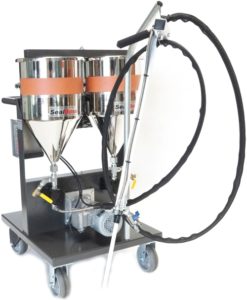
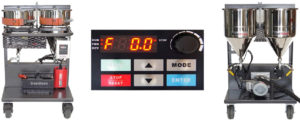
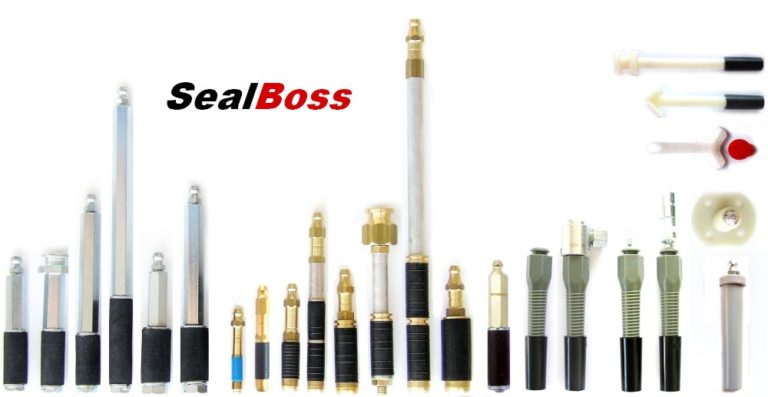
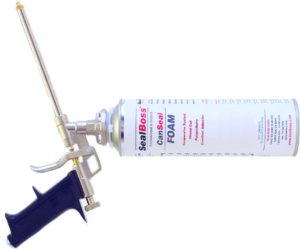
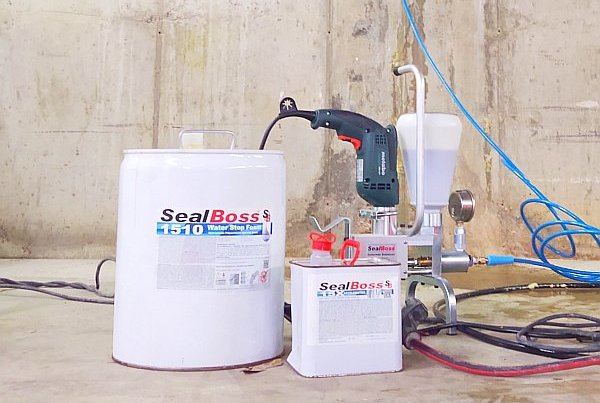
- With the use of a SealBoss Grout Injection Needle and a low cost HP1500 Ultra Light Hand Gun or a HP 100 Hand Pump, the foam grout can be conveniently placed and injected into the void. Depending on the conditions at the jobsite, the injection can be performed following the ‘Oakum Soakum Procedure’, by penetrating the initial repair with the injection needle and inject SealBoss Water Stop Foam behind it.
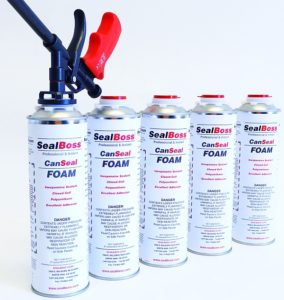
- For small jobs and pipe diameters, and for low cost applications where hand pump and injection needles are not feasible, SealBoss Can-Seal Foam can be used as a lower grade alternative.
Upon completion of the leak-sealing application, carefully remove any surplus cured foam protruding from the annulus to ensure a clean working area for the subsequent application of grout or mortar around the pipe penetration.
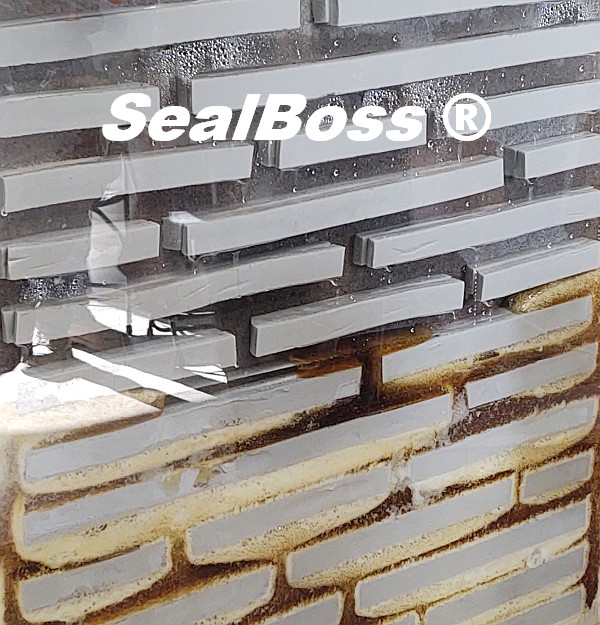
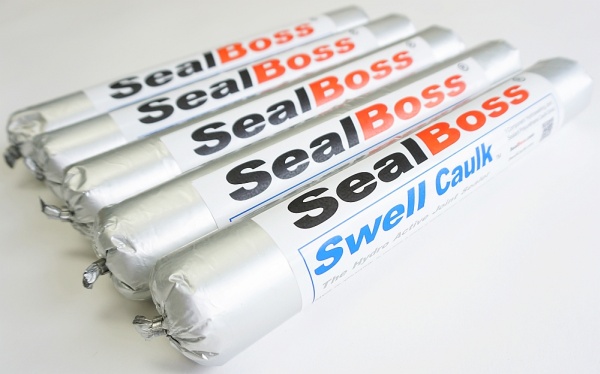
- SealBoss SwellCaulk is a premium, single-component hydroactive sealant, specifically designed to expand upon contact with water, thereby creating a secure, watertight seal. This product is especially effective for repairing pipe and cable penetrations. For optimal results with SwellCaulk, apply a bead of an appropriate size around the pipe, extending it beyond the chipped area and up to two inches deep into the circumferential void. Upon exposure to moisture, this hydrophilic material initiates its expansion process, thereby effectively forming a watertight seal around the pipe.
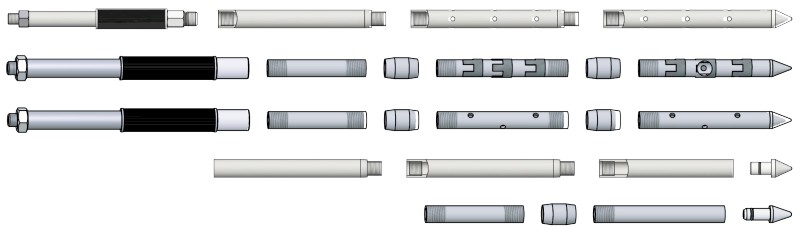
Pipe Penetration Sealing Products
Which Pipe Sealing Procedure is Right for You?
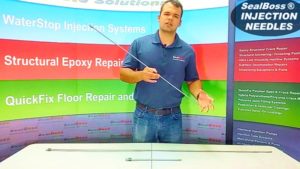
Call Your SealBoss Technician
Should you have any inquiries regarding pipe penetration sealing, crack injection water stop methodologies, or any other injection-related procedures, do not hesitate to reach out to our team of proficient SealBoss representatives. We are more than happy to assist you.
In order to assist you in understanding our systems more effectively, we provide on-site visits along with practical, hands-on training sessions involving our injection systems.
Call us at 714-662-4445.

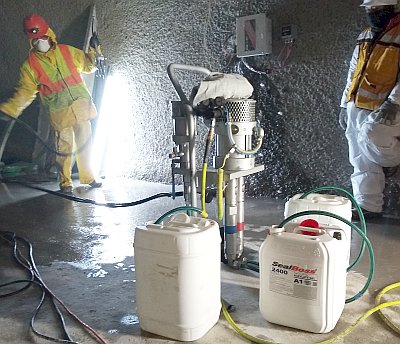


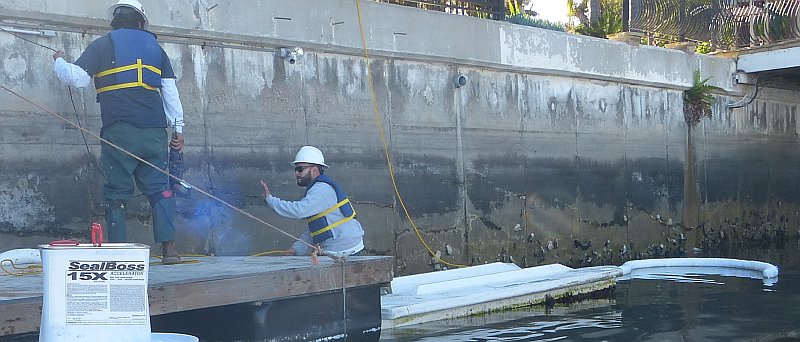
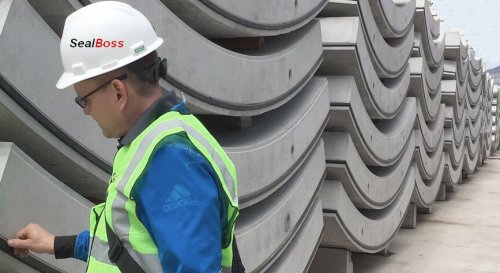
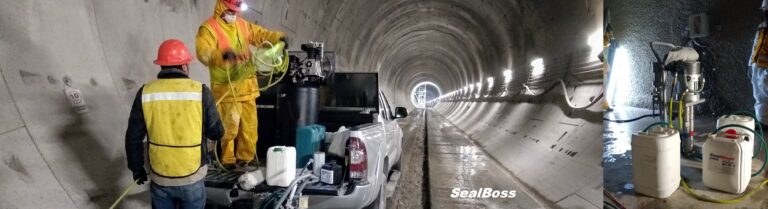
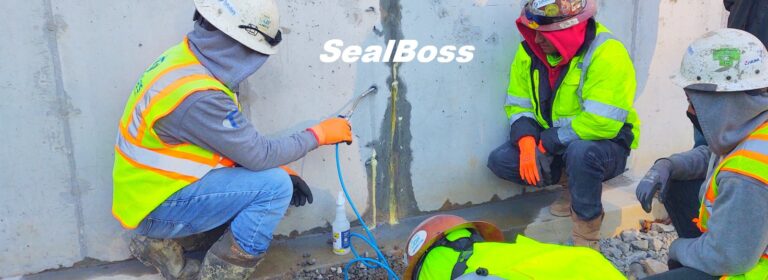
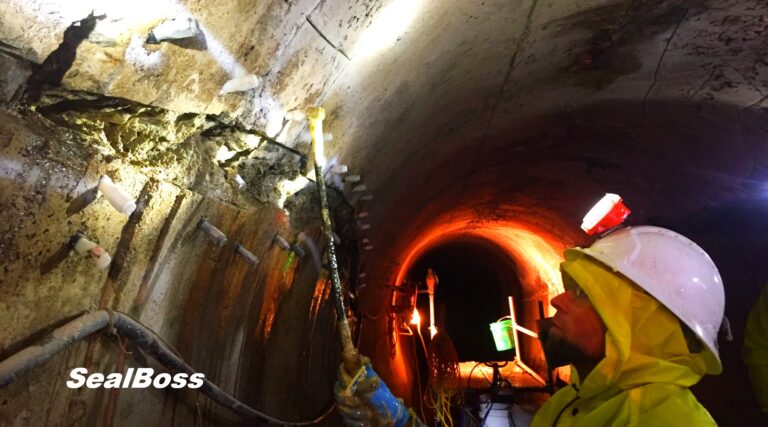
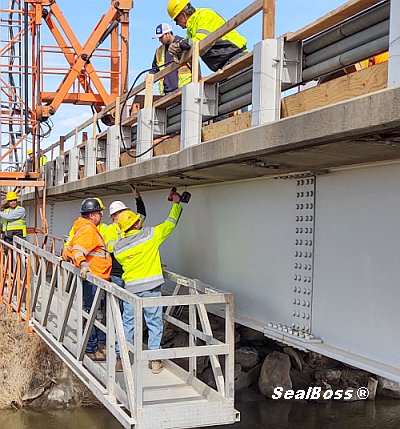
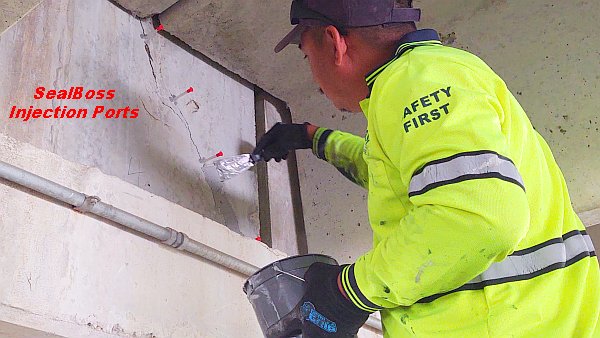
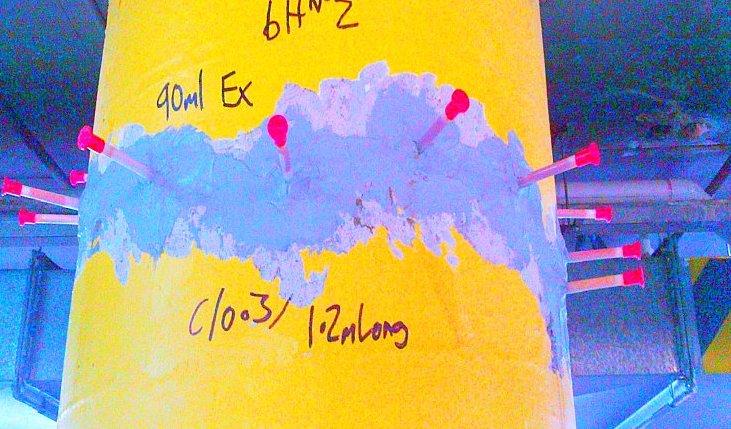
 Injection of concrete parking structure in St. Louis, Missouri using the SealBoss Water Stop System