


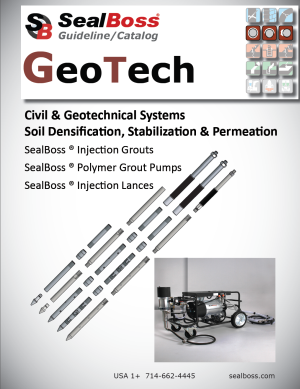


Polymer Soil Stabilization
 Slab Lifting, Soil Compaction, Permeation, and Consolidation Injection Systems
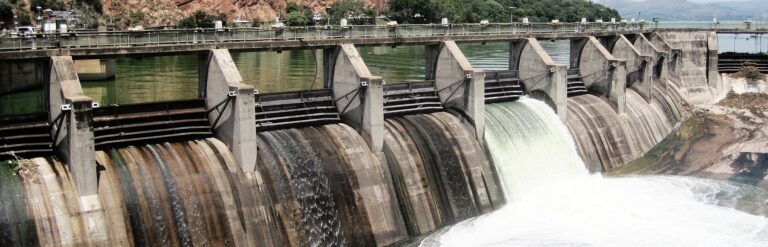
Effective void filling and slab lifting procedures can provide for stable subsoil to adequately support the structure above. If there are concerns about the subsoil’s stability, soil permeation grouting should be considered, provided the soil composition is suitable.
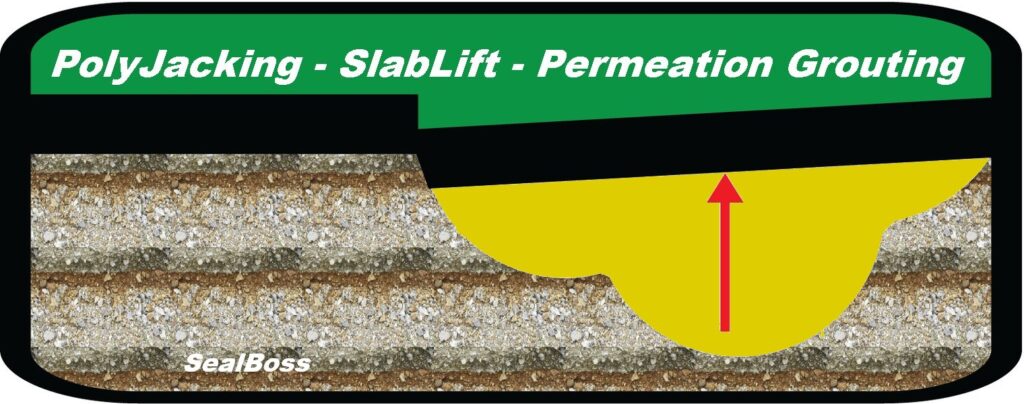
Slab Lifting and Void Filling
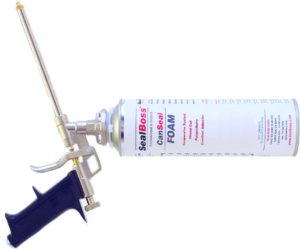
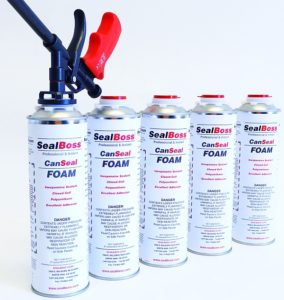
Slab lifting and void filling involve injecting structural polyurethane foam into voids beneath settling or uneven concrete slabs. This proven method stabilizes slabs without the need for excavation and adds minimal weight. Known as slab jacking, foam jacking, polyurethane concrete raising, poly jacking, or poly leveling, this technique offers several advantages over traditional mud jacking methods.
Advantages of Polyurethane Foam Injection
Permeation Grouting and Soil Stabilization
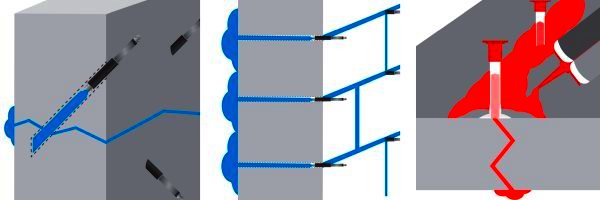
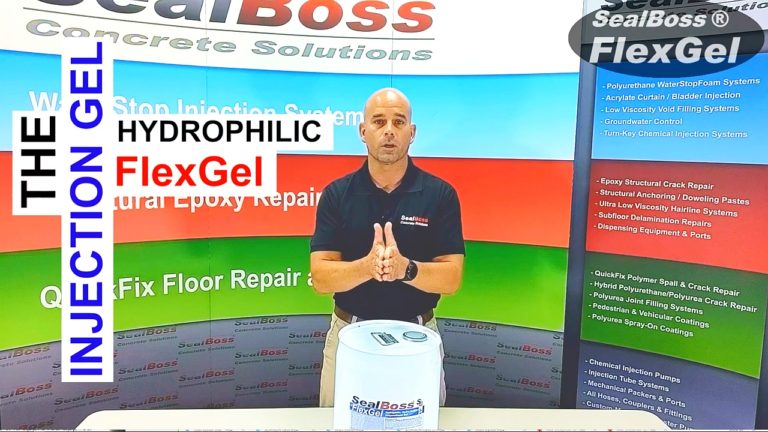
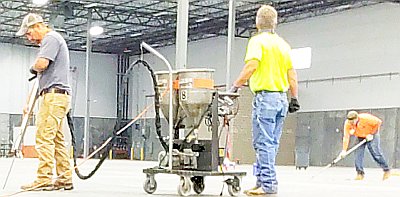
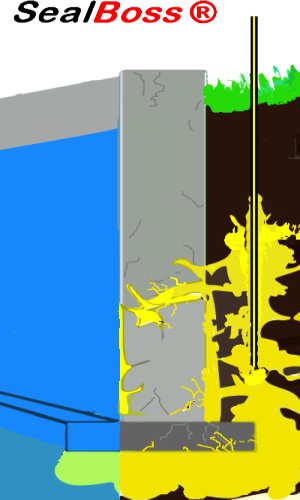
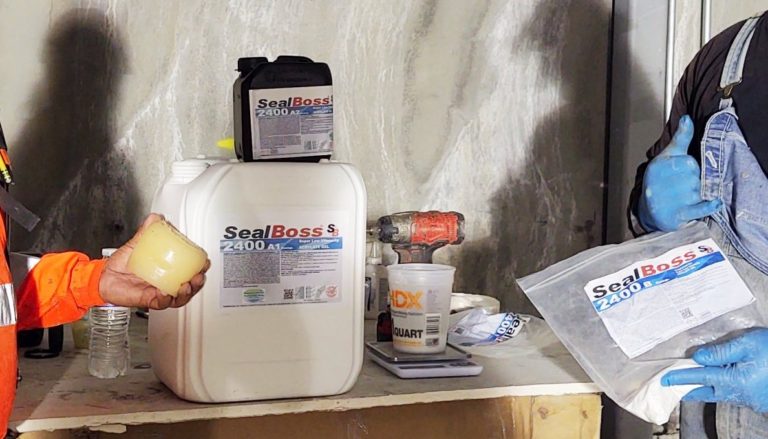
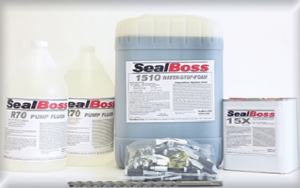
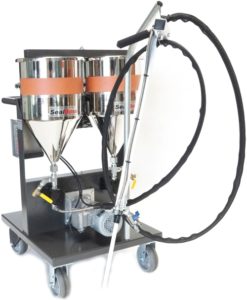
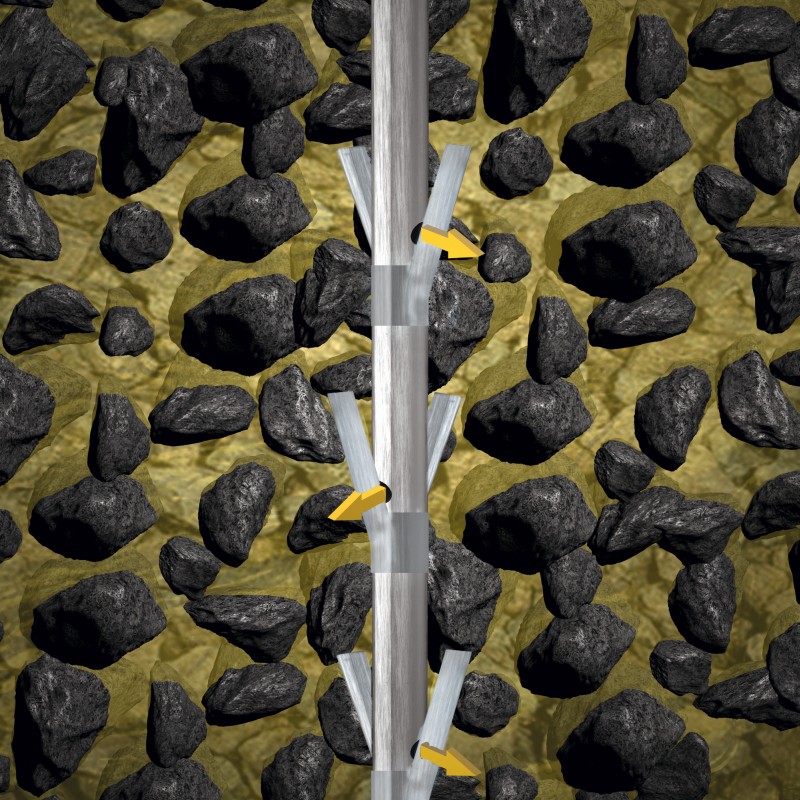
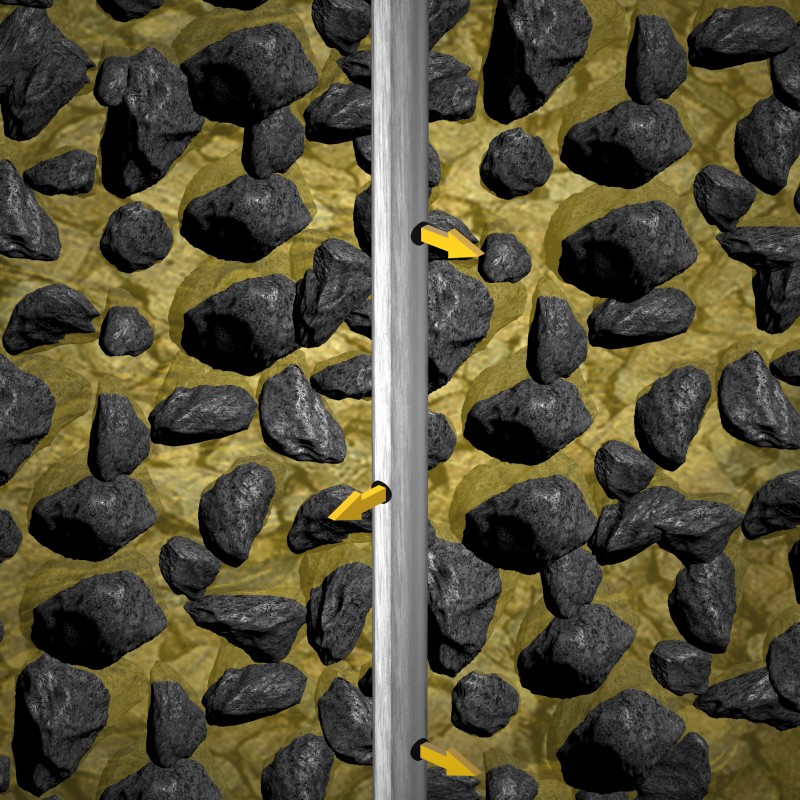
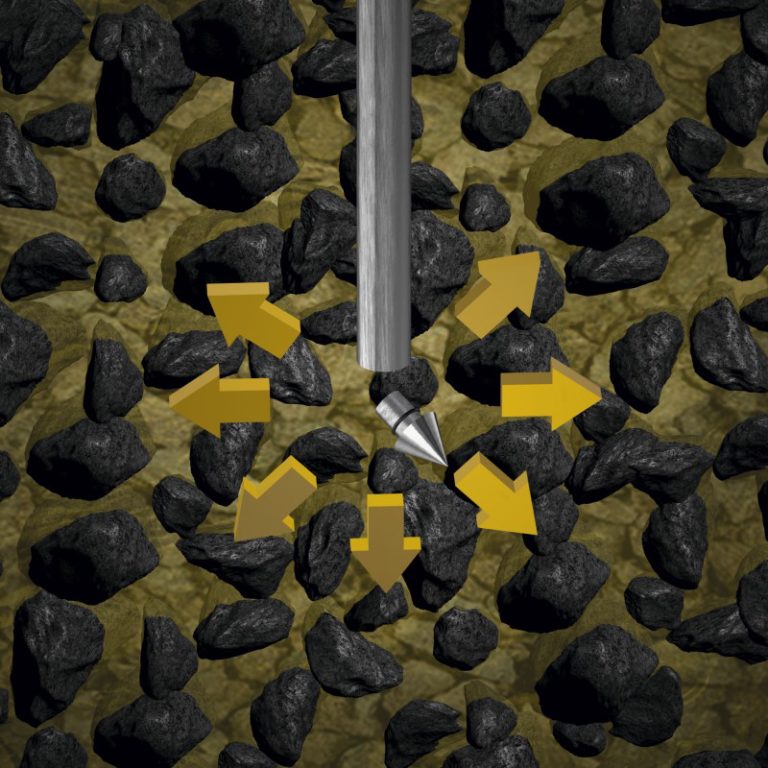
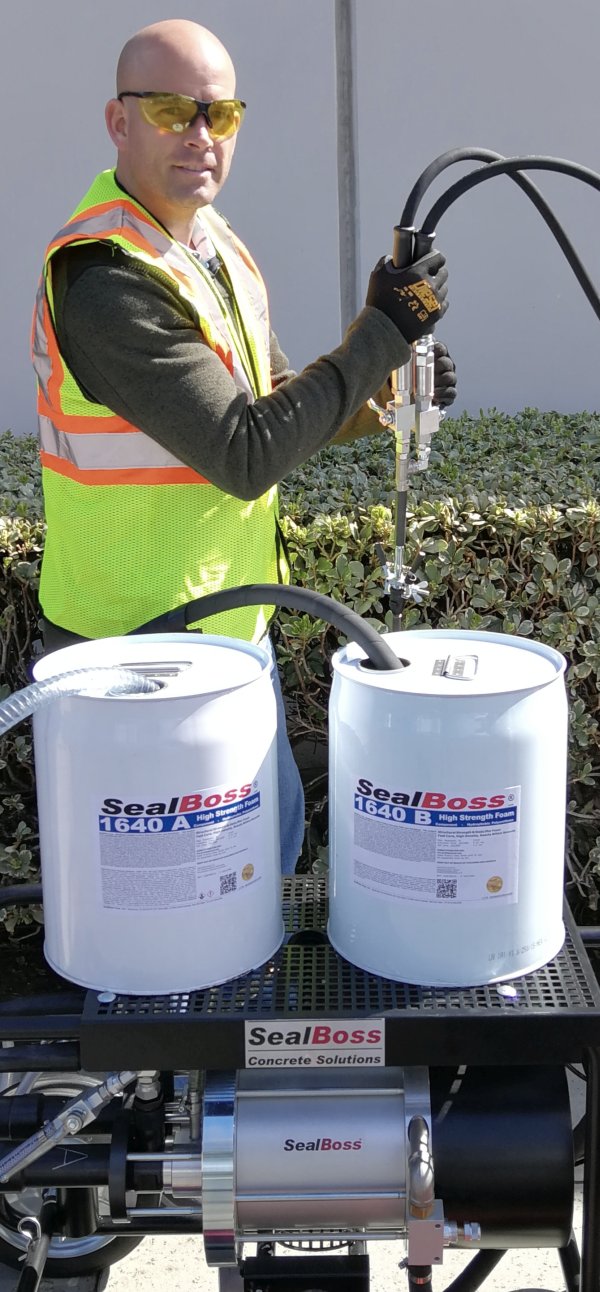
Permeation grouting and soil stabilization are performed by injecting a single-component, low-viscosity polyurethane hydro-active foam, catalyzed with an accelerator to specification, into the soil. This is done through injection packers, lances, or grout injection needles to consolidate and compact the substrate, increasing stability by binding soil particles together.
Procedure and Considerations
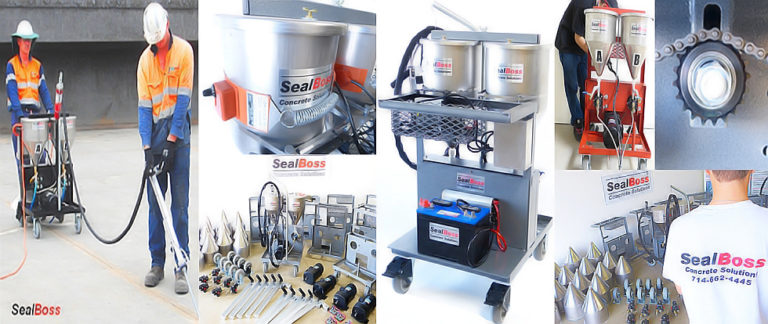
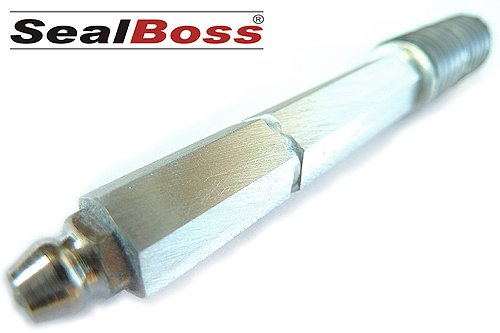
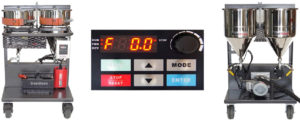
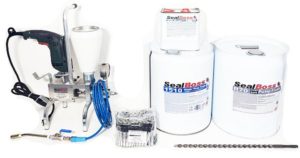
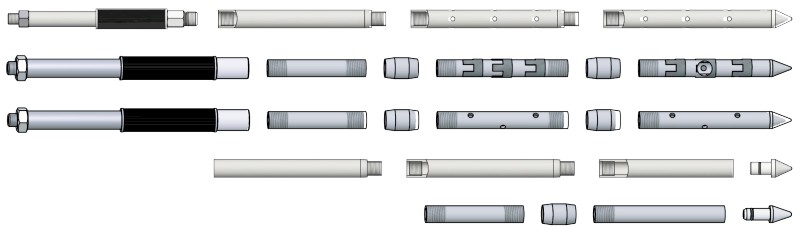
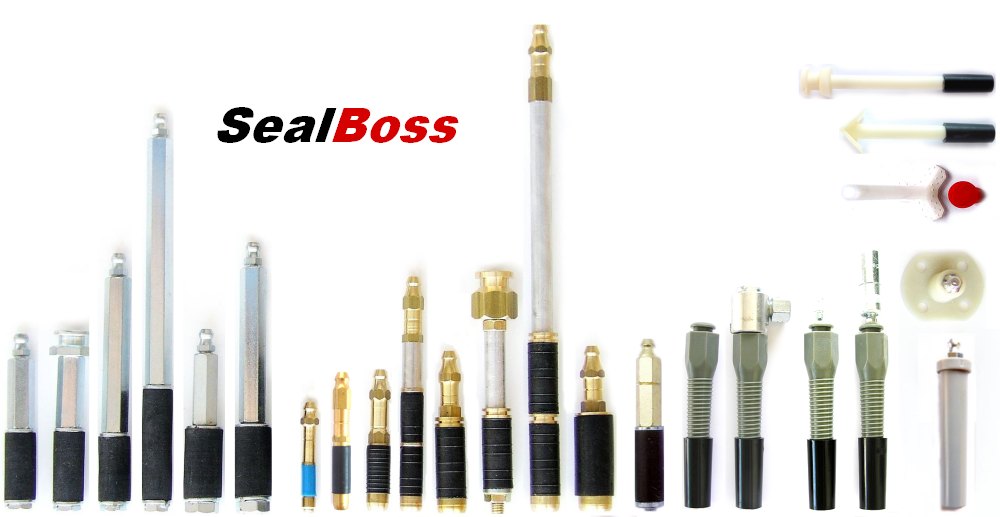
Equipment Used: Injection packers, lances, and grout injection needles are utilized to deliver the foam precisely where needed
Conclusion

Slab lifting, void filling, and permeation grouting are essential techniques for maintaining and restoring the stability of concrete structures. By using advanced polyurethane foam injections, these methods provide efficient, non-invasive, and durable solutions for various soil and slab issues. Proper soil analysis and the right application of these techniques ensure the long-term stability and safety of the structures.
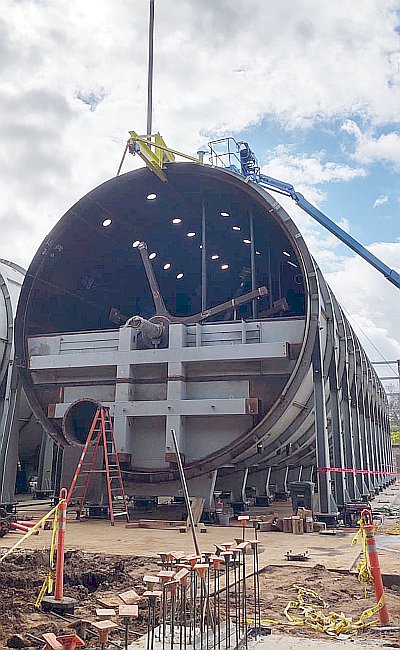
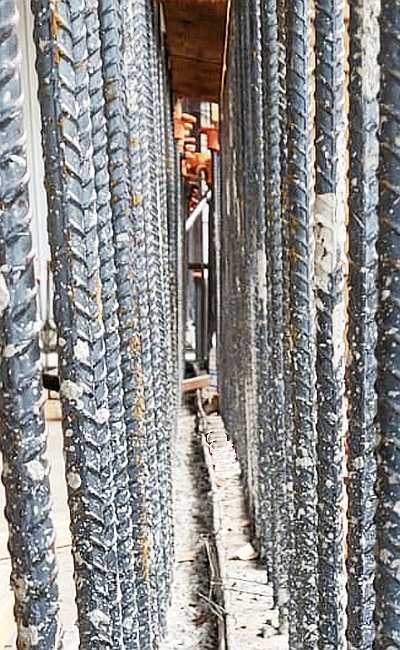
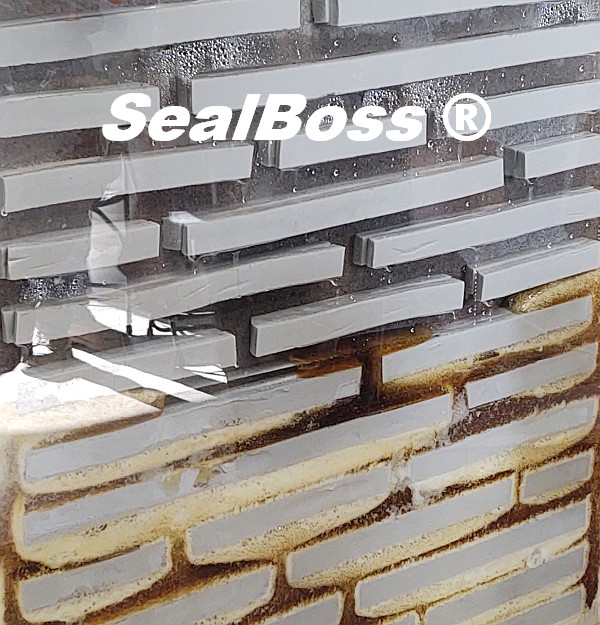
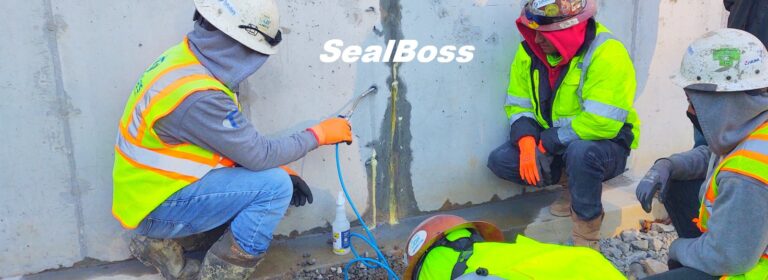
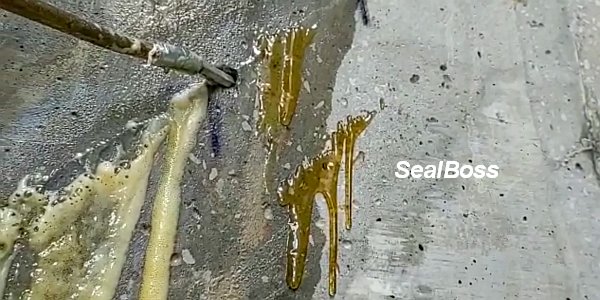
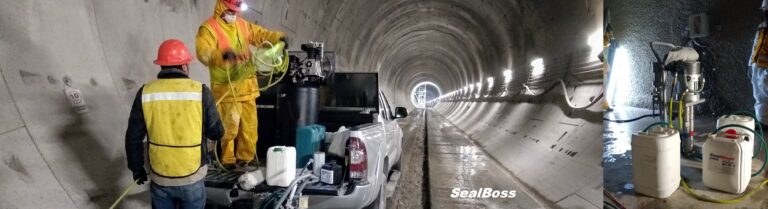
 Injection of concrete parking structure in St. Louis, Missouri using the SealBoss Water Stop System
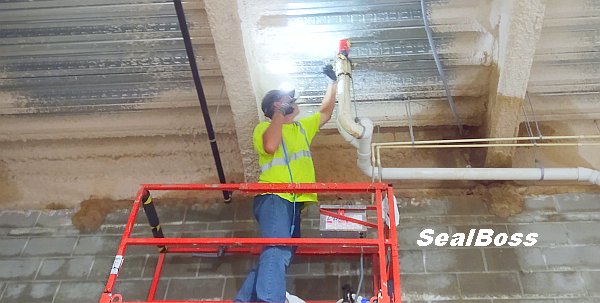
How to Seal Leaks in Voids, Cracks, Joints, and Seal Around Beams
In a technical support role for a leading infrastructure repair company, the job often involves providing assistance to clients on a wide array of repair projects. These projects range across a diverse spectrum, including concrete repair, waterproofing, slab lifting, soil stabilization, and permeation grouting.
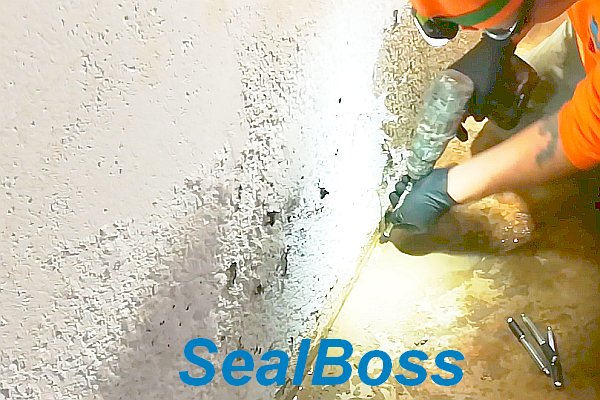
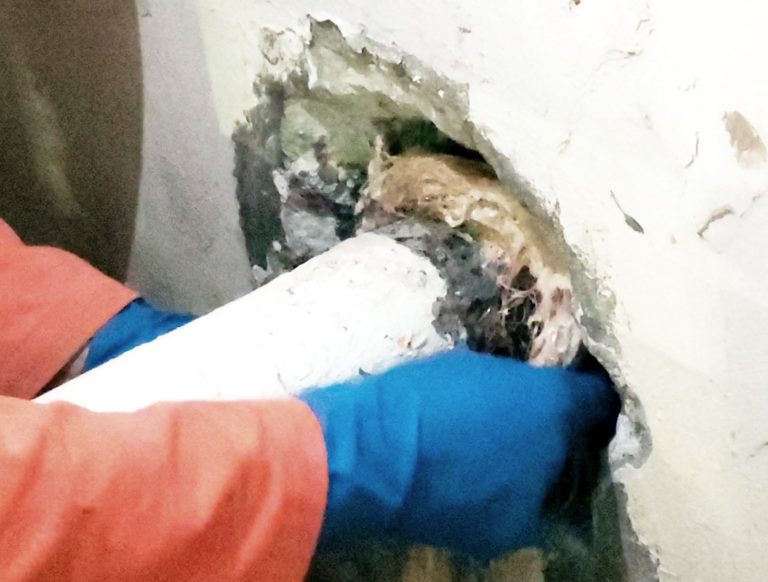
Recently, there was an instance of providing consultation to a contractor. The focus was on addressing water leaks by injecting materials into voids, cracks, joints, and beam pockets that had previously been treated with mastic grout.
Leaky Basement Repair – Joint and Void Filling Injection
Scope
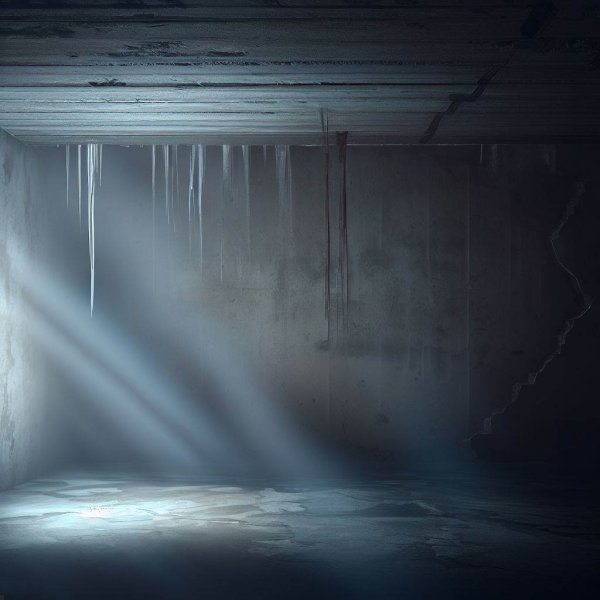
A homeowner faced persistent basement leakage through cold joints where the wall meets the floor.
Previous repair attempts by a contractor using crystalline products and epoxy coatings had failed, resulting in water pooling on the floor after heavy rains.
In search of a permanent solution, the homeowner sought to prevent further water intrusion into the basement.
Leaky Basement Repair – Detail
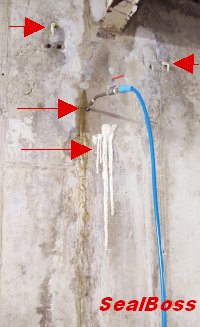
A SealBoss technical representative was called to provide expertise on sealing the basement leaks.
Upon careful examination of the job site, it was discovered that the basement floor was approximately 8 inches thick and was poured slightly deeper towards the walls. The source of the leakage was identified as the cold joint between the wall and the poured slab.
Repair System
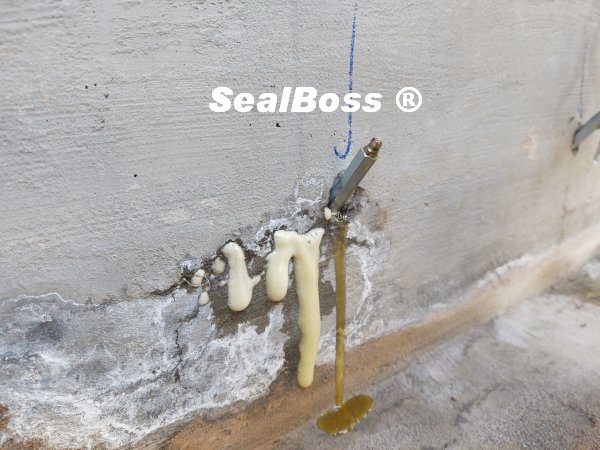
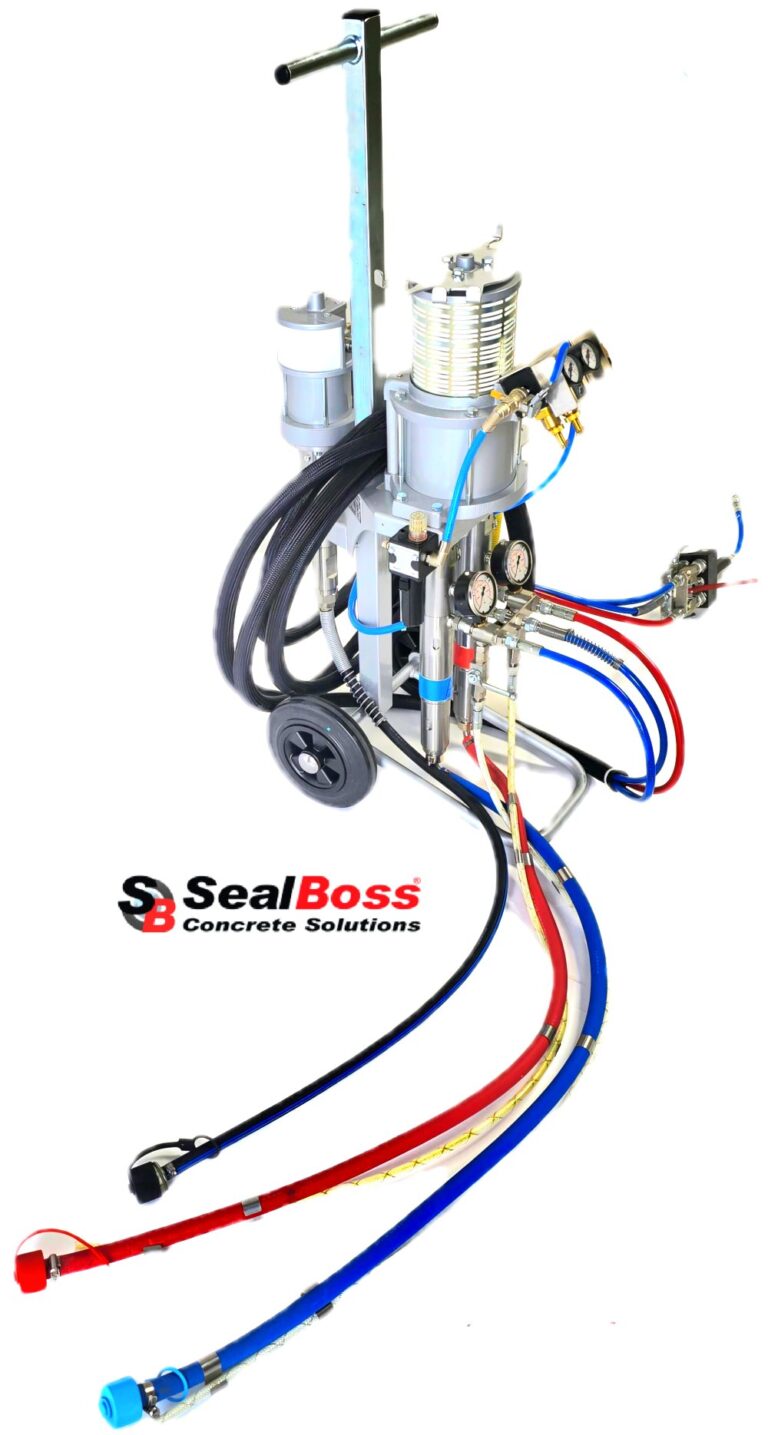
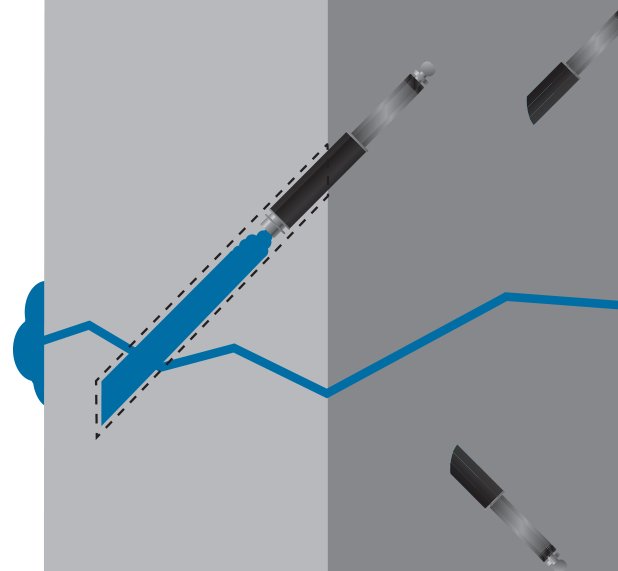
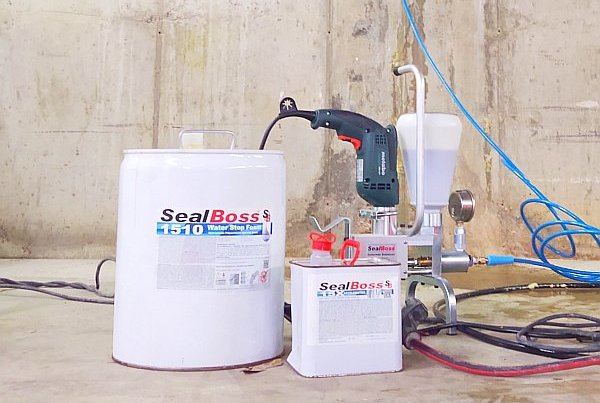
SealBoss 1510 Water Stop Foam was chosen as the preferred leak sealing injection product to provide a permanent solution. The product would be injected through SealBoss injection packers using the SealBoss P2002 injection machine, a compact, lightweight, and quiet pump ideal for this application.
Procedure
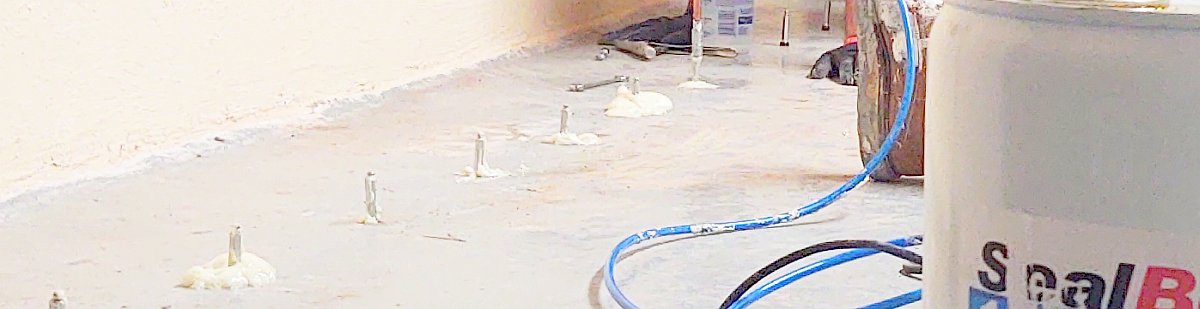
1. Drilling the Slab
2. Setting the Packers
3. Injection Process:
Leaky Basement Repair – Conclusion
This combined joint injection and void filling injection procedure proved to be the most effective method for sealing the basement leaks
efficiently and permanently. The use of SealBoss 1510 Water Stop Foam, along with precise drilling and injection techniques, ensured that the cold joints and voids were thoroughly sealed, providing a lasting solution to prevent water intrusion.
Additional Tips for Homeowners and Contractors
By following these steps and employing advanced sealing techniques, homeowners and contractors can effectively address and prevent basement leakage, ensuring a dry and secure living space.