Injection Job Checklist
Checklist for a Crack Injection Procedure
Embarking on a crack injection procedure requires meticulous preparation and execution. Here’s your essential checklist to ensure a seamless process, from start to finish:
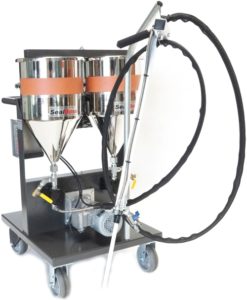
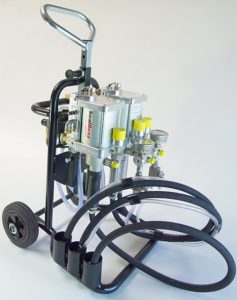
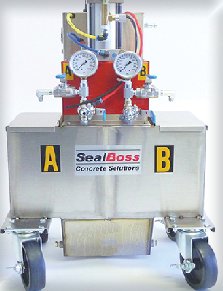
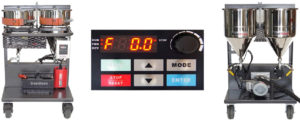
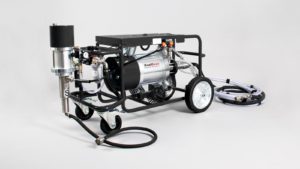
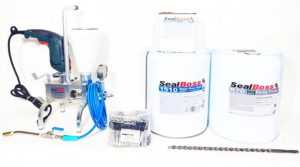
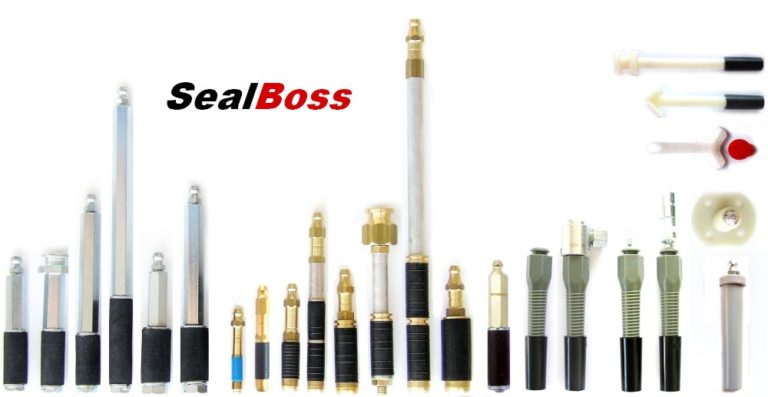
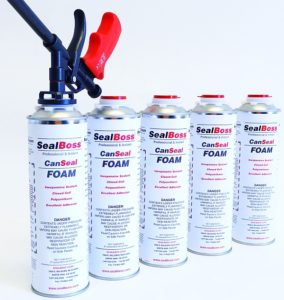
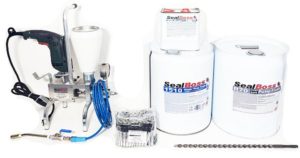
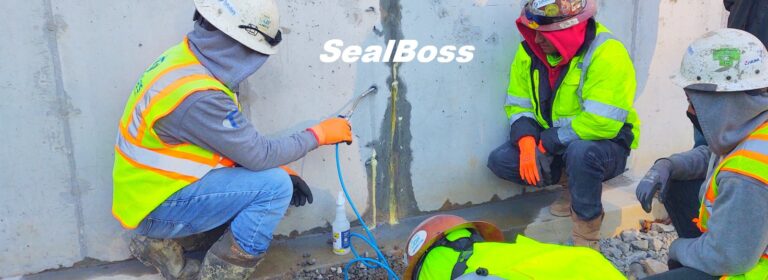
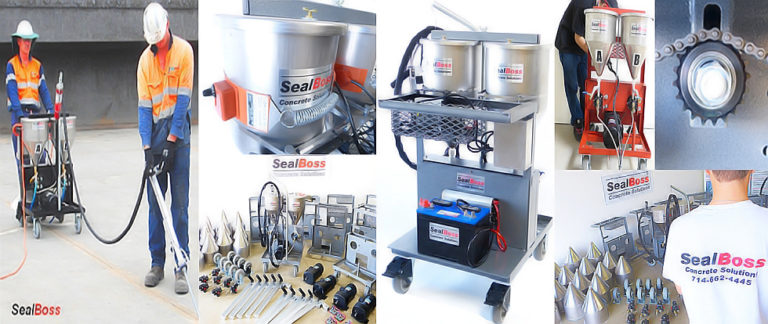
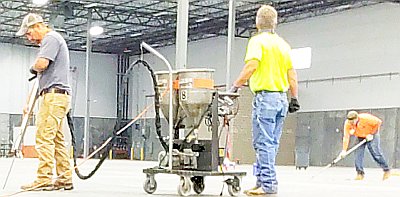
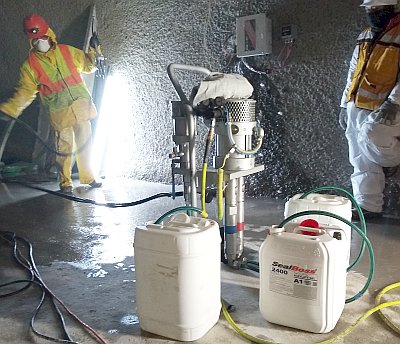
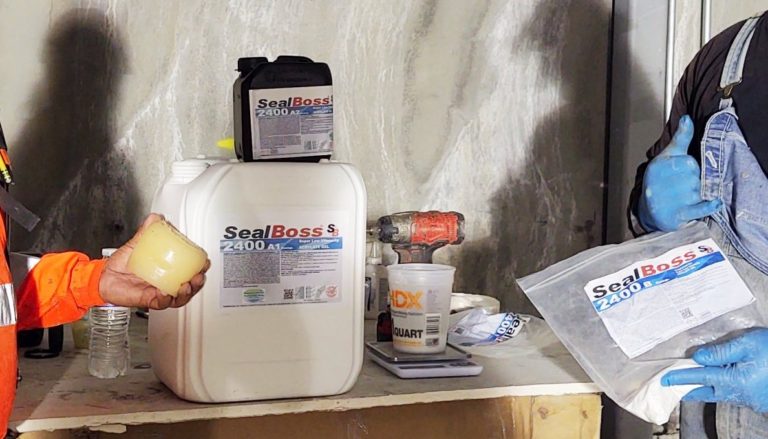
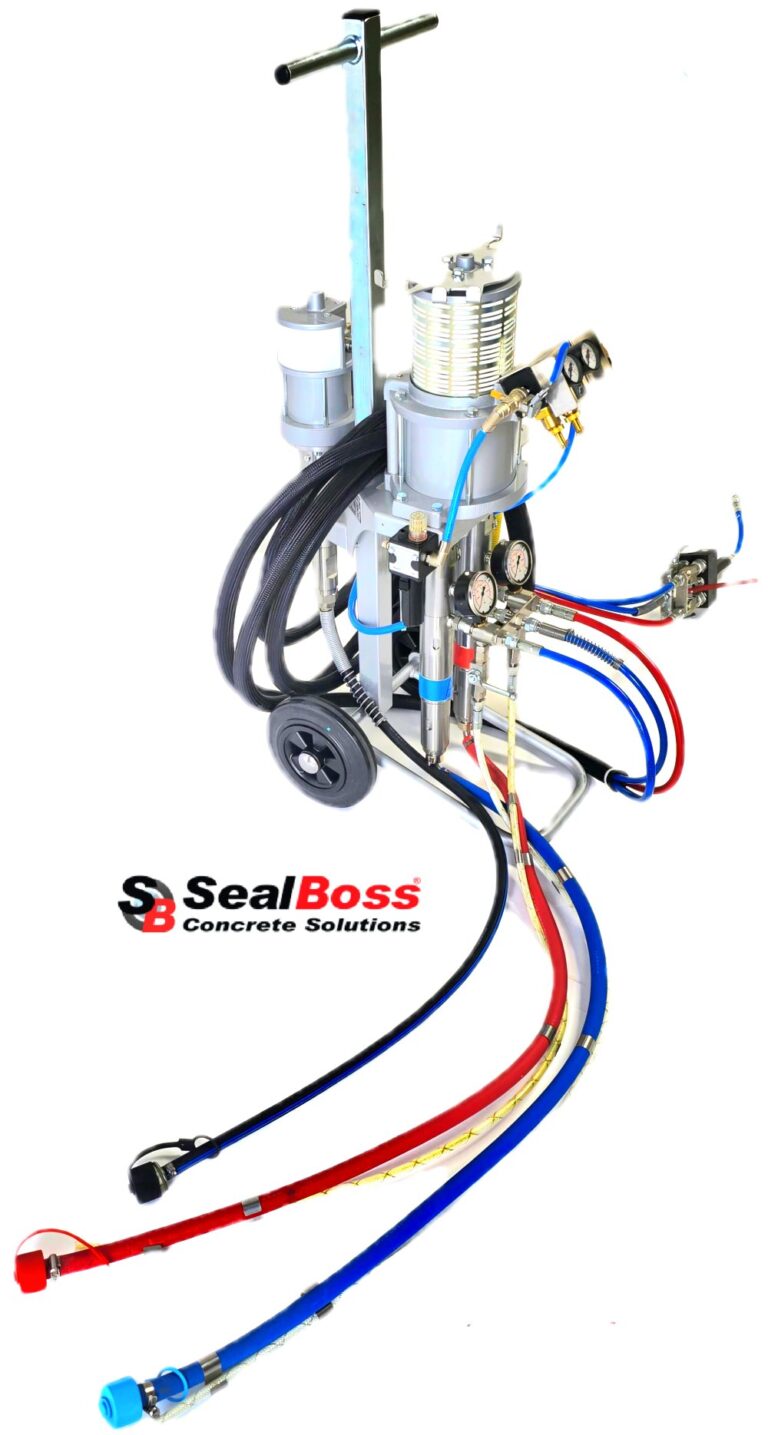
- Prepare Your Equipment and Protective Gear: Begin by gathering all necessary materials and tools, such as epoxy, polyurethane, acrylate, injection ports, injection pump equipment, and other applicable tools. Safety should be your utmost priority, so don’t forget your personal protective equipment (PPE), including coveralls, gloves, and safety glasses.
- Perform an In-depth Inspection: Carry out a thorough examination of the injection area to identify any leakage or visible cracks. Be meticulous, ensuring even the smallest joints and cracks are detected and documented.
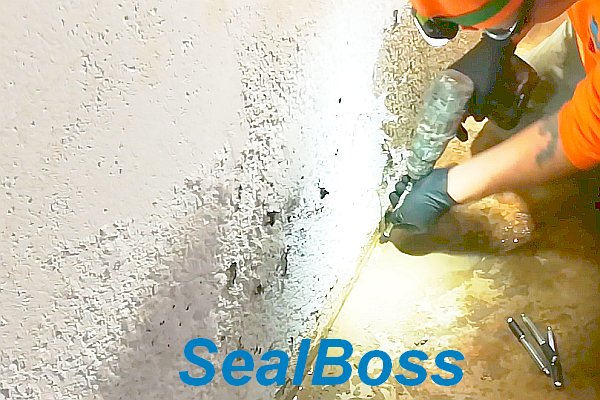
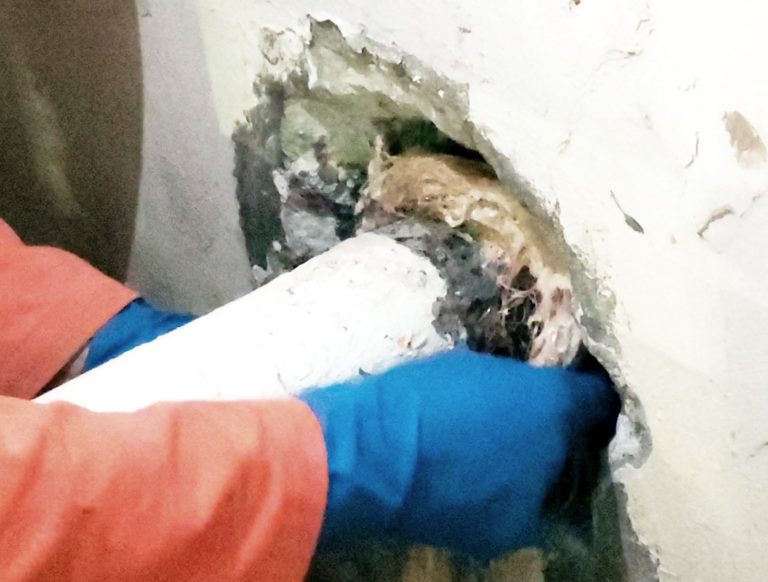
- Clean the Cracks: After identifying the cracks, clean them thoroughly. Remove any loose concrete, dust, or debris using appropriate tools, such as a wire brush, to ensure optimal adhesion during the injection process.
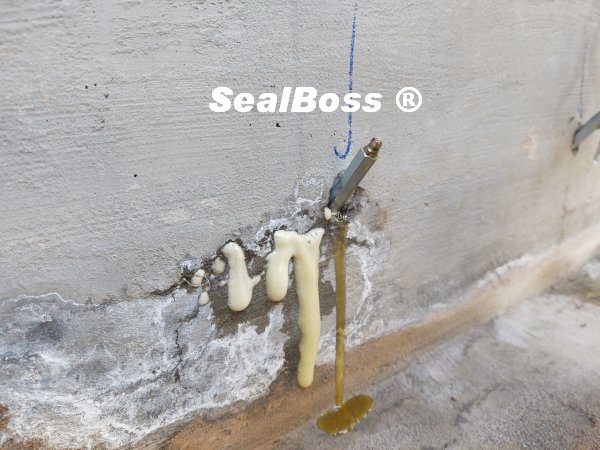
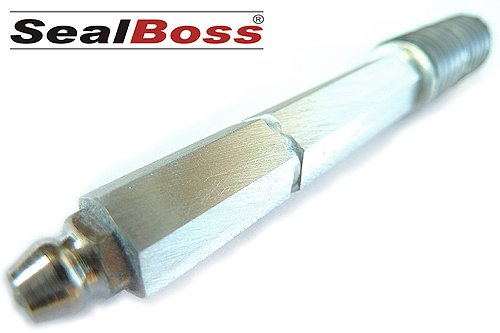
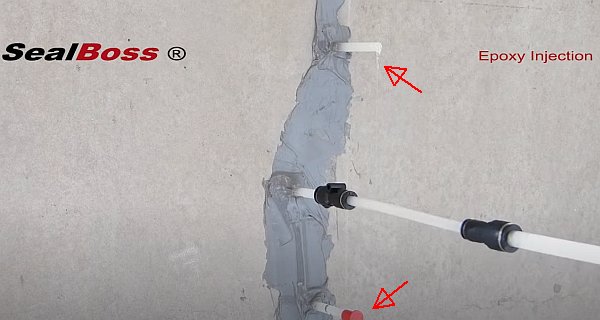
- Install Injection Packers or Ports: Position the injection packers or ports along the crack at regular intervals. While the distance can vary based on the nature of the crack and the product used, a general rule of thumb is approximately 8-10 inches between each port.
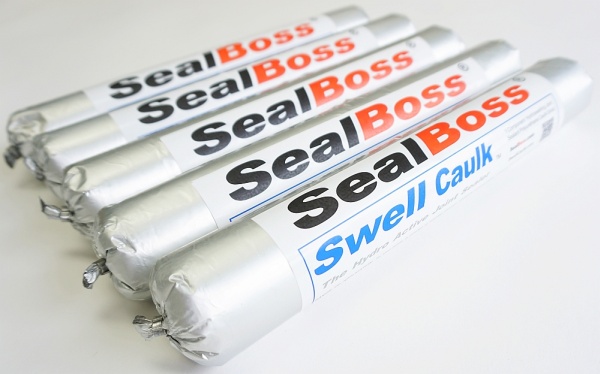
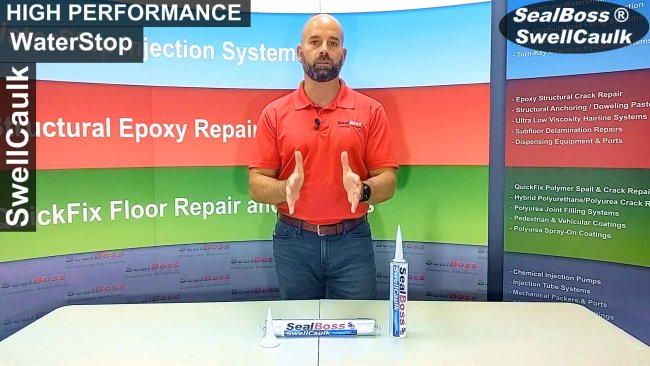
- Prepare the Injection Product: Follow the manufacturer’s instructions to prepare the epoxy, polyurethane, or acrylate polymer product. This step often involves combining multiple components until a uniform solution is achieved.
- Seal the Crack Surface: If necessary, especially with epoxy injections, seal the surface of the crack with epoxy or the specified sealing material. Ensuring the crack is sealed from end to end will force the injected material to flow through the crack.
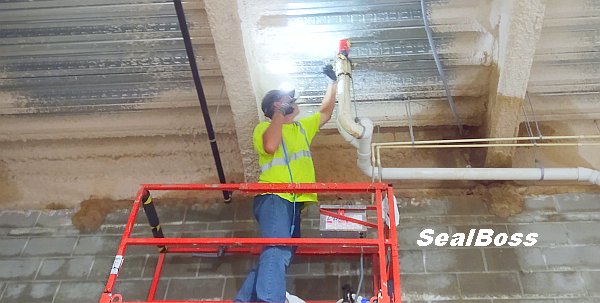
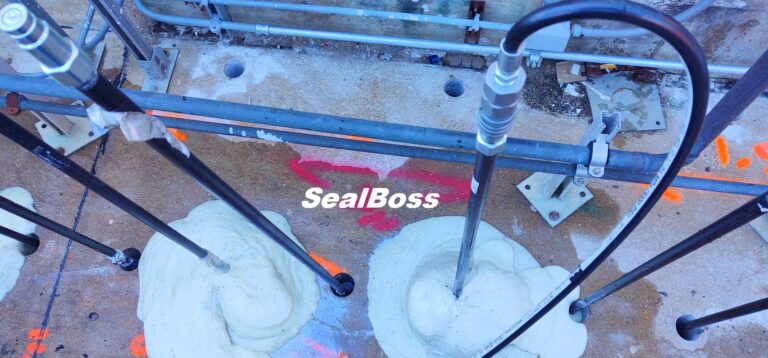
- Start the Injection: Unless otherwise specified, begin the injection at the lowest port and progress upwards. This method allows the epoxy or polyurethane to fill the crack from the bottom, ensuring a thorough seal. Move to the next port as each one fills.
- Monitor the Procedure: Keep a close eye on the process to ensure the injection material is filling the entire crack. If leakage occurs or the crack isn’t filling properly, additional steps may be necessary.
- Allow the Product to Cure: After injection, let the product cure according to the manufacturer’s guidelines. This duration can range from a few minutes to several days, depending on the specific product.
- Remove Injection Ports and Finish Surface: Once the material has fully cured, remove the injection packers or ports and finish the surface as per the specifications.
- Final Inspection: Conduct a final review to ensure the cracks are completely filled and sealed.
Remember, while this list provides a general guide, you should always follow the specific instructions provided by the manufacturer of the injection materials and equipment. Different products may require different procedures, so carefully adhering to the provided guidelines is paramount. Be prepared to adjust this general guide based on the specifics of your project.
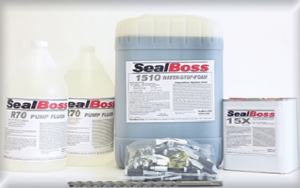
Arrive prepared at the job site – it saves you time, aggravation and money. Here are some of the essentials.
| Equipment | Consumables | Gear | Clean up |
| Pumps, Parts, Hoses | Injection resin | Safety Glasses | Trash bags |
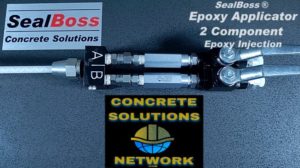
| Applicator | Accelerator | Safety Gloves | Paper Towels |
| Buckets | Injection Packers, Couplers | Safety Vests | Rags |
| Extension Cords | Pump Flush | Hard Hats | Disposable Gloves |
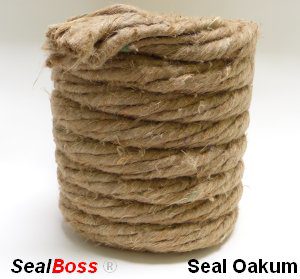
| Hammer Drill, Drill Bits | Oakum | Safety Boots | Cleaner |
| Flashlights | |||
| Complete Tool Box |


